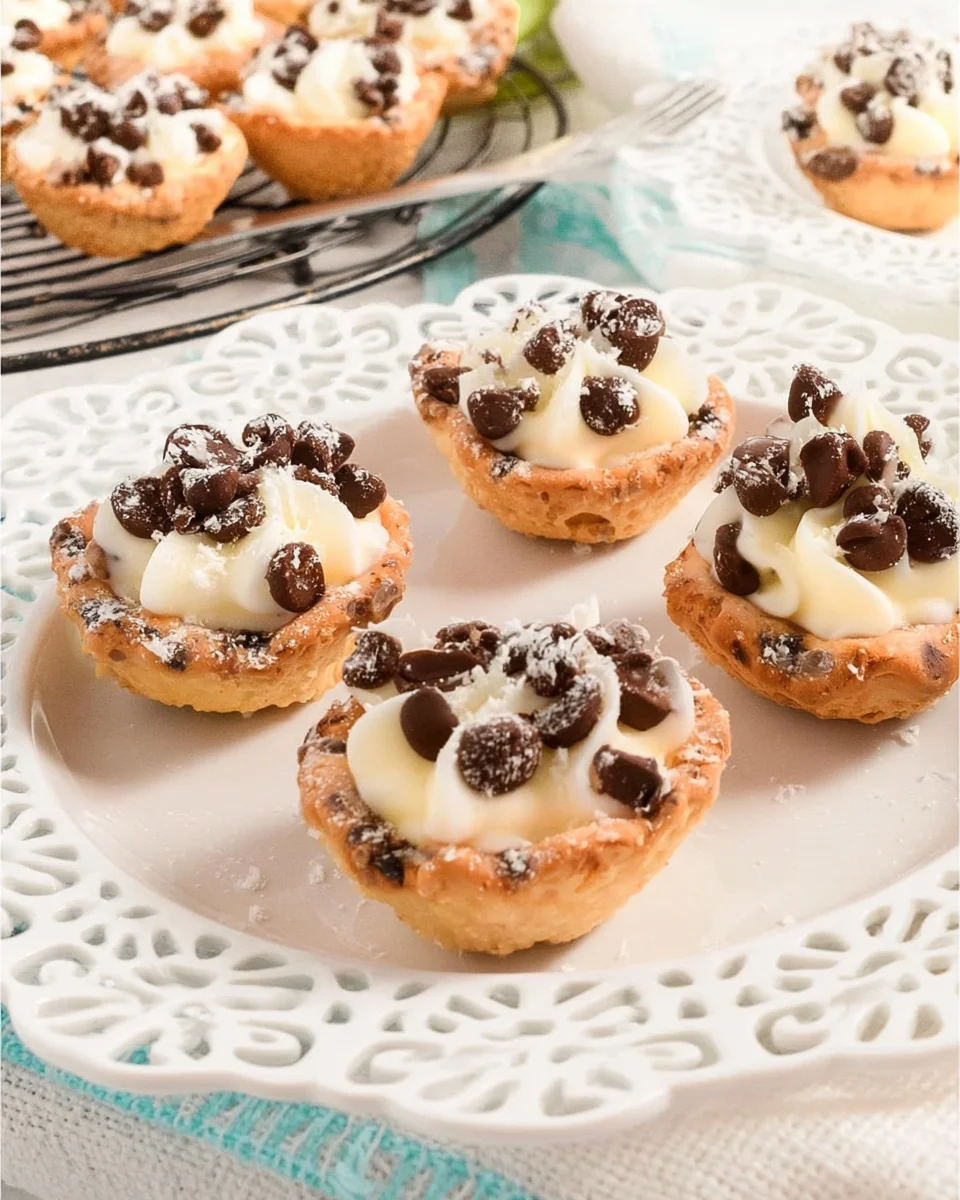
Ah, mini cannoli cups! They remind me of cozy family gatherings, where every dessert is a reason to celebrate. These delightful little treats are perfect for any occasion, whether you’re hosting a party or simply treating yourself. The best part? They are super easy to make and come together in no time, ensuring you create a memorable dessert without all the fuss.
Why You’ll Love Mini Cannoli Cups
- Fast
- Easy
- Giftable
- Crowd-pleasing
Ingredients
- 1 package of pre-made phyllo pastry cups – These save you time and add a nice crunch.
- 1 cup ricotta cheese – Creamy and flavorful, a classic choice.
- 1 cup mascarpone cheese – Adds richness and a velvety texture.
- 1 cup powdered sugar – Sweetness that perfectly balances the cheeses.
- 1 teaspoon vanilla extract – A dash of vanilla elevates the flavor.
- 1/2 teaspoon cinnamon – A warm spice that adds a cozy touch.
- 1/2 cup mini chocolate chips – Because who doesn’t love a bit of chocolate?
- 1/4 cup chopped pistachios (for garnish) – Adds a crunchy finish.
- Fresh berries (for garnish, optional) – A splash of color and freshness.
How to Make Mini Cannoli Cups
- Prepare the Filling: In a large mixing bowl, combine the ricotta cheese, mascarpone cheese, powdered sugar, vanilla extract, and cinnamon. Mix until smooth and well combined. I find that using a hand mixer makes this step a breeze!
- Add Chocolate Chips: Gently fold in the mini chocolate chips into the cheese mixture for that delightful surprise in every bite.
- Fill the Cups: Spoon the cannoli filling generously into each phyllo pastry cup. Don’t be shy; these cups are meant to be filled!
- Garnish: Sprinkle chopped pistachios on top of the filled cups for added crunch and flavor. If you’re feeling fancy, add some fresh berries for a beautiful presentation.
- Chill: Place the filled mini cannoli cups in the refrigerator for about 30 minutes to let them set. This is a great time to clean up your kitchen!
- Serve: Enjoy your delicious mini cannoli cups as a delightful dessert. Trust me, they won’t last long!
Substitutions & Additions
- If you can’t find phyllo pastry cups, you can make your own using phyllo dough, or even use mini tart shells.
- Feel free to swap out the chocolate chips for dried fruit or even crushed cookies for a different flavor.
- For a fun twist, add a splash of coffee liqueur to the filling for an adult version.
Tips for Success
- Be careful not to overmix the filling; you want it to be smooth, but still light and airy.
- Make these cups a few hours ahead of time to allow the flavors to meld beautifully.
- Keep an eye on the phyllo cups in the oven if you’re baking them; they can brown quickly!
How to Store Mini Cannoli Cups
These mini cannoli cups are best enjoyed fresh, but you can store them in the refrigerator for up to 2 days. Just keep them covered to prevent the pastry from getting soggy. If you’re planning to make them ahead, fill the cups just before serving for that delightful crunch!
FAQs
- Can I make the filling ahead of time? Absolutely! You can prepare the filling a day in advance and store it in the refrigerator. Just fill the cups right before serving.
- Are these cannoli cups gluten-free? If you use gluten-free phyllo pastry cups, then yes! Just double-check the packaging.
- What can I use to garnish besides pistachios? Chopped almonds, walnuts, or even a sprinkle of cocoa powder work beautifully!
So, there you have it! Mini cannoli cups are not only easy and quick to make, but they are also sure to impress your friends and family. For more delicious recipes, check out Easy Mini Raspberry Cheesecake Bites or Grandma’s Easy Blackberry White Chocolate Cheesecake for treats you will love!
And don’t forget to follow us on Pinterest for more sweet inspiration! Happy baking!
Mini Cannoli Cups
Ingredients
Equipment
Method
- Step 1: In a large mixing bowl, combine the ricotta cheese, mascarpone cheese, powdered sugar, vanilla extract, and cinnamon. Mix until smooth and well combined. I find that using a hand mixer makes this step a breeze!
- Step 2: Gently fold in the mini chocolate chips into the cheese mixture for that delightful surprise in every bite.
- Step 3: Spoon the cannoli filling generously into each phyllo pastry cup. Don't be shy; these cups are meant to be filled!
- Step 4: Sprinkle chopped pistachios on top of the filled cups for added crunch and flavor. If you're feeling fancy, add some fresh berries for a beautiful presentation.
- Step 5: Place the filled mini cannoli cups in the refrigerator for about 30 minutes to let them set. This is a great time to clean up your kitchen!
- Step 6: Enjoy your delicious mini cannoli cups as a delightful dessert. Trust me, they won't last long!