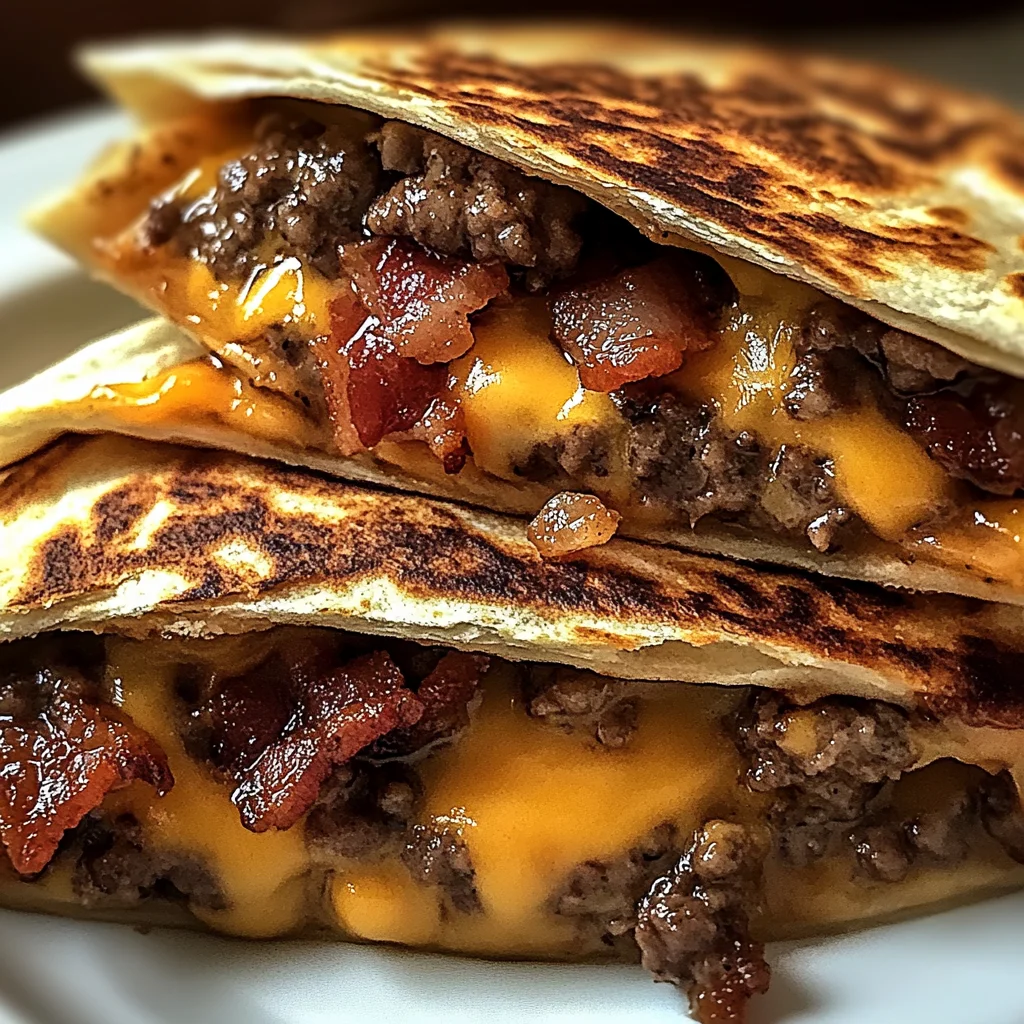
Hey there, friend! You know those moments when you’re craving something utterly comforting, maybe a juicy cheeseburger, maybe something warm and cheesy, maybe even a little sweet and savory? Well, get ready, because I’ve got a recipe that’s going to absolutely knock your socks off. It’s my Maple Bacon Cheeseburger Bomb Quesadillas, and seriously, they are everything they sound like and more. It takes the best parts of a classic cheeseburger, throws in that irresistible maple-bacon goodness, wraps it all up in a crispy tortilla with melted cheese, and creates a handheld flavor explosion. It’s easy enough for a busy weeknight but so deliciously unique, it feels like a special treat. Let’s make some magic!
Why You’ll Love This Recipe
- Fast: From start to finish, you can have these on the table in under 30 minutes! Perfect for those hectic evenings.
- Easy: No fancy techniques here! If you can brown ground beef and fold a tortilla, you’ve got this.
- Giftable (Sort Of!): Okay, maybe not giftable like cookies, but they are perfect for sharing at a casual get-together, game day, or just surprising your family with something awesome.
- Crowd-Pleasing: Seriously, who can resist the magic combo of cheese, beef, bacon, and a hint of sweet maple? Kids and adults alike devour these.
Ingredients
Gather ’round the pantry! Here’s what you’ll need to create these flavor bombs:
- 1 lb ground beef: I usually go for 80/20 for good flavor, but use what you have on hand.
- ½ teaspoon garlic powder: Adds that essential savory depth.
- ½ teaspoon onion powder: Another pantry staple for boosting that classic burger flavor.
- Salt and freshly ground black pepper: To taste! Don’t be shy, season that beef!
- 1 cup cooked, crumbled bacon: Because, well, bacon. Make it nice and crispy!
- 1½ cups shredded cheddar cheese (or American cheese): Cheddar gives great flavor, but American melts like a dream. Use your favorite, or a mix!
- 2-3 tablespoons maple syrup: This is the secret ingredient that ties the bacon and beef together with a touch of sweet magic. Use real maple syrup for the best results!
- 4 large flour tortillas: The bigger the better for folding and stuffing!
- Butter or cooking spray: For getting that perfect golden, crispy tortilla crust.
- Optional toppings: Sliced pickles, mustard, caramelized onions… think your favorite burger toppings!
How to Make It
Alright, let’s get cooking! You’re just a few simple steps away from cheesy, savory, sweet perfection.
Step 1: Brown the Beef. Get a large skillet nice and hot over medium-high heat. Toss in your ground beef and cook it until it’s all browned up. Once it’s cooked through, drain off any excess grease. You don’t want your quesadillas to be greasy!
Step 2: Season the Burger Magic. Now that the beef is browned, stir in the garlic powder, onion powder, salt, and pepper. Let that cook for just about a minute, stirring often. You’ll start to smell those amazing aromas mingling – that’s the sign it’s ready!
Step 3: Add the Bacon & Maple. Reduce the heat a little if needed. Now for the fun part! Stir in your cooked, crumbled bacon and that beautiful maple syrup. Mix everything gently until the beef is evenly coated in that sweet and savory glaze. It smells incredible right now, doesn’t it?
Step 4: Assemble Your Bombs. Lay your flour tortillas out flat on a clean surface. Imagine a line down the middle of each tortilla. On ONE half of each tortilla, you’re going to layer: first, half of your cheese, then half of the beef and bacon mixture, and finally, the remaining cheese right on top. If you’re using any optional toppings like pickles or caramelized onions inside, pile them on now!
Step 5: Get ‘Em Crispy. Heat up a large skillet or griddle over medium heat. Melt a little butter or give it a spritz of cooking spray. Carefully fold the empty half of each tortilla over the filling, creating a half-moon shape. Place the assembled quesadillas into the warm skillet.
Step 6: Cook to Golden Perfection. Cook for about 2-3 minutes on each side. You’re looking for that lovely golden brown color on the outside and perfectly melted, gooey cheese on the inside. Don’t rush this step – that crispy exterior is key!
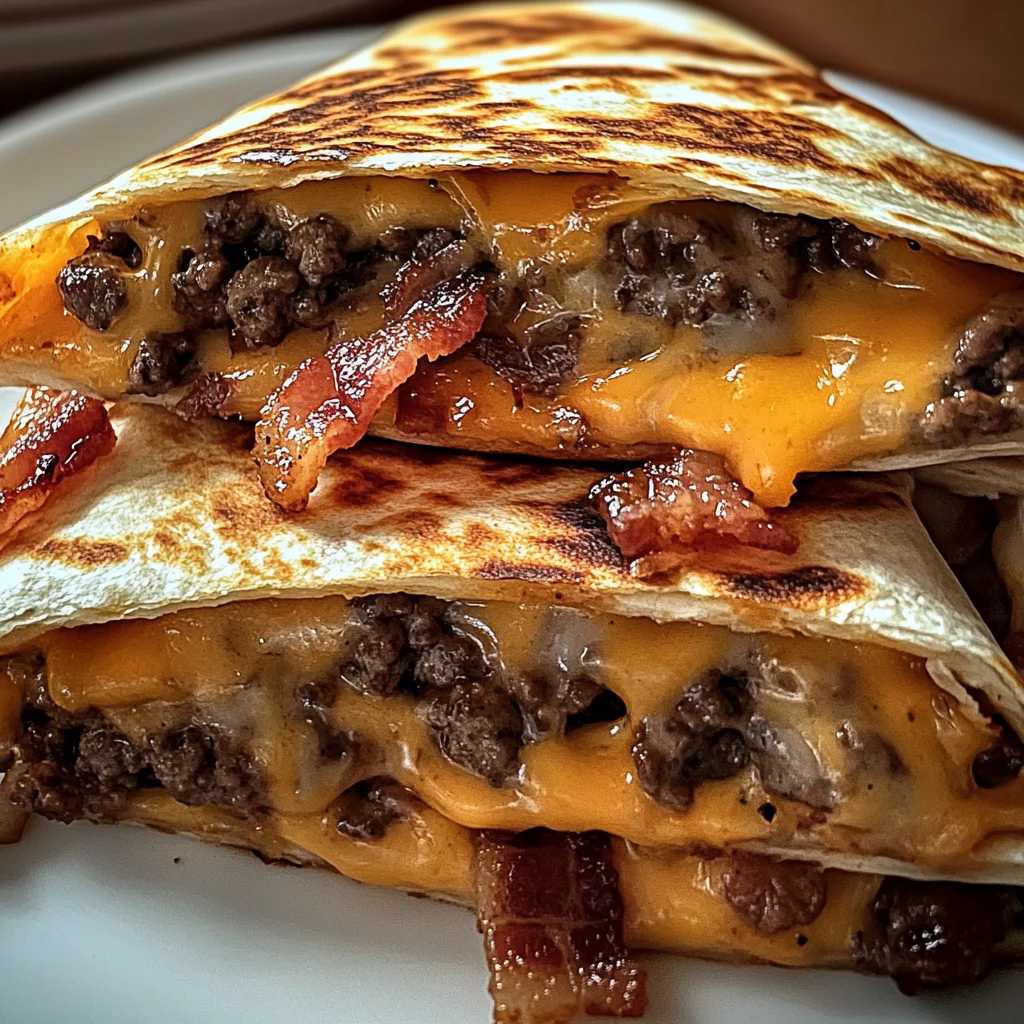
Step 7: Slice and Serve! Carefully remove the hot quesadillas from the skillet. Let them rest for just a minute or two (that cheese is hot!). Then, grab a sharp knife or a pizza cutter and slice them into wedges. Serve immediately while they’re warm and wonderful!
Substitutions & Additions
This recipe is super flexible! Here are a few ideas to make it your own:
- Cheese Swap: Not a cheddar fan? Try Monterey Jack, Pepper Jack for a little kick, or even a classic American cheese blend.
- Spice It Up: Add a pinch of red pepper flakes to the beef mixture for a little heat.
- Veggie Boost: Sauté some finely diced onions and bell peppers with the beef.
- Sauce It: A drizzle of smoky BBQ sauce or even a little sriracha ranch could be fun inside or for dipping!
- Different Meat: Ground turkey could work, though you’ll lose some of that classic burger richness.
Tips for Success
A few little pointers to make sure your quesadillas turn out perfectly:
- Drain That Grease: Don’t skip draining the ground beef. Too much grease will make your quesadillas soggy instead of crispy.
- Don’t Overfill: It’s tempting to pile everything in, but too much filling makes folding difficult and can cause cheese to ooze out everywhere (unless you like that!). Stick to the suggested amount.
- Medium Heat is Key: Cooking on heat that’s too high will burn the tortilla before the cheese melts. Medium heat ensures everything is cooked through and melty without burning.
- Crispy Bacon Wins: Make sure your bacon is nice and crispy before crumbling it in. It adds a great texture contrast.
- Prep Ahead: You can cook the ground beef and bacon mixture ahead of time and store it in the fridge. When you’re ready, just reheat it gently and assemble the quesadillas!
How to Store It
If you happen to have any leftovers (a rare occurrence in my house!), here’s how to keep them:
- Cool First: Let the quesadillas cool completely before storing.
- Airtight Container: Store cooled quesadilla wedges in an airtight container in the refrigerator for up to 2-3 days.
- Reheating: The best way to reheat is in a dry skillet or a toaster oven to get that crispy texture back. Microwaving works in a pinch, but they might be a little softer.
FAQs
Got questions? I’ve got answers!
Q: Can I make these smaller?
A: Absolutely! You could use smaller tortillas or even cut larger ones before cooking if you’re careful, though folding is easiest with large ones. You could also try mini street-taco size tortillas for sliders!
Q: What should I serve with these?
A: They’re great on their own! But if you want sides, think classic burger accompaniments: French fries (or sweet potato fries!), a simple side salad, coleslaw, or even just some extra pickles and ketchup for dipping.
Q: Is real maple syrup necessary?
A: I highly recommend real maple syrup for the best flavor, but in a pinch, you could use a few drops of maple extract mixed with a little simple syrup, or just skip the maple if it’s not your thing (though you’ll lose that unique twist!).

Easy Maple Bacon Cheeseburger Bomb Quesadillas
Ingredients
Equipment
Method
- Step 1: Get a large skillet nice and hot over medium-high heat. Toss in your ground beef and cook it until it's all browned up. Once it's cooked through, drain off any excess grease.
- Step 2: Now that the beef is browned, stir in the garlic powder, onion powder, salt, and pepper. Let that cook for just about a minute, stirring often.
- Step 3: Reduce the heat a little if needed. Stir in your cooked, crumbled bacon and that beautiful maple syrup. Mix everything gently until the beef is evenly coated in that sweet and savory glaze.
- Step 4: Lay your flour tortillas out flat on a clean surface. On ONE half of each tortilla, layer: first, half of your cheese, then half of the beef and bacon mixture, and finally, the remaining cheese right on top. Add any optional toppings inside now.
- Step 5: Heat up a large skillet or griddle over medium heat. Melt a little butter or give it a spritz of cooking spray. Carefully fold the empty half of each tortilla over the filling, creating a half-moon shape. Place the assembled quesadillas into the warm skillet.
- Step 6: Cook for about 2-3 minutes on each side. You're looking for that lovely golden brown color on the outside and perfectly melted, gooey cheese on the inside.
- Step 7: Carefully remove the hot quesadillas from the skillet. Let them rest for just a minute or two. Then, grab a sharp knife or a pizza cutter and slice them into wedges. Serve immediately while they're warm and wonderful!