Ingredients
Equipment
Method
- Step 1: Grab your trusty blender and toss in the frozen banana, your choice of milk, and the honey or maple syrup. Pulse and blend until it’s perfectly smooth and wonderfully creamy. You want it thick enough to eat with a spoon, not drink through a straw, so be patient and scrape down the sides if needed.
- Step 2: Once your smoothie base is just right, gently pour it into your favorite serving bowl. I love using a wide, shallow bowl so I have plenty of surface area for all those yummy toppings!
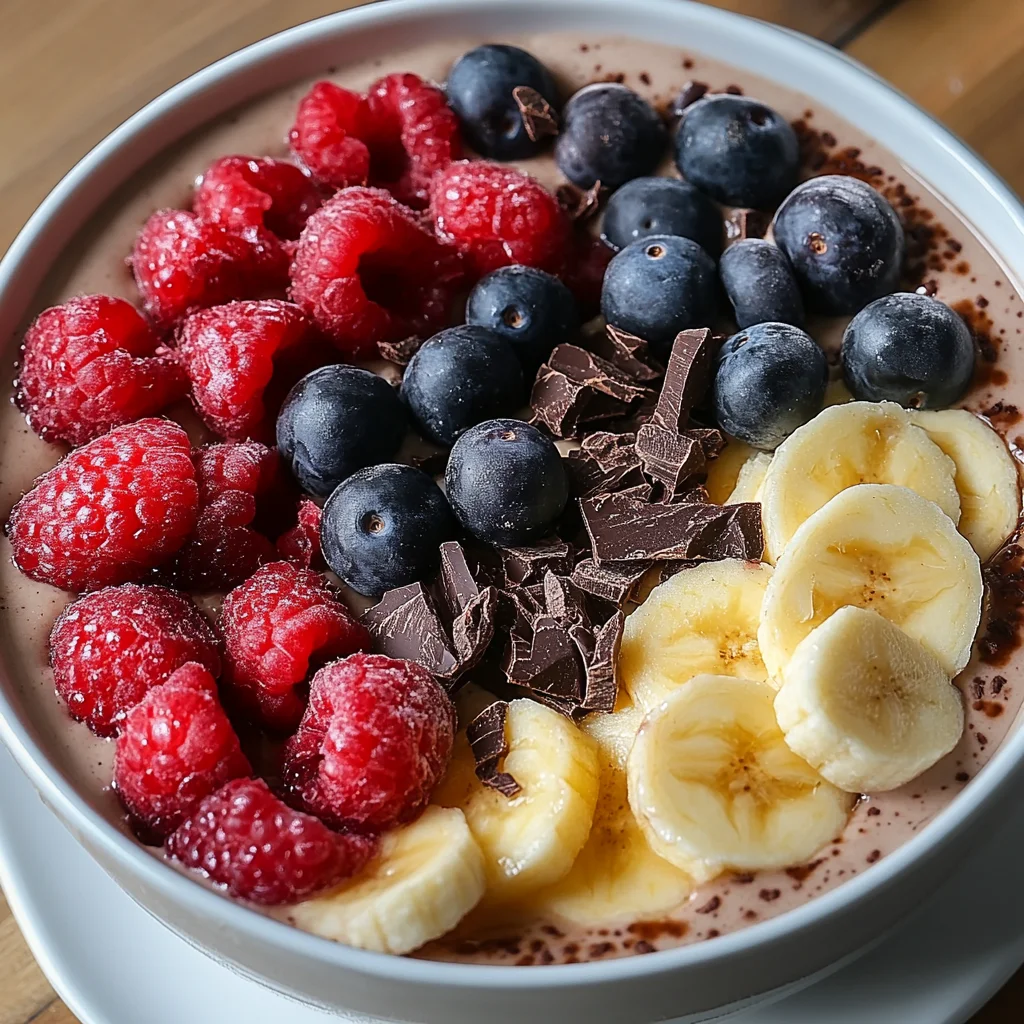
- Step 3: Now for the fun part – the art of topping! Carefully arrange your sliced strawberries, blueberries, and raspberries on top of the creamy smoothie. Get creative with your design!
- Step 4: Sprinkle the shaved dark chocolate over your beautifully arranged fruit. The little flecks of chocolate are like tiny treasures in every bite.
- Step 5: Finally, take your spoon and drizzle that luscious peanut butter all over. A little swirl, a few lines, whatever feels right. This adds a fantastic richness that pulls everything together. Enjoy it immediately!
Notes
This recipe is highly adaptable! Swap fruits like kiwi, mango, or pineapple, or change the liquid to Greek yogurt or coconut water. For alternative sweeteners, try agave nectar or dates. Boost nutrition and crunch with granola, chia seeds, flax seeds, shredded coconut, or chopped nuts. You can even add a handful of spinach for extra greens.
For the best thickness, always use a frozen banana and add liquid gradually. Smoothie bowls are best enjoyed immediately after assembling for optimal texture and flavor. You can blend the smoothie base the night before and store it in an airtight container in the fridge for 1-2 days, or freeze for up to 1 month. Thaw slightly or re-blend with a splash more milk if needed. Always add fresh toppings just before serving.