Ingredients
Equipment
Method
- Step 1: Get your pan ready: First things first, grab an 8x8-inch baking dish. Line it with parchment paper or foil, leaving a little extra hanging over the sides. This is going to be your best friend when it's time to lift the fudge out and cut it. Trust me on this!
- Step 2: Melt the good stuff: In a medium saucepan, combine your semi-sweet chocolate chips and the can of sweetened condensed milk. Place this over low heat. This is important! Low and slow is the way to go to prevent the chocolate from scorching. Stir continuously with a spatula or wooden spoon until everything is completely melted and smooth as can be. It will be thick and glossy.
- Step 3: Stir in the flavor: Once the chocolate and milk are smooth, remove the pan from the heat. Stir in the vanilla extract and that little pinch of salt. Give it a good stir to make sure it's all mixed in.
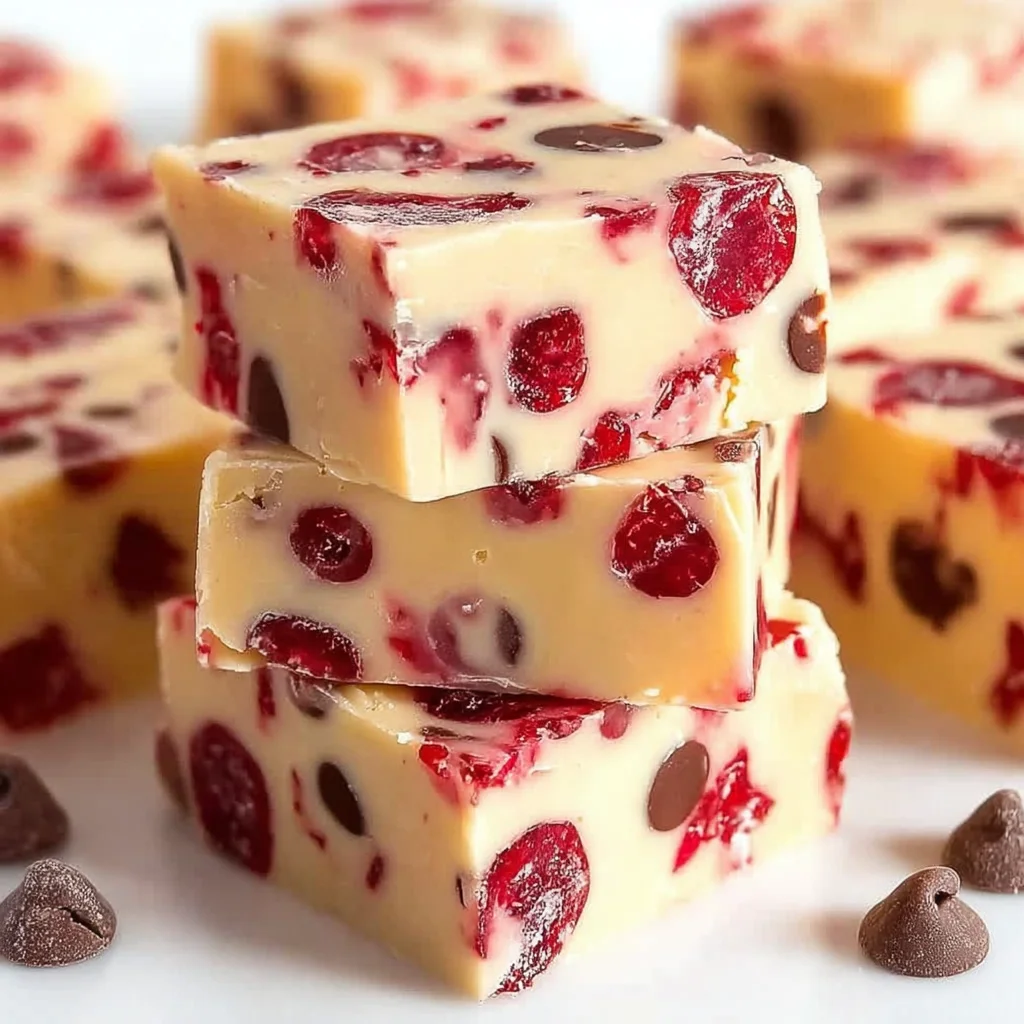
- Step 4: Add the mix-ins: Now for the stars of the show – the cherries and walnuts! Gently fold the chopped cherries and walnuts (if you're using them) into the chocolate mixture. Stir just until they're evenly distributed throughout the fudge. Don't overmix!
- Step 5: Pour and smooth: Pour the glorious mixture into your prepared 8x8-inch pan. Use a spatula to spread it out evenly and smooth the top. Give the pan a gentle tap or two on the counter. This helps settle the fudge and gets rid of any sneaky air bubbles.
- Step 6: Chill out: Pop the pan into the refrigerator. Let it chill for at least 2 hours, or until it's completely firm. You can even leave it overnight if you're making it ahead. Patience is a virtue here, but it's worth it!
- Step 7: Cut and enjoy! Once the fudge is set, use the parchment paper or foil overhang to lift the entire block of fudge out of the pan. Place it on a cutting board. Use a sharp knife to cut it into squares. I usually go for 1-inch squares, but you can make them whatever size you like!
Notes
Keep the heat on low when melting the chocolate and condensed milk to prevent scorching. Make sure maraschino cherries are really well-drained and patted dry before chopping and adding them. Lining the pan is non-negotiable for easy removal. For clean cuts, use a sharp knife; you can run it under hot water and dry it between cuts. Store cut fudge in an airtight container, layering with parchment paper if stacking. It keeps well in the refrigerator for up to 2 weeks or at room temperature for about a week. It freezes beautifully for 2-3 months.