Ingredients
Equipment
Method
- Step 1: Prepare an 8x8-inch square baking pan by lining it with parchment paper, leaving some overhang on the sides for easy lifting.
- Step 2: Set up a double boiler: place a heat-safe bowl over a pot of simmering water on medium-low heat, ensuring the bottom of the bowl does not touch the water.
- Step 3: Add white chocolate chips and vanilla frosting to the top bowl of the double boiler. Stir gently every couple of minutes until the mixture is completely smooth and glossy, about 8-10 minutes. Remove the bowl from heat.
- Step 4: Divide the melted chocolate and frosting mixture equally into three separate bowls.
- Step 5: To the first bowl, add the red gel food coloring and stir until a vibrant red color is achieved.
- Step 6: To the second bowl, add the green gel food coloring and stir until a lovely, deep green color is achieved. The third bowl will remain white.
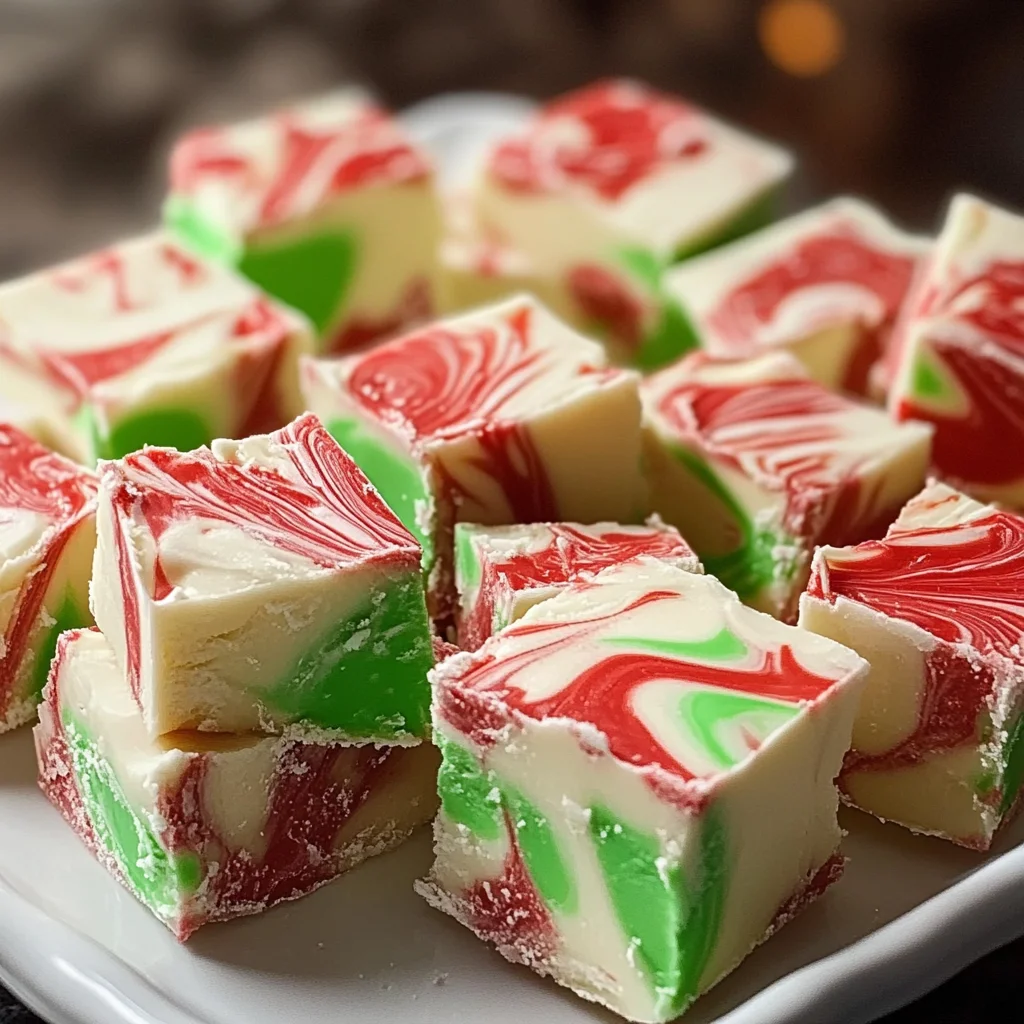
- Step 7: Using a large spoon, randomly dollop about 2 tablespoons of each colored mixture into the prepared pan, alternating colors as you go.
- Step 8: Once all the chocolate is in the pan, use a butter knife to gently swirl the colors together, creating wavy patterns without fully mixing them.
- Step 9: Place the fudge into the refrigerator, uncovered, for 1-2 hours, or until it is completely firm and set.
- Step 10: Once firm, lift the fudge out of the pan using the parchment paper overhangs. Let it sit at room temperature for about 20 minutes before slicing into delightful squares with a large, sharp knife. Serve immediately.
Notes
Substitutions & Additions: You can swap white chocolate chips for semi-sweet or dark chocolate (colors won't be as vibrant). Add a few drops of peppermint or almond extract with the food coloring for different flavors. Before chilling, sprinkle with festive sprinkles, crushed candy canes, mini chocolate chips, chopped nuts, mini marshmallows, or press holiday M&M’s into the top.
Tips for Success: Avoid overheating the chocolate mixture, especially if using a microwave; the double boiler method is ideal for gentle melting. Always use gel food coloring, as liquid coloring can alter the fudge's texture. Don't rush the chilling process for perfectly set fudge. For clean cuts, use a hot, sharp knife, wiping it between slices.
Storage: Store in an airtight container at room temperature for 3-5 days, or in the refrigerator for 1-2 weeks. For longer storage, freeze individual pieces or blocks tightly wrapped for 2-3 months; thaw overnight in the refrigerator or at room temperature for a few hours.