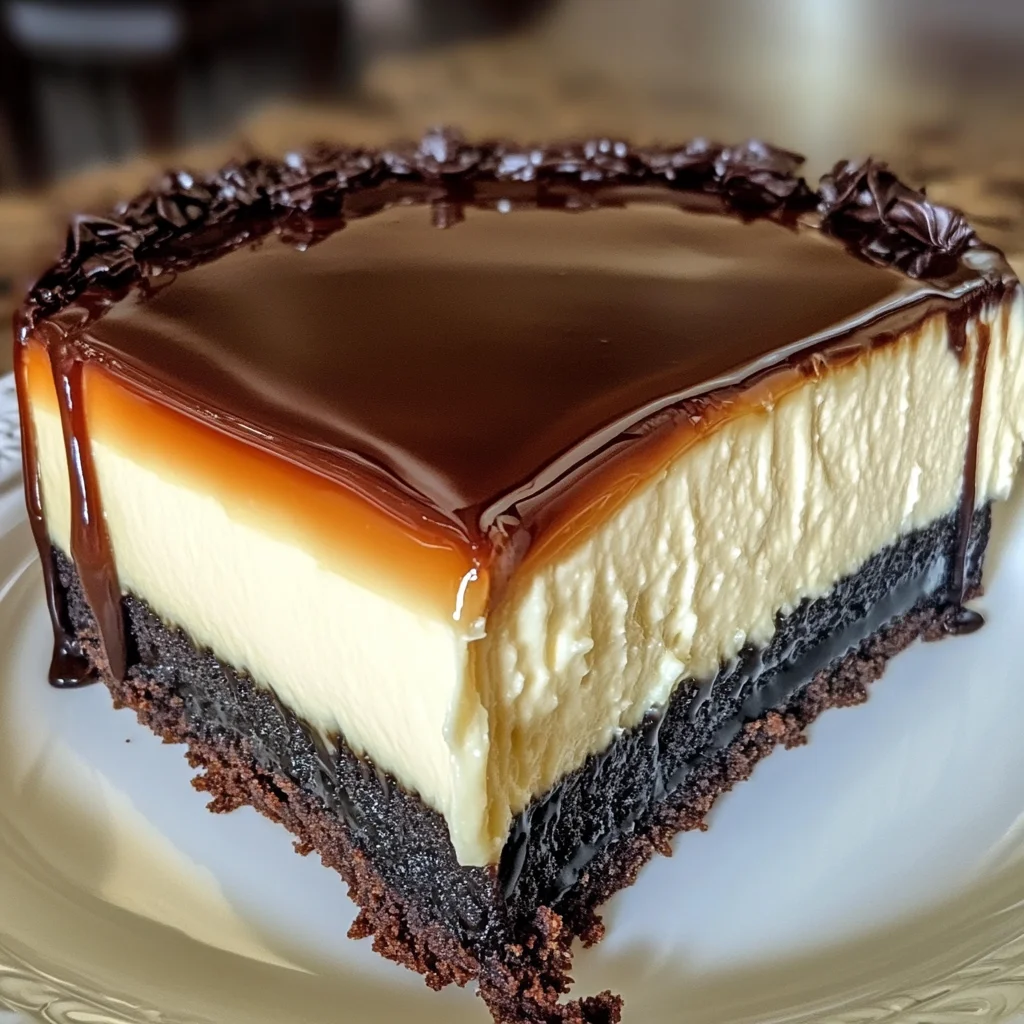
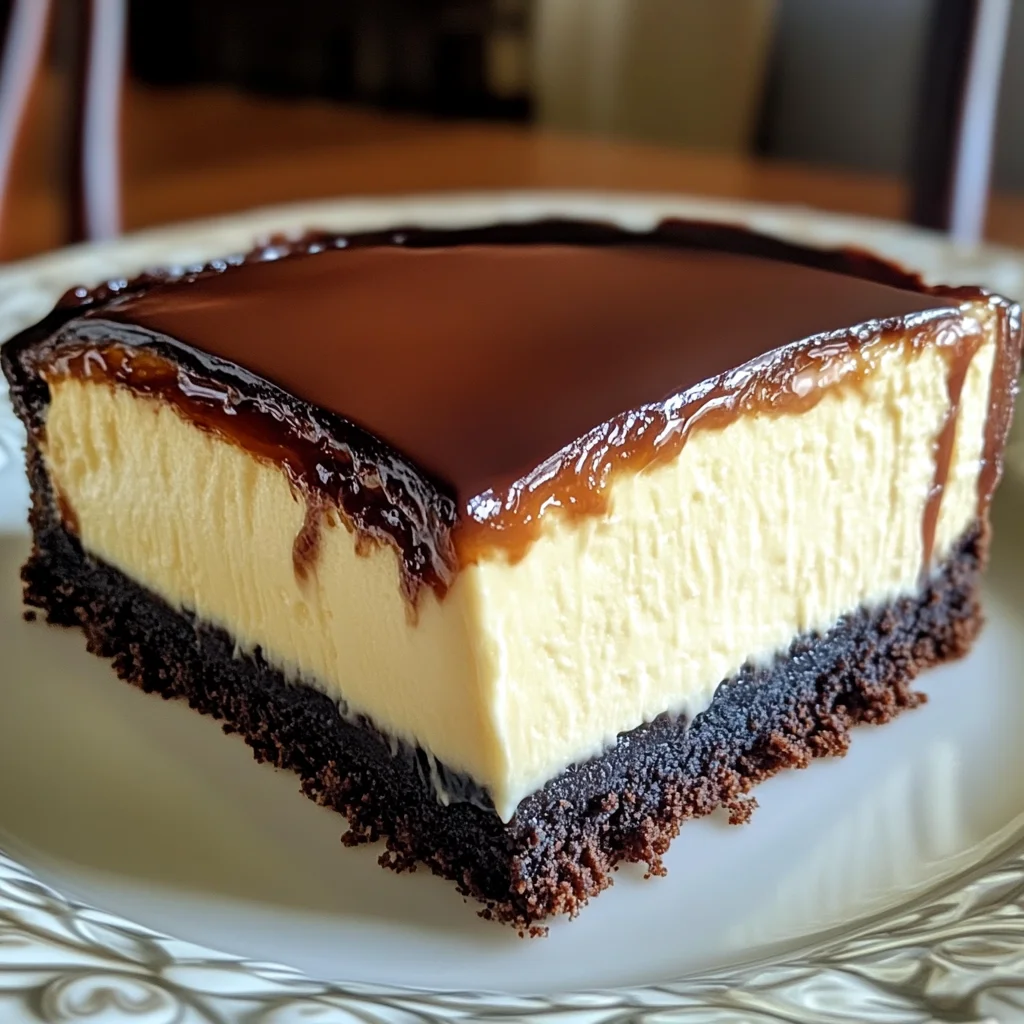
Hey there, baking buddies! Do you ever get that craving for something truly special, something that feels both classic and completely indulgent? For me, it’s often tied to warm, comforting memories – maybe a fancy slice of cake from a special occasion bakery, or a decadent dessert shared with loved ones. This Boston Cream Cheesecake? It’s exactly that kind of recipe. It takes the beloved flavors of a classic Boston cream pie and marries them with the creamy luxury of a perfect cheesecake. Now, I know what you might be thinking – “Cheesecake AND Boston Cream AND Cake?! Isn’t that complicated?” And while yes, there are a few components, I promise you, each step is totally manageable, and the result is so spectacular, it’s absolutely worth it. It’s the kind of dessert that earns you rave reviews, makes birthdays extra special, or just turns a regular Tuesday into a celebration. Let’s make some magic!
Why You’ll Love This Recipe
- Fast-ish: Okay, it takes time for chilling, but the active steps are totally doable and spread out.
- Easy: While layered, none of the individual steps are difficult. It’s beginner-friendly!
- Giftable: Show up with this, and you’ll be everyone’s favorite person.
- Crowd-pleasing: Seriously, who doesn’t love vanilla cake, creamy custard, rich cheesecake, AND chocolate ganache?
Ingredients
Gather ’round! Here’s what you’ll need to create this masterpiece. Think of these as your building blocks to dessert heaven.
- For the Vanilla Cake Base:
- 56g (¼ cup) unsalted butter, softened: Make sure it’s nice and soft for creaming!
- 100g (½ cup) granulated sugar: Just enough sweetness for our base.
- 60g (¼ cup) sour cream, at room temperature: Adds moisture and a lovely tang.
- 2 tsp pure vanilla extract: Go for the good stuff!
- 1 large egg: Our binder for the cake.
- 100g (¾ cup) all-purpose flour: The foundation of our cake layer.
- 1 tsp baking powder: Helps the cake rise and be tender.
- 60ml (¼ cup) whole milk, at room temperature: For a tender crumb.
- For the Creamy Cheesecake Layer:
- 680g (24 oz) full-fat cream cheese, softened: This is key for a smooth, rich cheesecake. Make sure it’s really soft!
- 3 tbsp all-purpose flour: Helps prevent cracks and adds stability.
- 150g (¾ cup) granulated sugar: Sweetness for the cheesecake.
- 2 tsp pure vanilla extract: More vanilla goodness!
- 1 tsp fine sea salt: Balances the sweetness.
- 120g (½ cup) sour cream, at room temperature: Adds creaminess and that signature tang.
- 300ml (1¼ cups) heavy whipping cream, chilled: Makes the cheesecake extra luxurious.
- 4 large eggs, at room temperature: Make sure they’re not cold! This helps prevent overmixing.
- For the Luxurious Boston Cream Filling:
- 3 egg yolks: For richness and thickening.
- 70g (⅓ cup) granulated sugar: Sweetens the custard.
- 30g (2½ tbsp) cornstarch: Our thickener for that perfect pudding texture.
- 360ml (1½ cups) whole milk: The base of our pastry cream.
- 21g (1½ tbsp) unsalted butter: Adds silkiness and flavor.
- 1½ tsp pure vanilla extract: Essential for Boston cream flavor.
- For the Decadent Chocolate Ganache Topping:
- 170g (1 cup) semi-sweet chocolate chips or chopped chocolate: Use good quality chocolate for the best results!
- 120ml (½ cup) heavy whipping cream: Creates that glossy, pourable ganache.
How to Make It
Okay, deep breaths! We’re going to tackle this layer by layer. Think of it as a fun project, and remember, the result is totally worth it.
Step 1: Prepare the Cake Base
Let’s start with the foundation! 1. Preheat your oven to 175°C (350°F). Get an 8-inch springform pan ready by lining the bottom with parchment paper and giving the sides a good grease. This helps it release easily later. 2. In a mixing bowl, cream together that softened butter and sugar. Beat it for about 4 minutes until it’s really light and fluffy – this incorporates air and makes the cake tender. 3. Add in the sour cream, milk, and vanilla, mixing them in well. Then, beat in the single large egg until everything is perfectly combined. 4. Gently fold in your flour and baking powder. Be careful not to overmix here; just mix until you don’t see any dry streaks. 5. Pour this lovely batter into your prepared pan and pop it in the oven. Bake for about 25 minutes, or until you can stick a toothpick in the center and it comes out clean. 6. Once it’s baked, let it cool completely in the pan. You don’t want to add cheesecake batter to a warm cake!
Step 2: Create the Cheesecake Layer
Now for the star! 1. Reduce your oven temperature down to a mellow 150°C (300°F). 2. In a large bowl, using a low speed on your mixer (low speed is key for smooth cheesecake!), beat the softened cream cheese, sugar, flour, salt, and vanilla until it’s wonderfully smooth and there are no lumps. Scrape down the sides often! 3. Add the sour cream and heavy cream, mixing again on low speed just until they are fully incorporated. 4. Now, add the eggs, one at a time. Mix just until the yolk disappears after each addition. Don’t overmix the eggs – too much air can cause cracks. 5. Pour this creamy cheesecake batter right over your cooled cake layer in the springform pan. 6. This next part is important for preventing cracks: the water bath! Place your springform pan inside a larger roasting pan. Carefully pour hot water into the larger pan, making sure it comes about halfway up the sides of the cheesecake pan. 7. Gently slide this whole setup into your preheated oven. Bake for approximately 90 minutes. The center should look almost set, maybe a little jiggly still, but the edges should be firm. 8. Once the time is up, turn off the oven but leave the cheesecake inside with the door slightly ajar for about 10 minutes. This gentle cooling helps prevent drastic temperature changes that can lead to cracks. 9. Carefully remove the cheesecake from the water bath. Use a small knife to gently run it around the edge of the pan to help loosen the cheesecake. 10. Let it cool at room temperature for 1-2 hours before the most important step: refrigerating it! It needs to chill, preferably overnight, to set up properly. Patience is a virtue here, my friend!
Step 3: Make the Boston Cream Filling
While the cheesecake chills, let’s whip up that gorgeous pastry cream! 1. In a medium saucepan (off the heat for a sec), whisk together the egg yolks, sugar, and cornstarch until you have a smooth paste. 2. Gradually whisk in the whole milk, a little bit at a time, until it’s all incorporated and smooth. 3. Place the saucepan over medium heat and start stirring constantly. Don’t stop stirring! Pay special attention to the bottom and edges of the pan. 4. Keep stirring until the mixture comes to a boil. Once it’s boiling, continue to cook and stir vigorously for another 2-3 minutes. This ensures the cornstarch is fully cooked and the filling is thick and stable. 5. To get that super smooth texture, strain the hot filling through a fine-mesh sieve into a clean bowl. This catches any little bits of cooked egg or cornstarch clumps. 6. Stir in the butter and vanilla until the butter is completely melted and combined. 7. The key to preventing a skin from forming is to cover the surface of the filling directly with plastic wrap. Press the wrap right onto the surface. Chill this beautiful pastry cream until it’s nice and cold and ready to use.
Step 4: Prepare the Chocolate Ganache
Let’s make the perfect chocolate topping! 1. Put your chocolate chips or chopped chocolate into a heatproof bowl. 2. Heat the heavy cream in a small saucepan or microwave until it’s just simmering – you’ll see tiny bubbles around the edge, but you don’t want a rolling boil. 3. Pour the hot cream right over the chocolate. Don’t stir yet! Let it sit for 2-3 minutes. This gives the hot cream time to melt the chocolate. 4. Now, starting from the center and working your way out, gently stir the mixture until it becomes completely smooth, glossy, and luscious. 5. Let the ganache cool slightly. You want it to thicken up a bit so it coats nicely and doesn’t just run everywhere, but still be pourable. It should be like a thick, drizzly syrup.
Step 5: Assemble the Cheesecake
The grand finale! 1. Take your well-chilled cheesecake out of the refrigerator. 2. Spread the equally well-chilled Boston cream filling evenly over the top of the cheesecake layer. 3. Pop it back into the refrigerator for about 10 minutes. This helps the pastry cream set up slightly before we add the ganache. 4. Now, pour that beautiful, slightly cooled ganache over the top. You can carefully spread it or tilt the pan slightly to let it drizzle down the sides – totally up to you! 5. Return the finished masterpiece to the refrigerator for at least another 2 hours to let the ganache set up completely. Then, slice and enjoy the fruits of your labor!
Substitutions & Additions
Want to play around? Here are a few ideas:
- Chocolate Cake Base: Swap out a couple of tablespoons of flour in the cake base for unsweetened cocoa powder for a chocolate cake layer.
- Different Ganache: Use dark chocolate for a more intense flavor or milk chocolate for a sweeter, creamier ganache.
- Add Berries: Garnish slices with fresh raspberries or strawberries – they pair wonderfully with the Boston cream flavors.
- Almond Extract: A tiny splash (maybe 1/4 tsp) of almond extract can be added to the cake base or pastry cream for a subtle nutty note.
Tips for Success
Making a cheesecake might seem intimidating, but these tips will help you nail it!
- Room Temperature Ingredients: This is crucial, especially for the cream cheese, sour cream, and eggs in the cheesecake layer. Cold ingredients don’t mix smoothly and can lead to lumps or cracking.
- Don’t Overmix: For both the cake and especially the cheesecake, stop mixing as soon as ingredients are combined. Overmixing develops gluten in the flour and incorporates too much air into the cheesecake, which can cause it to crack.
- Water Bath is Your Friend: Seriously, don’t skip the water bath for the cheesecake. It creates a humid environment that helps the cheesecake bake evenly and prevents those dreaded cracks.
- Chill, Chill, Chill: Allow plenty of time for the cheesecake to cool slowly and then chill thoroughly in the refrigerator. This is essential for it to set properly.
- Prevent Pastry Cream Skin: Covering the pastry cream directly with plastic wrap right after straining is the best way to avoid a skin forming on top as it cools.
- Prep Ahead: You can make the cake base a day ahead. The pastry cream and ganache can also be made the day before you plan to assemble and serve. Just make sure everything is well-chilled.
How to Store It
Once assembled, this Boston Cream Cheesecake needs to be stored in the refrigerator. Keep it covered loosely with plastic wrap or in an airtight container. It will stay delicious for 3-4 days. If you need to stack things in the fridge, make sure the covering isn’t touching the ganache! You can also slice individual servings and store them in airtight containers.
FAQs
- Can I make this cheesecake without a springform pan?
No, a springform pan is essential for easily releasing the cheesecake with its layers intact. - My cheesecake cracked! What went wrong?
Common culprits are overmixing, not using a water bath, cooling too quickly (taking it out of the oven too soon or putting it in the fridge warm), or oven temperature fluctuations. But hey, don’t worry! The Boston cream filling and ganache will cover any cracks anyway! - Can I freeze Boston Cream Cheesecake?
Yes, you can freeze baked cheesecake. It’s best to freeze it before adding the Boston cream filling and ganache. Let the baked cheesecake cool completely, then wrap it tightly in plastic wrap and then foil. Thaw in the refrigerator overnight. You can then make and add the filling and ganache. - Why is my Boston cream filling lumpy?
This usually happens if the cornstarch wasn’t whisked smoothly with the egg yolks and sugar initially, or if you didn’t stir constantly while cooking. Straining it through a fine-mesh sieve (Step 3.5) should fix most lumps!
Decadent Homemade Boston Cream Cheesecake: A Dream Dessert!
Ingredients
Equipment
Method
- Step 1: Prepare the Cake Base1. Preheat your oven to 175°C (350°F). Get an 8-inch springform pan ready by lining the bottom with parchment paper and giving the sides a good grease. 2. In a mixing bowl, cream together softened butter and sugar. Beat it for about 4 minutes until light and fluffy. 3. Add in the sour cream, milk, and vanilla, mixing them in well. Then, beat in the single large egg until perfectly combined. 4. Gently fold in your flour and baking powder. Do not overmix. 5. Pour batter into prepared pan and bake for about 25 minutes, or until a toothpick comes out clean. 6. Once baked, let it cool completely in the pan.
- Step 2: Create the Cheesecake Layer1. Reduce oven temperature down to 150°C (300°F). 2. In a large bowl, using a low speed on your mixer, beat softened cream cheese, sugar, flour, salt, and vanilla until smooth. Scrape down the sides often. 3. Add the sour cream and heavy cream, mixing again on low speed just until fully incorporated. 4. Add the eggs, one at a time. Mix just until the yolk disappears after each addition. Do not overmix. 5. Pour cheesecake batter over your cooled cake layer in the springform pan. 6. Place springform pan inside a larger roasting pan. Carefully pour hot water into the larger pan, making sure it comes about halfway up the sides of the cheesecake pan. 7. Gently slide this whole setup into your preheated oven. Bake for approximately 90 minutes. The center should look almost set, maybe a little jiggly still, but the edges should be firm. 8. Once baked, turn off the oven but leave the cheesecake inside with the door slightly ajar for about 10 minutes. 9. Carefully remove the cheesecake from the water bath. Use a small knife to gently run it around the edge of the pan. 10. Let cool at room temperature for 1-2 hours before refrigerating it, preferably overnight, to set up properly.
- Step 3: Make the Boston Cream Filling1. In a medium saucepan (off the heat), whisk together egg yolks, sugar, and cornstarch until a smooth paste. 2. Gradually whisk in the whole milk until all incorporated and smooth. 3. Place saucepan over medium heat and stir constantly until mixture comes to a boil. Once boiling, continue to cook and stir vigorously for another 2-3 minutes until thick. 4. Strain the hot filling through a fine-mesh sieve into a clean bowl. 5. Stir in the butter and vanilla until completely melted and combined. 6. Cover the surface of the filling directly with plastic wrap. Chill until cold.
- Step 4: Prepare the Chocolate Ganache1. Put chocolate chips or chopped chocolate into a heatproof bowl. 2. Heat heavy cream in a small saucepan or microwave until just simmering. 3. Pour hot cream right over the chocolate. Let it sit for 2-3 minutes. 4. Starting from the center, gently stir the mixture until completely smooth, glossy, and luscious. 5. Let the ganache cool slightly to thicken up but still be pourable.
- Step 5: Assemble the Cheesecake1. Take your well-chilled cheesecake out of the refrigerator. 2. Spread the equally well-chilled Boston cream filling evenly over the top of the cheesecake layer. 3. Pop it back into the refrigerator for about 10 minutes. 4. Pour the slightly cooled ganache over the top. You can carefully spread it or tilt the pan slightly. 5. Return the finished masterpiece to the refrigerator for at least another 2 hours to let the ganache set up completely. Then, slice and enjoy.