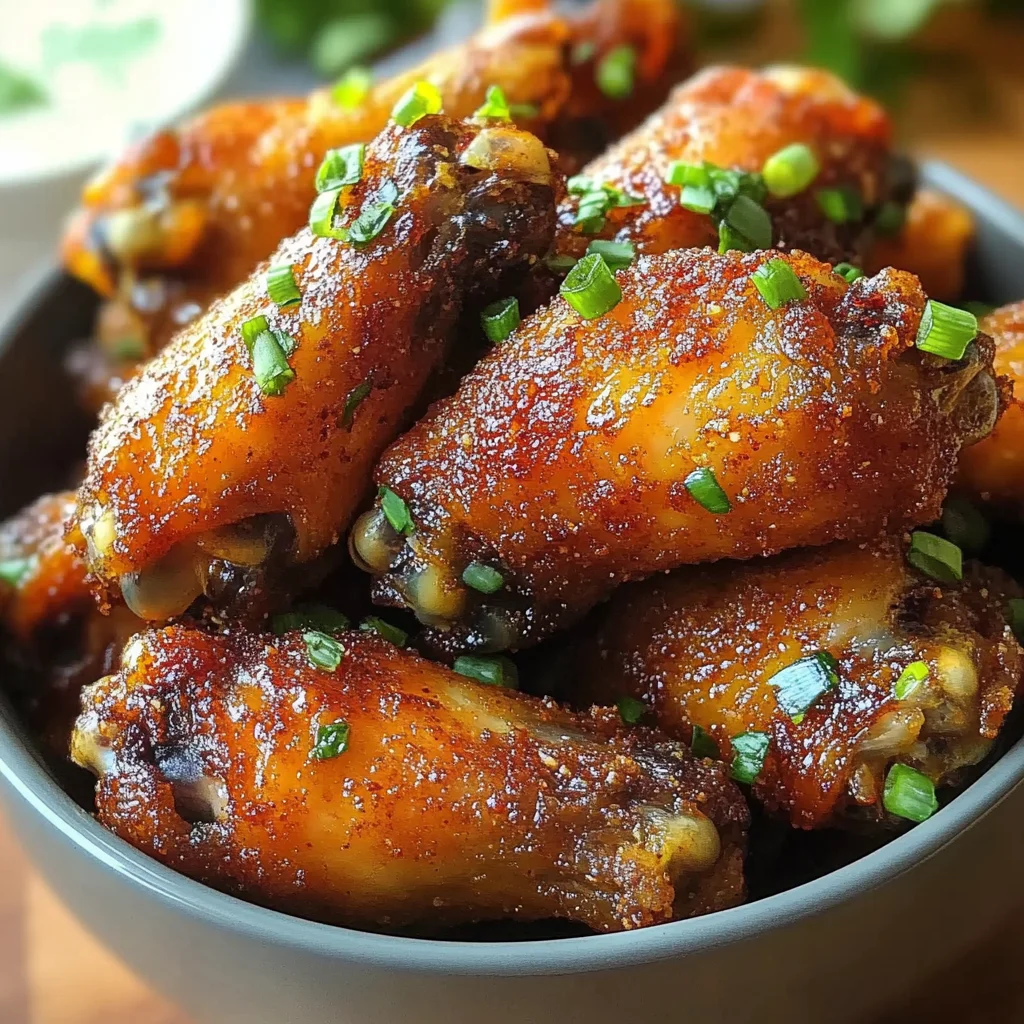
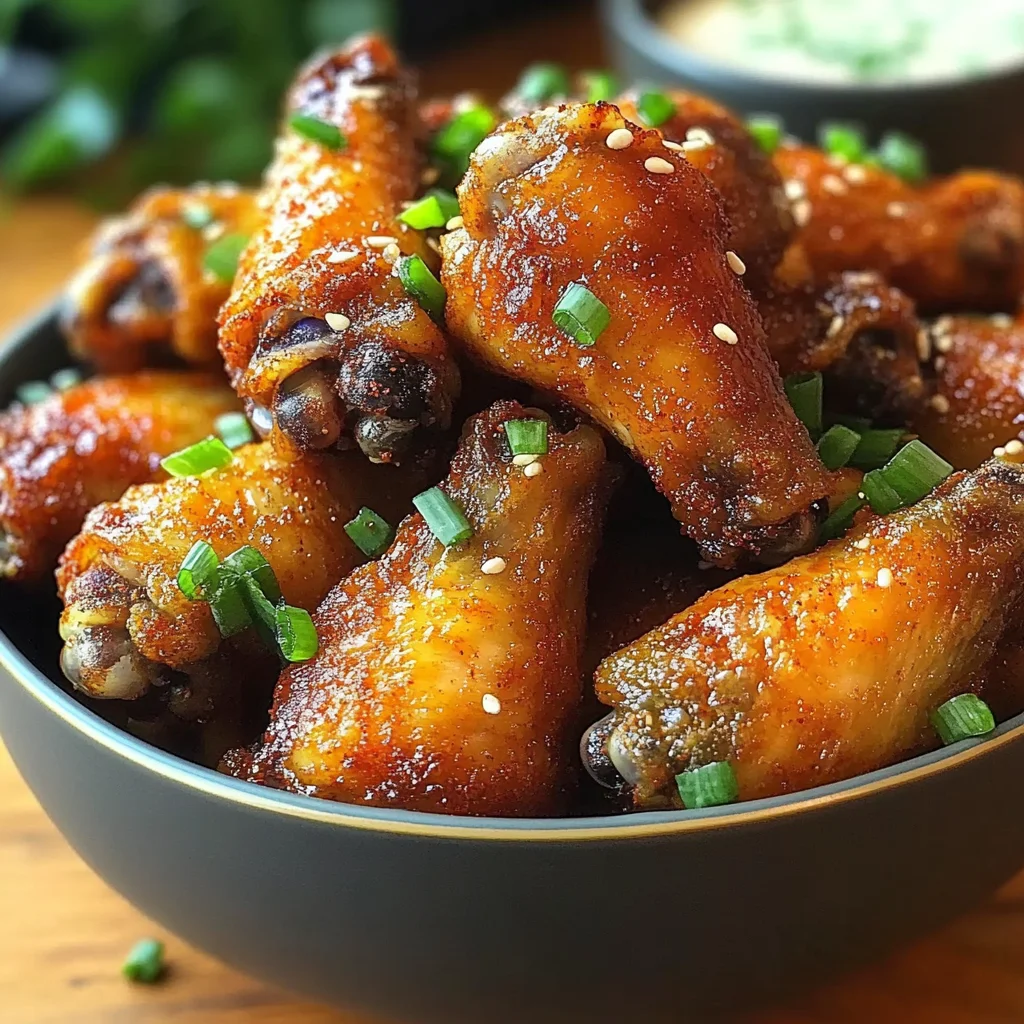
Oh my goodness, friends, let’s talk chicken wings! There’s just something undeniably comforting and exciting about a big platter of crispy wings, isn’t there? Maybe it brings back memories of game nights with friends piled on the couch, or maybe it’s just the simple joy of biting into that perfectly crunchy skin followed by juicy meat. For the longest time, I thought truly crispy wings were only possible in a deep fryer, and honestly, who wants to deal with all that oil at home? But I discovered a little secret that makes incredibly crispy, flavor-packed wings right in your oven, with zero fuss. Get ready for these Crispy Baked Dry Rub Chicken Wings – they are ridiculously easy, come together fast, and trust me, they disappear even faster!
Why You’ll Love This Recipe
- Fast: Minimal prep means more time for snacking (or cheering on your team!).
- Easy: No fancy techniques or deep frying needed. Simple steps for perfect results every time.
- Giftable: Okay, maybe not “giftable” in the traditional sense, but they are the ultimate offering to bring to a party or gathering!
- Crowd-pleasing: Seriously, who doesn’t love a crispy chicken wing?
Ingredients
Gather ’round, let’s look at the simple heroes that make these wings magical:
- 2 lbs (900 g) chicken wings: You’ll usually find them whole, but look for “party wings” or separate them yourself into flats and drumettes. This size cooks best!
- 1 tablespoon olive oil: Just a little drizzle to help the rub stick and get things started.
- 1 tablespoon baking powder (aluminum-free): Okay, this is the real secret weapon for crispiness! Make sure it’s aluminum-free so you don’t get any weird metallic taste. It helps raise the pH of the skin, leading to better browning and crunch. Science in the kitchen!
- 1 teaspoon salt: Essential for flavor.
- 1/2 teaspoon black pepper: Freshly ground is always best!
- 1 teaspoon smoked paprika: Adds a lovely depth of flavor and a beautiful color.
- 1 teaspoon garlic powder: Because garlic makes everything better, right?
- 1/2 teaspoon onion powder: Rounds out the savory flavor profile.
- 1/2 teaspoon chili powder (optional): Gives just a hint of warmth without being overly spicy. Skip it if you prefer no heat, or add more if you like things fiery!
- 1/2 teaspoon dried thyme or oregano: Adds a little earthy, aromatic touch. Use whichever one you have on hand!
How to Make It
Alright, let’s get these wings from the bowl to crispy perfection! It’s so simple, you’ll hardly believe it.
- First things first, let’s get that oven nice and hot. Preheat your oven to 425°F (220°C). Grab a baking sheet and line it with foil – this makes clean-up so much easier, trust me. Then, place a wire rack on top of the foil-lined sheet. Lightly grease the wire rack so your precious wings don’t stick.
- This step is CRUCIAL for crispy skin: pat your chicken wings absolutely, completely dry with paper towels. Get into every nook and cranny. The drier they are, the crispier they’ll get! Place those nice and dry wings into a large bowl.
- Drizzle the olive oil over the wings. Give them a good toss to make sure each wing has a light coating.
- In a small separate bowl, mix together the baking powder and all your lovely dry seasonings: salt, black pepper, smoked paprika, garlic powder, onion powder, chili powder (if you’re using it), and dried thyme or oregano. This is your magical crisping rub!
- Sprinkle this glorious dry rub mixture over the wings in the large bowl. Now, get in there (or use tongs!) and toss, toss, toss until every single wing is evenly coated in that flavorful rub.
- Carefully arrange the coated wings in a single layer on the wire rack. Make sure they aren’t touching! Giving them space helps the air circulate, which equals maximum crispiness.
- Slide that baking sheet into your preheated oven. Bake for 25 minutes.
- After 25 minutes, pull the sheet out. Carefully flip each wing over using tongs. This ensures even cooking and crisping on both sides. Pop them back in the oven for another 20–25 minutes. Keep an eye on them during this last stretch – you’re looking for them to be beautifully golden brown and wonderfully crispy. The exact time might vary slightly depending on your oven and the size of the wings.
- Once they look perfect, take them out of the oven. I know it’s hard to wait, but let them rest on the rack for just a few minutes before serving. This lets the juices settle a bit.
And there you have it! Perfectly crispy, flavorful baked wings ready to be devoured. You can serve them as is, or with your favorite dipping sauces like ranch, blue cheese, or even some hot sauce on the side.
Substitutions & Additions
- Spice it Up: Want more heat? Add a pinch of cayenne pepper or red pepper flakes to the dry rub.
- Different Seasonings: Feel free to play with the dry rub! Try cumin, coriander, or even a pre-made poultry seasoning blend. Just keep the baking powder and salt ratios similar.
- Make them Wet: These are fantastic as dry rub wings, but once they come out of the oven, you can quickly toss them in your favorite warm sauce (like buffalo, BBQ, or a garlic-parm sauce) for a different experience. Just make sure they are super crispy before adding sauce, or they can get soggy fast.
- Add a Kick of Citrus: A squeeze of fresh lemon or lime juice over the finished wings is surprisingly delicious!
Tips for Success
- Pat Dry! Pat Dry! Pat Dry!: I know I said it before, but it’s the most important step for achieving crispy skin without frying. Don’t rush it!
- Don’t Skip the Baking Powder: It sounds weird, but aluminum-free baking powder is the magic ingredient here. It really works wonders on the skin texture.
- Use a Wire Rack: Baking directly on the sheet pan will leave the bottom of the wings soggy. The rack allows air to circulate all around, crisping every surface.
- Don’t Overcrowd: Give those wings space to breathe on the rack. If they’re too close, they’ll steam instead of crisping. If you have a lot of wings, use two baking sheets.
- Know Your Oven: Ovens vary! Keep an eye on the wings during the last 10-15 minutes of baking to ensure they reach your desired level of crispness without burning.
How to Store It
If you happen to have any leftovers (a rare occurrence in my house!), you can store these crispy baked wings. Let them cool completely, then place them in an airtight container in the refrigerator for up to 3-4 days.
To reheat, the best way to regain some crispiness is to pop them back in the oven or an air fryer at around 375°F (190°C) for 5-10 minutes until heated through and the skin crisps up again. Microwaving will heat them but they’ll lose their crisp texture.
FAQs
Got questions? I’ve got answers!
Q: Why do I need baking powder?
A: Baking powder is alkaline and helps raise the pH of the chicken skin. This process breaks down proteins and helps create tiny air bubbles, leading to a much crispier result in the oven compared to baking powder-free wings.
Q: Can I use frozen wings?
A: Yes, but you MUST thaw them completely first. Patting them dry is even more critical when starting from frozen, as they’ll have more surface moisture. Make sure they are fully thawed before starting the drying process.
Q: Can I double the recipe?
A: Absolutely! Just make sure you use enough baking sheets and racks so you can arrange the wings in a single layer without overcrowding. You might need to rotate the trays in the oven for even cooking.
Q: My wings aren’t getting crispy. What went wrong?
A: The most common culprits are not patting the wings dry enough, overcrowding the baking sheet, or not using the wire rack. Double-check those steps next time! Also, ensure your baking powder is fresh.

Crispy Baked Dry Rub Chicken Wings
Ingredients
Equipment
Method
- Step 1: Preheat your oven to 425°F (220°C). Line a baking sheet with foil and place a wire rack on top. Lightly grease the wire rack.
- Step 2: Pat chicken wings absolutely dry with paper towels. Place dry wings into a large bowl.
- Step 3: Drizzle olive oil over the wings and toss to coat lightly.
- Step 4: In a small separate bowl, mix together baking powder, salt, black pepper, smoked paprika, garlic powder, onion powder, chili powder (if using), and dried thyme or oregano.
- Step 5: Sprinkle the dry rub mixture over the wings in the large bowl. Toss until every wing is evenly coated.
- Step 6: Arrange the coated wings in a single layer on the wire rack, ensuring they aren't touching.
- Step 7: Bake for 25 minutes.
- Step 8: Carefully flip each wing over using tongs. Return to the oven and bake for another 20–25 minutes until golden brown and crispy.
- Step 9: Take the wings out of the oven and let them rest on the rack for a few minutes before serving.