Oh, my goodness, do you remember those super cool, super bouncy balls from when you were a kid? The ones that seemed to have a mind of their own, zipping across the room and making you feel like a wizard with every catch? There was just something magical about them, wasn’t there?
Well, get ready, because I’m about to let you in on a little secret: you can totally recreate that magic right in your own kitchen! This recipe for DIY Rainbow Bouncy Balls isn’t just a craft; it’s an adventure! It’s incredibly quick, uses simple household ingredients you likely already have, and creates lasting memories (and some seriously fun toys!) with your little ones. Perfect for a rainy afternoon, a birthday party activity, or just a burst of colorful, creative fun. Let’s get bouncing!
Why You’ll Love Rainbow Bouncy Balls
- Fast: From start to bounce in under 10 minutes per ball!
- Easy: Simple ingredients and straightforward steps make this a breeze.
- Giftable: Pop them into party favor bags or tie with a ribbon for a unique handmade gift.
- Crowd-pleasing: Kids (and adults!) of all ages will adore making and playing with these vibrant spheres.
Ingredients
- ½ cup warm water: Not too hot, not too cold – just a cozy warmth to help everything dissolve smoothly.
- 1 tbsp borax powder: Our secret ingredient! You can usually find this powerhouse in the laundry aisle of your grocery store.
- 2 tbsp white school glue: The classic Elmer’s white glue works perfectly here, giving our bouncy balls their core structure.
- 1 tbsp cornstarch: This helps give our bouncy balls that unique, satisfying texture and bounce!
- Food coloring or gel dye: Get creative! Liquid food coloring works, but gel dyes give you much richer, more vibrant colors.
- Glitter (optional): For an extra dose of sparkle and magic!
- Glow-in-the-dark paint (optional): Imagine your bouncy balls glowing in the dark! How cool is that for nighttime fun?
How to Make Rainbow Bouncy Balls
Ready to get started? Let’s make some magic!
- First, Your Borax Solution: Grab a cup and let’s get our magic activator ready. Pour in ½ cup of warm water – remember, just nice and warm, not boiling – and stir in 1 tablespoon of borax powder. Keep stirring until the borax is completely dissolved. This is your secret sauce for the perfect bounce!
- Next, Your Colorful Glue Mixture: In a separate cup, it’s time for the vibrant part! Combine 2 tablespoons of white school glue, 1 tablespoon of cornstarch, and a few generous drops of your chosen food coloring or gel dye. Stir it all up until you have a smooth, beautifully colored mixture. Don’t be shy with the color – the more vibrant, the better! If you’re adding glitter or glow-in-the-dark paint, now’s the time to stir those in too.
- The Moment of Magic – Combine & React: Now for the really exciting part where science meets fun! Add just ½ tablespoon of your dissolved borax solution into the colored glue mixture. Stir quickly! You’ll literally see it instantly transform, clumping together into a thick, gummy blob. It’s like magic happening right before your eyes!
- Knead, Knead, Knead!: Don’t worry if it looks a little messy or stringy at first. Take the blob out of the cup and start kneading it with your hands. This is the fun part where it really comes to life! Knead it for about 2 minutes. It will gradually become smoother and much less sticky. You’re aiming for a consistency that’s easy to handle and has a good, solid feel. If it’s still a bit too sticky, you can lightly dip your fingers in the borax solution and continue kneading, but be careful not to add too much, or your ball might become a bit brittle.
- Repeat for More Colors: To create that stunning rainbow effect, simply repeat steps 1-4 for each additional color you want to include in your bouncy ball masterpiece! Get creative with your color palette – maybe pastels, neons, or classic primary colors!
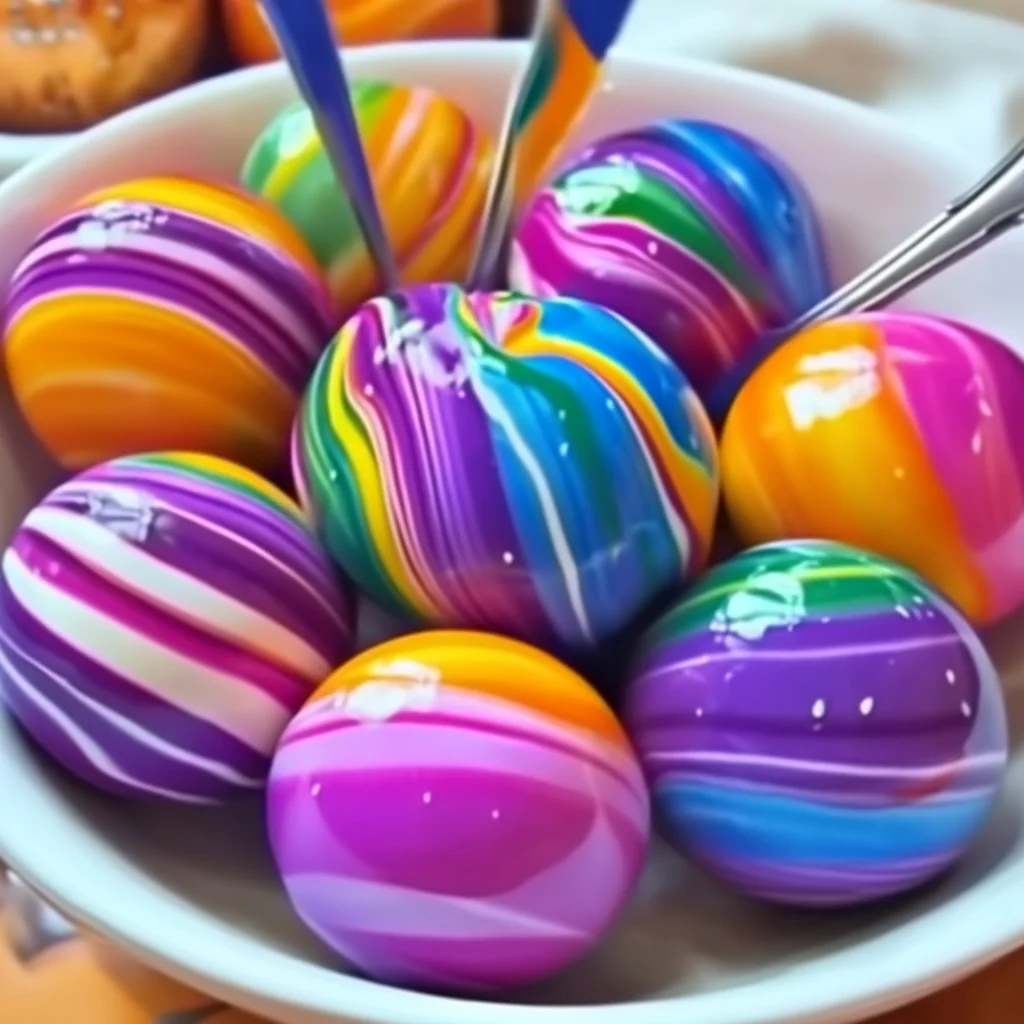
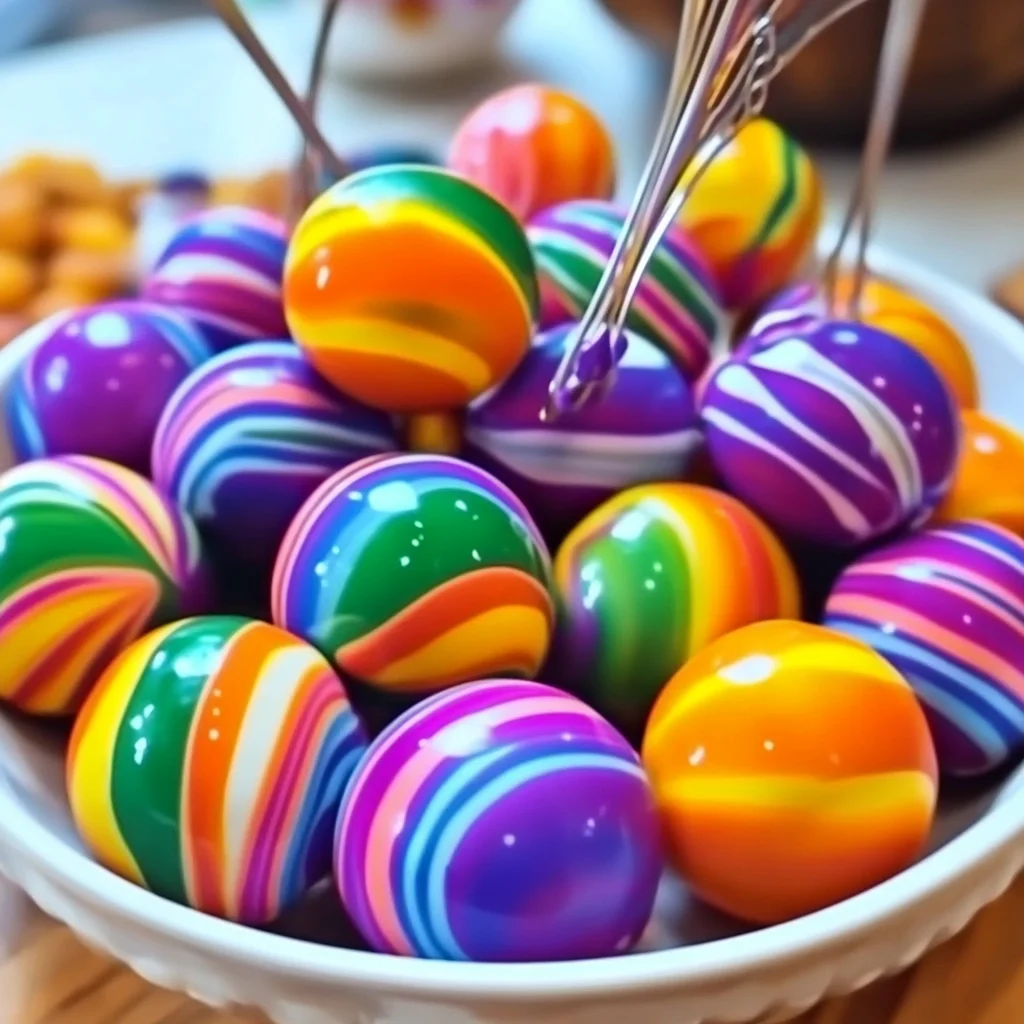
- Assemble Your Rainbow: Once you have all your colorful blobs ready, it’s time to bring them together into one glorious bouncy ball! Press pieces of each prepared color firmly together. Then, using the palms of your hands, roll them tightly into a spherical shape. The tighter you roll, the better the bounce! And voila! You’ve made your very own, super bouncy, rainbow-swirled toy!
Substitutions & Additions
- Different Glues: While white school glue is our top pick for its consistency, clear school glue can also work if you’re aiming for a more translucent bouncy ball effect. Just be aware the texture might be slightly different.
- Extra Sparkle & Shine: Beyond glitter, you could try adding small confetti shapes (make sure they are safe for kids and won’t scratch) or even a tiny amount of mica powder for a pearlescent shimmer.
- Scented Fun: For an extra sensory experience, add a drop or two of kid-safe essential oils (like orange or lavender) to the glue mixture before the borax solution. What a fun surprise!
- Texture Play: For a slightly different feel, you could experiment with adding a tiny pinch of fine sand or even micro-beads, though be mindful of choking hazards for very young children.
If you’re on the hunt for more fantastic kid-friendly projects, you might also love making some easy 3-ingredient slime!
Tips for Success
- Warm Water is Essential: Make sure your water is truly warm (not cold or boiling). This helps the borax dissolve properly, which is key to the chemical reaction that forms your bouncy ball.
- Don’t Overdo the Borax: It’s tempting to add more borax solution if your mixture feels too sticky, but resist the urge to add too much! An excess of borax can make your bouncy ball brittle and less elastic. Stick to the ½ tablespoon per glue batch.
- Kneading is Your Friend: The kneading step isn’t just for fun; it’s crucial! It helps to develop the elasticity and smoothness of your ball. Don’t skip it, and embrace the stickiness at first – it gets better, I promise!
- Gel Dyes for Vibrant Hues: While liquid food coloring works, I find that gel food dyes give a much richer, more concentrated color, making your rainbow balls truly pop!
- Keep an Eye on the Consistency: Each batch of glue can be a little different. If your ball feels too crumbly, you might need a tiny bit less borax solution next time. If it’s too sticky, a very light dip of your fingers in the borax solution while kneading can help.
- Safety First: Always supervise children when making this craft, especially with the borax. Ensure hands are washed thoroughly after handling the ingredients.
And if you’re looking for other quick and satisfying treats to pair with a fun afternoon, our Muddy Buddies recipe is always a hit!
How to Store Rainbow Bouncy Balls
Once your bouncy balls are complete, you’ll want to keep them in tip-top shape for as long as possible! Homemade bouncy balls, especially those made with glue, don’t last forever, but with proper storage, you can extend their life.
- Airtight Container is Best: Store your rainbow bouncy balls in an airtight container or a sealed plastic bag (like a Ziploc). This prevents them from drying out and losing their bounce.
- Cool, Dry Place: Keep them away from direct sunlight, extreme heat, or very cold temperatures, which can affect their texture and longevity. A drawer or a cupboard is perfect.
- Expected Shelf Life: Generally, these homemade bouncy balls will maintain their best bounce for a few weeks to a month. Over time, they might shrink slightly or become less elastic, but hey, that just means it’s time to make a new batch!
FAQs
Q: Why isn’t my bouncy ball very bouncy?
A: The most common reasons are either too much or too little borax solution, or not enough kneading! The borax solution needs to be fully dissolved, and the glue mixture needs to be kneaded thoroughly to develop its elasticity. Try to be precise with the measurements and give it a good, solid 2 minutes of kneading.
Q: Is borax safe to use with kids for crafts?
A: When used as directed in a craft recipe like this, and with proper adult supervision, borax is generally considered safe. It’s important to ensure children don’t ingest the mixture and that everyone washes their hands thoroughly after handling the ingredients. For very young children, an adult should handle the borax measuring and mixing steps.
Q: Can I make a bigger batch of one color?
A: Absolutely! If you want to make a larger single-color bouncy ball, or just more of one particular shade, simply scale up the ingredients proportionally. For example, double the glue, cornstarch, and borax solution for a bigger ball.
Speaking of fun, if you’re always on the lookout for super simple recipes that deliver big smiles, you should definitely check out our entire collection on Easily Cooked!
For more fun ideas and delicious recipes, be sure to follow us on Pinterest!
DIY Rainbow Bouncy Balls
Ingredients
Equipment
Method
- Step 1: In a cup, pour in ½ cup of warm water and stir in 1 tablespoon of borax powder until completely dissolved. This is your borax solution.
- Step 2: In a separate cup, combine 2 tablespoons of white school glue, 1 tablespoon of cornstarch, and a few generous drops of your chosen food coloring or gel dye. Stir until you have a smooth, colored mixture. If adding glitter or glow-in-the-dark paint, stir them in now.
- Step 3: Add just ½ tablespoon of your dissolved borax solution into the colored glue mixture. Stir quickly! You will see it instantly transform, clumping together into a thick, gummy blob.
- Step 4: Take the blob out of the cup and start kneading it with your hands for about 2 minutes. It will gradually become smoother and much less sticky. If it’s still a bit too sticky, lightly dip your fingers in the borax solution and continue kneading, but be careful not to add too much.
- Step 5: To create a rainbow effect, repeat steps 1-4 for each additional color you want to include in your bouncy ball.
- Step 6: Once you have all your colorful blobs ready, press pieces of each prepared color firmly together. Then, using the palms of your hands, roll them tightly into a spherical shape. The tighter you roll, the better the bounce! Your super bouncy, rainbow-swirled toy is complete!