
Oh, friend, do you ever get that craving? That deep, satisfying rumble for a truly amazing crispy chicken sandwich? The kind that makes you close your eyes and just savor every bite? Well, I know that feeling all too well! For years, I chased that perfect sandwich, sometimes from drive-thrus, other times from fancy gastropubs. But then, I realized something wonderful: the best crispy chicken sandwich, complete with a ridiculously good garlic mayo, is actually super simple to whip up right in your own kitchen!
This recipe isn’t just easy and quick; it’s a game-changer. It takes classic comfort food and elevates it with minimal effort, leaving you with more time to actually enjoy your meal (and less time washing dishes!). So, put on your apron, crank up your favorite kitchen playlist, and let’s get cooking!
Why You’ll Love Crispy Chicken Sandwich with Garlic Mayo
- Fast: Forget waiting in line! This beauty comes together in less time than it takes to get takeout.
- Easy: Simple ingredients, straightforward steps – even a beginner can nail this!
- Giftable: While not traditionally “giftable” in a wrapped sense, it’s perfect for making for friends and family when they need a delicious pick-me-up.
- Crowd-pleasing: Seriously, who doesn’t love a juicy, crispy chicken sandwich? This recipe is guaranteed to be a hit at your next casual gathering or family dinner.
Ingredients
Gathering your ingredients is the first step to deliciousness. Here’s what you’ll need:
- 4 boneless, skinless chicken breasts (about 1.5 lbs): These are our main stars! Opt for even thickness if possible, or gently pound them to ensure even cooking.
- 1 cup all-purpose flour: This is the foundation for our crispy coating, giving the panko something to really stick to.
- 1 cup panko breadcrumbs: Ah, panko! This is my secret weapon for ultimate crispiness. Regular breadcrumbs just don’t give you that same glorious crunch.
- 2 tsp garlic powder: We’re using this in two places – once for the chicken, and again for that irresistible garlic mayo. Double the garlic, double the flavor!
- 1 cup mayonnaise: The creamy canvas for our zesty garlic mayo. Use your favorite brand!
- 3 cloves fresh garlic, minced: Don’t skip the fresh garlic for the mayo! It adds a pungent, vibrant kick that you just can’t get from powder alone.
- 2 tbsp lemon juice: A little citrus brightens up the mayo beautifully and cuts through the richness.
- Salt and pepper to taste: The essential seasoning duo to bring out all those delicious flavors.
- Soft buns for assembly: Brioche, potato rolls, or classic sesame buns all work wonderfully. Choose what you love!
- Optional: 1-2 large eggs, beaten (for egg wash): If you want an extra thick and sturdy coating that really adheres, an egg wash is your best friend.
How to Make Crispy Chicken Sandwich with Garlic Mayo
Alright, let’s get this show on the road! You’ll be sinking your teeth into this masterpiece in no time.
- First things first, let’s get that oven ready. Preheat your oven to 400°F (200°C). While it’s heating up, take your chicken breasts and give them a good season with salt and pepper on both sides.
- Now, for the dredging station! Grab two (or three, if you’re using the egg wash) shallow bowls. In the first bowl, combine your all-purpose flour with 1 teaspoon of the garlic powder. In the second bowl, place your panko breadcrumbs. If you’re going for that extra sturdy, super-crispy coating, prepare a third bowl with 1-2 beaten eggs for your egg wash.
- Time to get hands-on! Take each chicken breast and first coat it thoroughly in the seasoned flour, shaking off any excess. If you’re using it, dip the floured chicken into the egg wash, letting any extra drip off. Then, and this is key for that satisfying crunch, roll the chicken in the panko breadcrumbs. Make sure to press gently so that those glorious panko flakes really stick and create an even, thick coating. This panko coating is what truly gives you that amazing crunch, similar to the perfectly crispy Amish onion fritters we all adore.
- Carefully place your beautifully coated chicken breasts on a baking sheet that you’ve lined with parchment paper. This helps prevent sticking and makes cleanup a breeze! Pop them into your preheated oven and bake for 25-30 minutes, or until they’re beautifully golden brown and cooked all the way through. To be safe, make sure the internal temperature reaches 165°F (74°C) using a meat thermometer.
- While your chicken is getting all golden and crispy in the oven, let’s make that magic garlic mayo! In a medium bowl, combine your mayonnaise, minced fresh garlic, the remaining 1 teaspoon of garlic powder, and the lemon juice. Whisk everything together until it’s wonderfully smooth and creamy. Give it a taste and season with salt and pepper until it’s just right for you.
- Once your chicken is out of the oven and has had a moment to cool slightly (just a minute or two!), it’s assembly time! Place your perfectly crispy chicken on your soft buns. Now, here’s where you can really make it your own: generously spread that dreamy garlic mayo on the top bun. Add any other desired toppings like crisp lettuce, a slice of ripe tomato, or some tangy pickles. Serve immediately and prepare for pure joy!

Substitutions & Additions
This recipe is incredibly versatile, so feel free to play around with it! Here are a few ideas to get your creative juices flowing:
- Chicken Choices: While breasts are fantastic, boneless, skinless chicken thighs can also be used for an even juicier, richer flavor. Just adjust baking time if needed.
- Breading Boosts: Want to switch up the crunch? Try adding a pinch of smoked paprika or a dash of cayenne pepper to your panko breadcrumbs for a little extra flavor and subtle heat.
- Mayo Makeovers: Take your garlic mayo to the next level! A touch of sriracha for heat, some fresh chopped chives for freshness, or even a tiny bit of honey for a sweet-savory twist can be delicious.
- Topping Extravaganza: The sky’s the limit here! Classic shredded lettuce and sliced tomatoes are always good, but consider adding crunchy dill pickles, sharp cheddar cheese, crispy bacon, or a dollop of creamy coleslaw for extra texture and flavor.
- Cooking Methods: If you’re a fan of crispy goodness with less oil, you can absolutely air fry your chicken! It turns out just as golden and delicious, much like our crispy Air Fryer Garlic Tofu Nuggets. For traditional deep-frying, heat oil to 350°F (175°C) and fry until golden and cooked through.
Tips for Success
Even though this recipe is easy, a few insider tips can make it absolutely perfect every time!
- Pat that Chicken Dry: Before dredging, make sure your chicken breasts are as dry as possible. This helps the flour and panko stick better, giving you a crispier coating.
- Don’t Overcrowd: When placing chicken on the baking sheet, give each piece some space. If they’re too close, they’ll steam instead of crisping up, and nobody wants a soggy sandwich!
- Fresh Garlic is Best: For the garlic mayo, using fresh, minced garlic truly makes a difference in flavor compared to just garlic powder. It’s worth the extra minute of chopping!
- Check for Doneness: Use a meat thermometer to ensure your chicken reaches 165°F (74°C). This guarantees safe eating and perfectly juicy chicken, preventing it from drying out.
- Mayo Ahead of Time: You can make the garlic mayo a day or two in advance. The flavors will actually meld and deepen, making it even more delicious!
- For Extra Crispy Finish: If you really want to maximize the crunch, lightly spritz or brush the breaded chicken with a little olive oil or cooking spray before baking.
How to Store Crispy Chicken Sandwich with Garlic Mayo
If you happen to have any leftovers (a rare occurrence with this recipe, I warn you!), here’s how to keep them fresh:
Store the cooked chicken separately from the buns and garlic mayo. Place the cooled crispy chicken in an airtight container in the refrigerator for up to 3-4 days. For best results when reheating, pop the chicken back into the oven or an air fryer to crisp it up again – a microwave will make it soft. The garlic mayo can be stored in a separate airtight container in the refrigerator for up to a week. Assemble your sandwiches just before serving to prevent the buns from getting soggy.
FAQs
Got questions? I’ve got answers!
Q: Can I make this chicken spicier?
A: Absolutely! Add a pinch of cayenne pepper or red pepper flakes to your flour mixture, or a dash of your favorite hot sauce to the garlic mayo. A few slices of fresh jalapeño on the sandwich would also be fantastic!
Q: What are some good side dishes for this sandwich?
A: Oh, so many! This sandwich pairs perfectly with classic French fries, a fresh side salad, sweet potato fries, or even a creamy coleslaw. If you’re looking for another quick and flavorful weeknight meal, you might also love our easy Street Corn Chicken Rice Bowls.
Q: Can I use pre-cooked chicken?
A: While you can, the magic of this sandwich really comes from that fresh, crispy coating you get from baking (or frying) it yourself. Pre-cooked chicken wouldn’t give you the same texture or flavor experience.
Q: What kind of buns are best?
A: I’m a big fan of soft brioche buns for their slight sweetness and tender texture, but a classic potato roll or a sturdy sesame seed bun also works beautifully. Choose what you love most!
For more delicious and easy recipes, be sure to follow us on Pinterest!

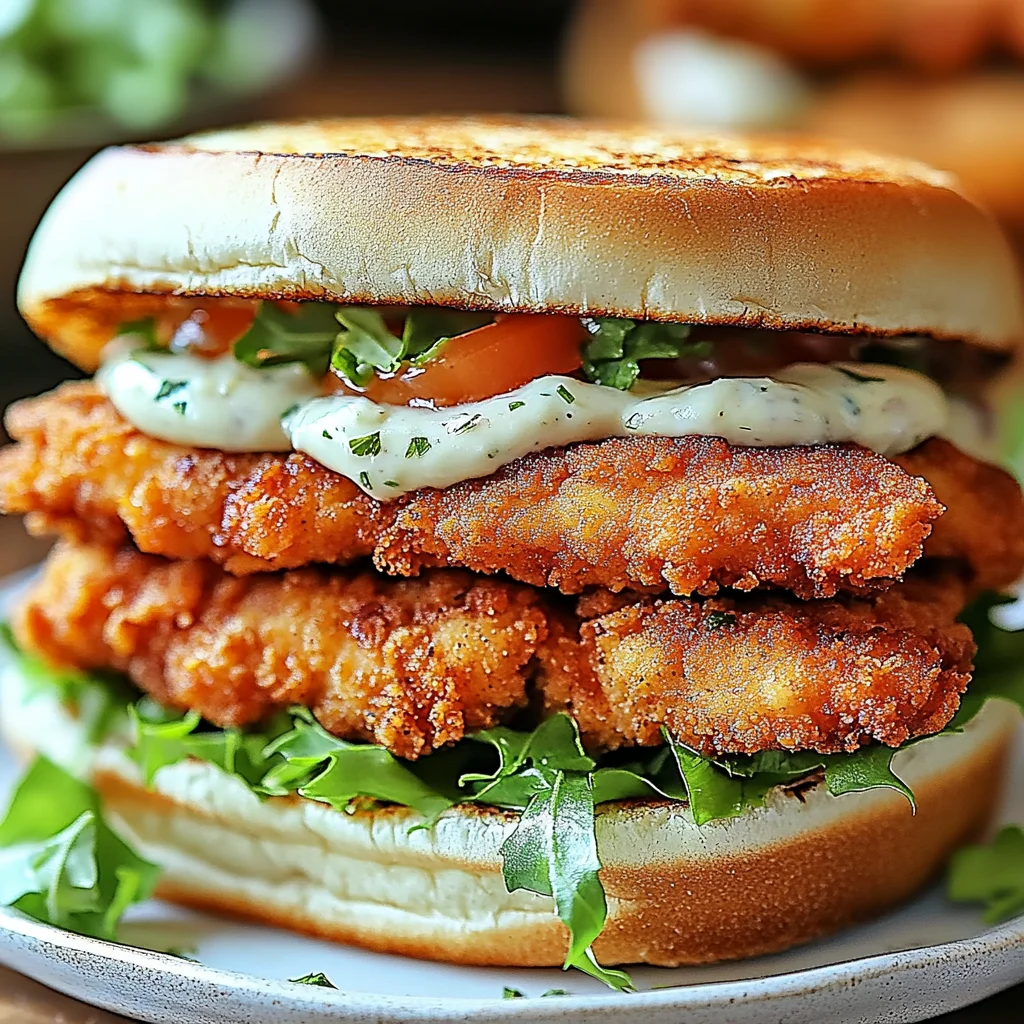
Crispy Chicken Sandwich with Zesty Garlic Mayo
Ingredients
Equipment
Method
- Step 1: Preheat your oven to 400°F (200°C). Season chicken breasts generously with salt and pepper on both sides.
- Step 2: Prepare your dredging station: In the first shallow bowl, combine all-purpose flour with 1 teaspoon of garlic powder. In the second shallow bowl, place the panko breadcrumbs. If using, prepare a third shallow bowl with 1-2 beaten eggs for an egg wash.
- Step 3: Coat each chicken breast: first in the seasoned flour, shaking off excess. If using, dip in the egg wash, letting extra drip off. Then, roll and press gently in the panko breadcrumbs to create an even, thick coating.
- Step 4: Place coated chicken breasts on a parchment paper-lined baking sheet. Bake for 25-30 minutes, or until golden brown and the internal temperature reaches 165°F (74°C) using a meat thermometer.
- Step 5: While the chicken bakes, prepare the garlic mayo: In a medium bowl, combine mayonnaise, minced fresh garlic, the remaining 1 teaspoon of garlic powder, and lemon juice. Whisk until smooth and creamy. Season to taste with salt and pepper.
- Step 6: Once chicken is slightly cooled, assemble your sandwiches. Place crispy chicken on soft buns, generously spread with garlic mayo on the top bun, and add any other desired toppings. Serve immediately.


