Do you remember the joy of watching sunlight dance through colorful suncatchers as a child? There’s something magical about the way light transforms simple materials into vibrant art. Today, I’m excited to share a delightful and easy DIY project that you can do with the kids, or even just for yourself! These Easy DIY Suncatchers are not only quick to make but also a wonderful way to brighten up any room in your home.
Why You’ll Love Easy DIY Suncatchers: Make Colorful Window Art for All Ages!
- Fast
- Easy
- Giftable
- Crowd-pleasing
Ingredients
- Transparent contact paper: This is the base for your suncatcher, and its sticky side will hold everything together.
- Tissue paper (various colors): Choose your favorite colors to create beautiful designs. The more vibrant, the better!
- Scissors: For cutting out your tissue shapes and the frame.
- Black construction paper: This will create a lovely frame for your suncatcher.
- Pencil: For sketching out your frame design.
- Ruler: To help you measure and create precise shapes.
- Tape: To secure your suncatcher to the frame.
- Optional: hole punch and string for hanging: If you want to hang your suncatcher, this is an easy way to do it!
How to Make Easy DIY Suncatchers: Make Colorful Window Art for All Ages!
- Start by cutting a piece of transparent contact paper to your desired size for the suncatcher.
- Remove the backing from the contact paper and place it sticky side up on a flat surface.
- Cut the tissue paper into small shapes, like squares or circles, using your scissors. Get creative with your designs!
- Arrange the tissue paper pieces on the sticky side of the contact paper, creating a colorful design that you love.
- Once you’re satisfied with your arrangement, cut a second piece of contact paper to the same size and carefully place it over the tissue paper to seal everything in.
- Next, cut out a shape from black construction paper to create a frame for your suncatcher. Use your pencil and ruler to draw the desired shape, then cut it out with scissors.
- Adhere your suncatcher to the black construction paper frame using tape. This will give it a nice polished look.
- If you’d like to hang your suncatcher, you can use a hole punch to create a hole at the top and thread a piece of string through it.
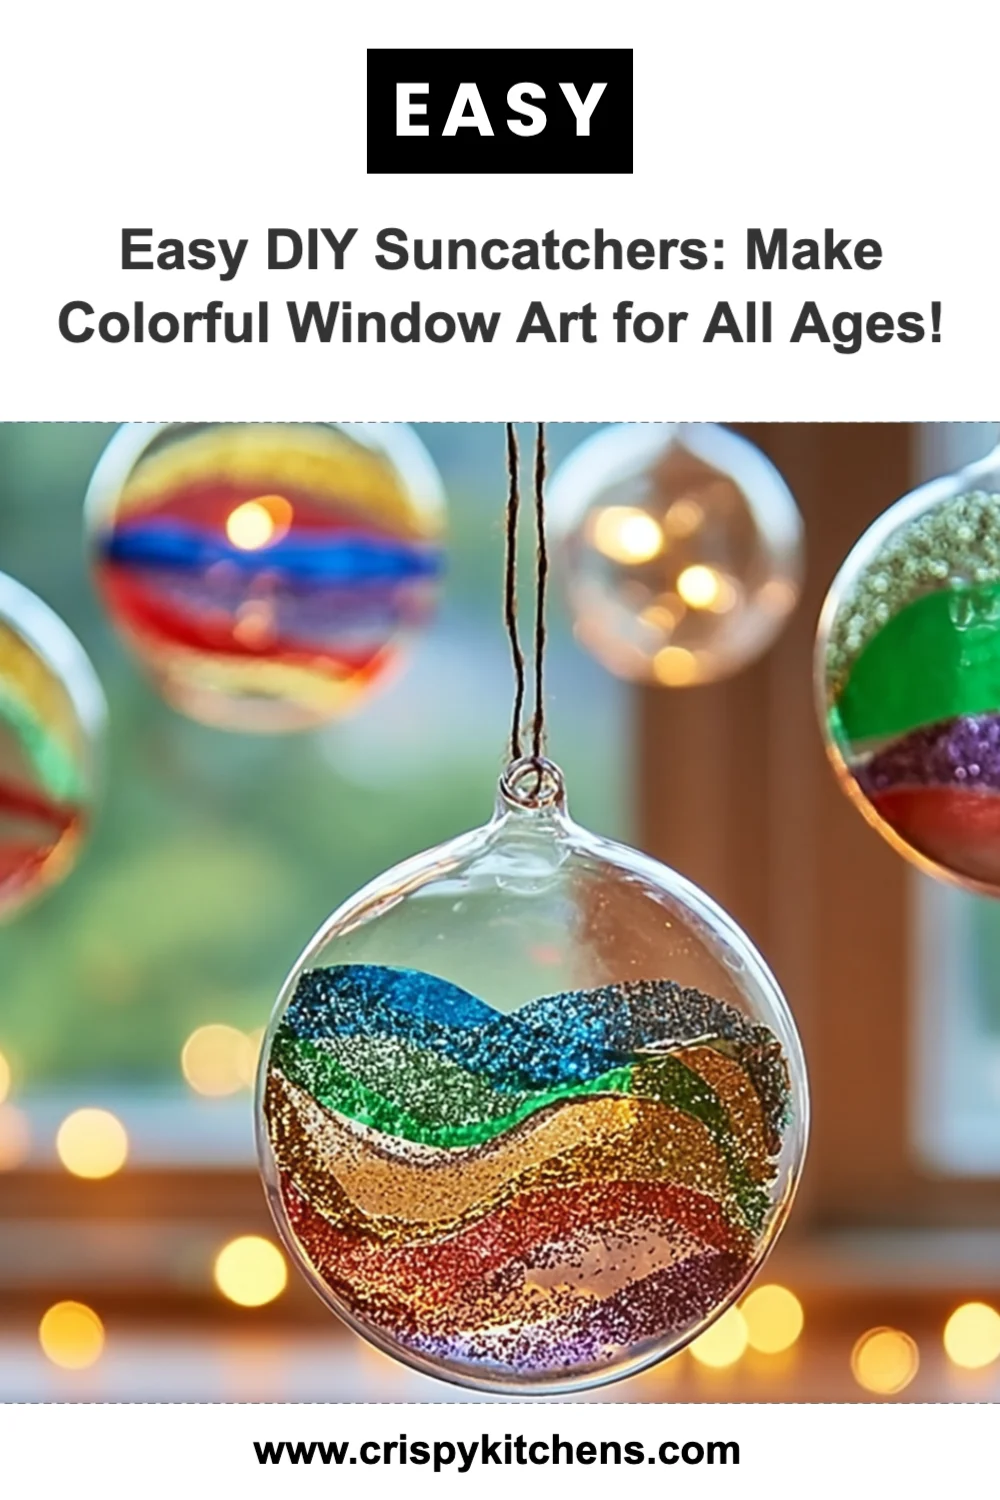
- Finally, hang your suncatcher in a window and enjoy the stunning light display it creates!
Substitutions & Additions
If you’re looking to switch things up, consider using different materials for your suncatchers. Instead of tissue paper, you might try using colored cellophane for an even glossier effect. You could also experiment with different shapes or even add glitter to the tissue paper for a bit of sparkle!
Tips for Success
- Make sure your workspace is clean and flat for easy assembly.
- Don’t be shy with the tissue paper; layering colors can create beautiful effects.
- If you notice any air bubbles when sealing, gently smooth them out with your fingers.
- These suncatchers can be a lovely gift, so consider making a few extras for friends or family!
How to Store Easy DIY Suncatchers: Make Colorful Window Art for All Ages!
To store your suncatchers, keep them flat in a container to avoid any creases or damage. They are best enjoyed fresh, but they can last for years if handled carefully. Just remember to clean your windows before hanging them up to let the light shine through beautifully!
FAQs
- Can I use other types of paper? Yes! Feel free to experiment with different types of paper as long as they are lightweight and colorful.
- How can I hang my suncatcher? You can use string, or even adhesive hooks, to hang your suncatcher in a window.
- Are these safe for kids? Absolutely! Just supervise younger children with scissors and the hole punch.
Creating these Easy DIY Suncatchers is a wonderful way to spend an afternoon, whether you’re with family or enjoying some solo crafting time. It’s a simple project that can fill your home with color and charm! For more delicious recipes, check out Easy Mini Raspberry Cheesecake Bites or Banana S’mores Muffins for treats you will love!
Don’t forget to follow our Pinterest account for more creative ideas and inspiration!


Easy DIY Suncatchers
Ingredients
Equipment
Method
- Step 1: Start by cutting a piece of transparent contact paper to your desired size for the suncatcher.
- Step 2: Remove the backing from the contact paper and place it sticky side up on a flat surface.
- Step 3: Cut the tissue paper into small shapes, like squares or circles, using your scissors. Get creative with your designs!
- Step 4: Arrange the tissue paper pieces on the sticky side of the contact paper, creating a colorful design that you love.
- Step 5: Once you're satisfied with your arrangement, cut a second piece of contact paper to the same size and carefully place it over the tissue paper to seal everything in.
- Step 6: Next, cut out a shape from black construction paper to create a frame for your suncatcher. Use your pencil and ruler to draw the desired shape, then cut it out with scissors.
- Step 7: Adhere your suncatcher to the black construction paper frame using tape.
- Step 8: If you'd like to hang your suncatcher, you can use a hole punch to create a hole at the top and thread a piece of string through it.
- Step 9: Finally, hang your suncatcher in a window and enjoy the stunning light display it creates!
Notes