Oh honey, do you ever get that craving for something sweet, creamy, and utterly delightful, but you just don’t have the energy for a full-blown baking marathon? Or maybe you’ve got unexpected guests coming over, and you want to whip up something impressive without breaking a sweat? That’s exactly where these Easy Cheesecake Cups come into play!
I remember growing up, cheesecake always felt like this grand, elaborate dessert reserved for special occasions. My grandma would spend hours in the kitchen, meticulously prepping and baking, and the anticipation was almost as sweet as the first bite. But let me tell you, times have changed! With this recipe, you get all that luscious, creamy cheesecake goodness in individual portions, with barely any effort. Seriously, it’s so quick, so easy, and so unbelievably delicious, it feels like magic. It’s truly a memorable treat that’ll have everyone asking for more, and you’ll just smile, knowing your secret. If you’re looking for more simple ways to satisfy your sweet tooth, you can always explore more easy recipes on the blog!
Why You’ll Love Easy Cheesecake Cups
- Fast: From start to chill, you’re looking at under 20 minutes of active prep time. Perfect for last-minute cravings!
- Easy: No baking, no water baths, no fuss. Just mix, assemble, and chill.
- Giftable: Packaged in cute individual cups, they make charming gifts or party favors.
- Crowd-pleasing: Who doesn’t love cheesecake? These mini versions are universally adored.
Ingredients

Gathering your ingredients for these little cups of joy is as simple as it gets. You probably have most of these staples in your pantry and fridge already!
- 16 vanilla wafer cookies (or more, as needed): These little gems form the perfect crunchy base. They’re just the right size for individual servings!
- 16 ounces cream cheese, softened: Make sure it’s good and soft! This is key for a super smooth, lump-free cheesecake filling. Take it out of the fridge about an hour before you start.
- 1 cup powdered sugar: Also known as confectioners’ sugar. It dissolves beautifully into the cream cheese, giving us that signature sweet cheesecake flavor without any grainy texture.
- 1 teaspoon vanilla extract: The soul of so many desserts! A good quality vanilla makes all the difference here, adding warmth and depth to our creamy filling.
- 1 cup heavy whipping cream: This is what gives our cheesecake that light, airy, dreamy texture. Make sure it’s super cold!
- ½ teaspoon cornstarch: A little secret ingredient to help stabilize our whipped cream, ensuring it holds its beautiful stiff peaks and creamy texture in the cheesecake filling.
- 1 can prepared fruit pie filling (cherry, strawberry, or blueberry): Your choice, your adventure! I love cherry, but strawberry and blueberry are equally fantastic. This shortcut saves so much time and adds a burst of fruity flavor.
How to Make Easy Cheesecake Cups
Ready to make some magic? Let’s get these delightful cheesecake cups whipped up!
- First things first, grab your electric mixer. You’re going to want to beat that softened cream cheese until it’s wonderfully smooth and creamy. No lumps allowed! Once it’s looking good, add in your powdered sugar and that lovely vanilla extract. Keep beating until everything is beautifully combined and fluffy. This is your luscious cheesecake base, and it’s going to be so good. Set it aside for a moment.
- Now, in a separate medium-sized bowl, it’s time for the heavy cream. Start beating it on low speed for about a minute. This just gets things started. Then, here’s my little trick: add that ½ teaspoon of cornstarch. This helps your whipped cream stay stable and firm! Now, crank up your mixer to high speed and beat for an additional 3-4 minutes, or until you see stiff peaks forming. You want it to hold its shape.
- Time to bring it all together! Gently, and I mean gently, fold the whipped cream you just made into your reserved cream cheese mixture. You want to keep that beautiful airy texture, so be light-handed.
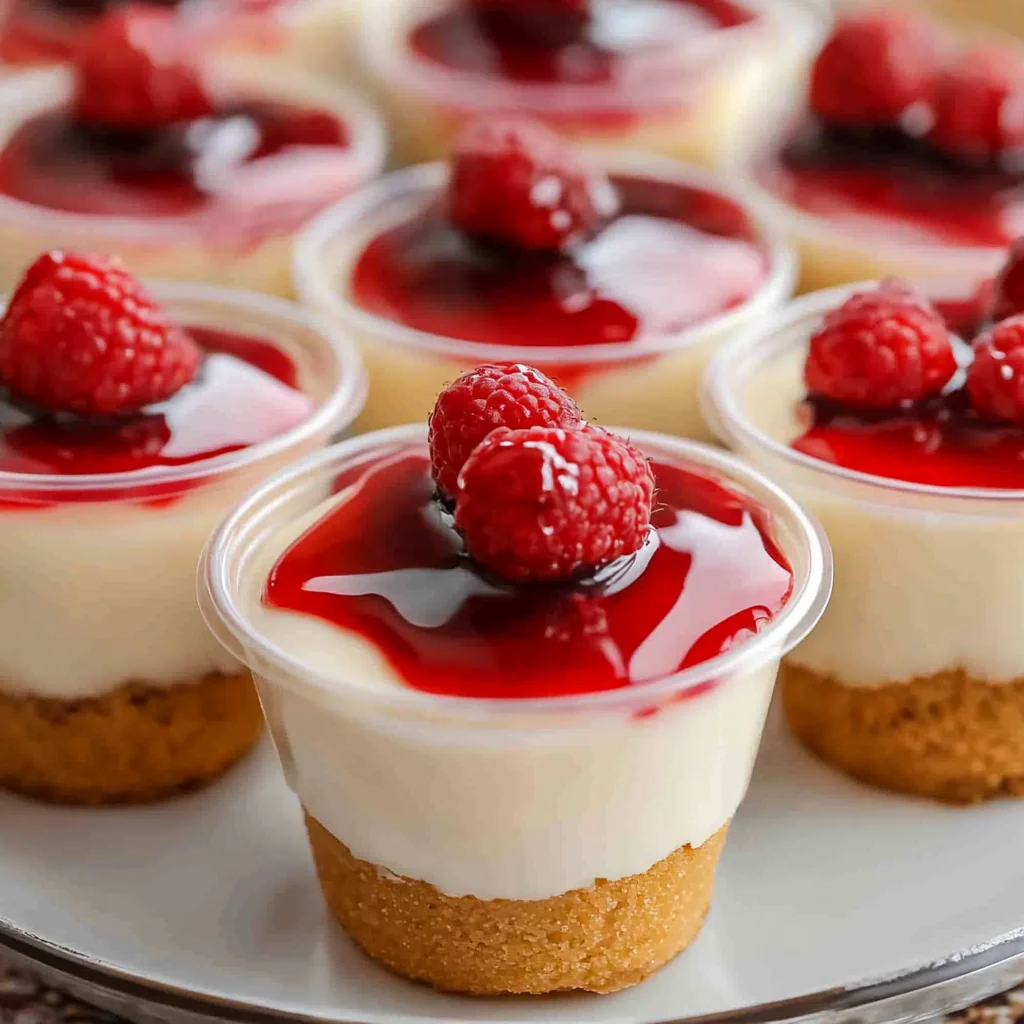
- Almost there! Take your serving cups (I usually use small ramekins or even cute dessert glasses) and place one vanilla wafer cookie at the bottom of each. Then, spoon or pipe your cheesecake mixture into each cup, leaving about an inch of space from the top.
- Finally, for that pop of color and flavor, spoon your favorite fruit pie filling over the cheesecake mixture. Whether you chose cherry, strawberry, or blueberry, it’s going to look and taste amazing. Now for the hardest part: pop these beauties into the fridge and let them chill for at least 1 hour. This helps them set up perfectly and ensures every bite is cool and refreshing.
Substitutions & Additions
This recipe is super versatile, so don’t be afraid to get creative and make it your own!
- Cookie Base Swap: Not a vanilla wafer fan? No problem! You can easily swap them out for crushed graham crackers, Oreo cookies, shortbread cookies, or even gingersnaps for a fun twist. If using crushed cookies, mix them with a tablespoon or two of melted butter before pressing into the bottom of the cups for a firmer crust.
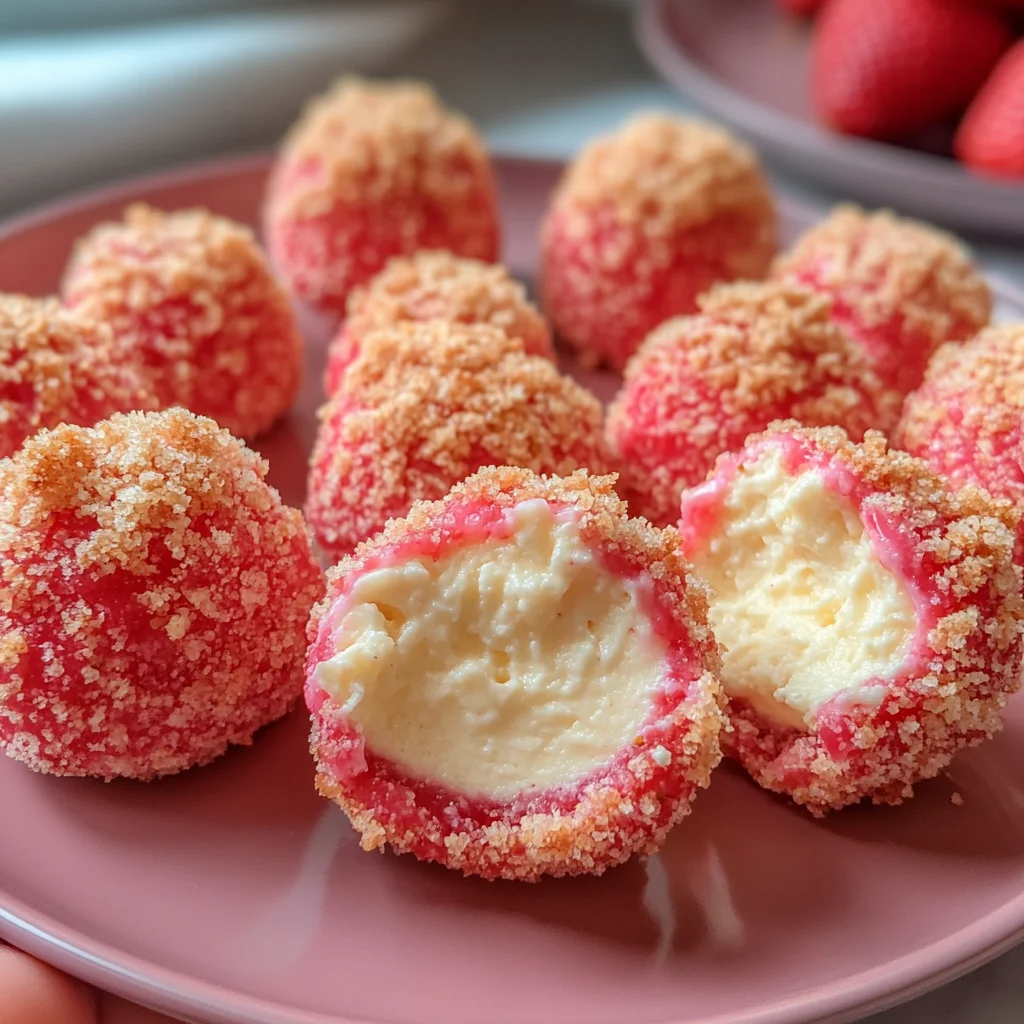
- Fruit Filling Fun: While pie filling is easy, you can absolutely use fresh berries, sliced peaches, or a homemade fruit compote. A drizzle of chocolate sauce, caramel, or even a sprinkle of chopped nuts would also be divine! For another incredible fruity dessert, you might love our Strawberry Crunch Cheesecake.
- Flavor Variations: Want to amp up the cheesecake flavor? Add a little lemon zest to the cream cheese mixture for a bright citrusy note. A tablespoon of cocoa powder can turn this into chocolate cheesecake cups, or a hint of almond extract would be lovely with cherry filling.
Tips for Success
Even though these are super easy, a few little tips can make them absolutely perfect every time!
- Cream Cheese Temperature is Key: I can’t stress this enough! Make sure your cream cheese is truly softened. If it’s too cold, you’ll end up with lumps, and nobody wants lumpy cheesecake!
- Chilled Heavy Cream: Just like butter for flaky pie crusts, cold is your friend when whipping cream. Keep your heavy cream, and even your mixing bowl and beaters, in the fridge for 15 minutes before whipping. This helps it whip up faster and hold those stiff peaks beautifully.
- Fold Gently: When combining the whipped cream with the cream cheese mixture, be as gentle as a whisper! You’ve just worked hard to incorporate air into that cream, and you don’t want to deflate it. This is what keeps your cheesecake light and fluffy.
- Chill Time Matters: Don’t skip or shorten the chilling time. That hour in the fridge is crucial for the cheesecake to firm up and for all those flavors to meld together. Patience, my friend, it’s worth it!
- Make Ahead Magic: These cheesecake cups are fantastic for making ahead! They taste even better after a few hours or overnight in the fridge. This makes them perfect for parties or busy weeknights. Speaking of easy make-ahead desserts, you might also enjoy our Easy No-Bake Caramel Pretzel Bars!
How to Store Easy Cheesecake Cups
Once your delectable cheesecake cups are assembled, proper storage will keep them fresh and fabulous.
Simply place your cheesecake cups in an airtight container. They’ll keep beautifully in the refrigerator for up to 3-4 days. While they might last a little longer, I find they’re best enjoyed within the first few days for optimal freshness and texture. Just make sure to keep them covered to prevent them from absorbing any fridge odors.
FAQs
Q: Can I use a different type of cookie for the base?
A: Absolutely! Vanilla wafers are classic, but crushed graham crackers, Oreos, or even shortbread cookies make delicious alternatives. Feel free to get creative!
Q: Can I make these cheesecake cups ahead of time for a party?
A: Yes, please do! These are perfect for prepping in advance. You can make them a day or even two before your event. They actually taste even better after the flavors have had some time to meld in the fridge.
Q: Do I need to bake these cheesecake cups?
A: Nope, that’s the beauty of them! These are entirely no-bake. The chilling time in the refrigerator is all they need to firm up into creamy, dreamy perfection. If you’re a fan of no-bake treats, check out our No-Bake Oreo Cheesecake Sushi Rolls!
Q: Can I use fresh fruit instead of canned pie filling?
A: You certainly can! Fresh berries, sliced peaches, or a quick homemade fruit compote would be wonderful. Just keep in mind that fresh fruit might release more liquid, so it’s best to add it right before serving if you’re concerned about a watery topping.
For more delicious and easy recipes, be sure to follow us on Pinterest!

Dreamy No-Bake Cheesecake Cups
Ingredients
Equipment
Method
- Step 1: Using an electric mixer, beat the softened cream cheese until wonderfully smooth and creamy. Add the powdered sugar and vanilla extract, then continue beating until beautifully combined and fluffy. Set this luscious cheesecake base aside.
- Step 2: In a separate medium-sized bowl, begin beating the heavy cream on low speed for about one minute. Add the ½ teaspoon of cornstarch, then increase the mixer to high speed and beat for an additional 3-4 minutes, or until stiff peaks form and the cream holds its shape.
- Step 3: Gently fold the whipped cream into your reserved cream cheese mixture. Be light-handed to maintain that beautiful airy texture.
- Step 4: Take your serving cups (small ramekins or dessert glasses work well) and place one vanilla wafer cookie at the bottom of each. Spoon or pipe your cheesecake mixture into each cup, leaving about an inch of space from the top.
- Step 5: Finally, spoon your favorite fruit pie filling over the cheesecake mixture. Place these beauties into the fridge and let them chill for at least 1 hour to set up perfectly.