Oh, my sweet friends, do you remember those days? The ones filled with laughter, sunshine, and the promise of something truly delicious after dinner? For me, a big part of that memory always involves a creamy, dreamy cheesecake. But let’s be real, sometimes a classic baked cheesecake can feel like a whole day affair, right? That’s where this incredible No-Bake Oreo Cheesecake swoops in to save the day!
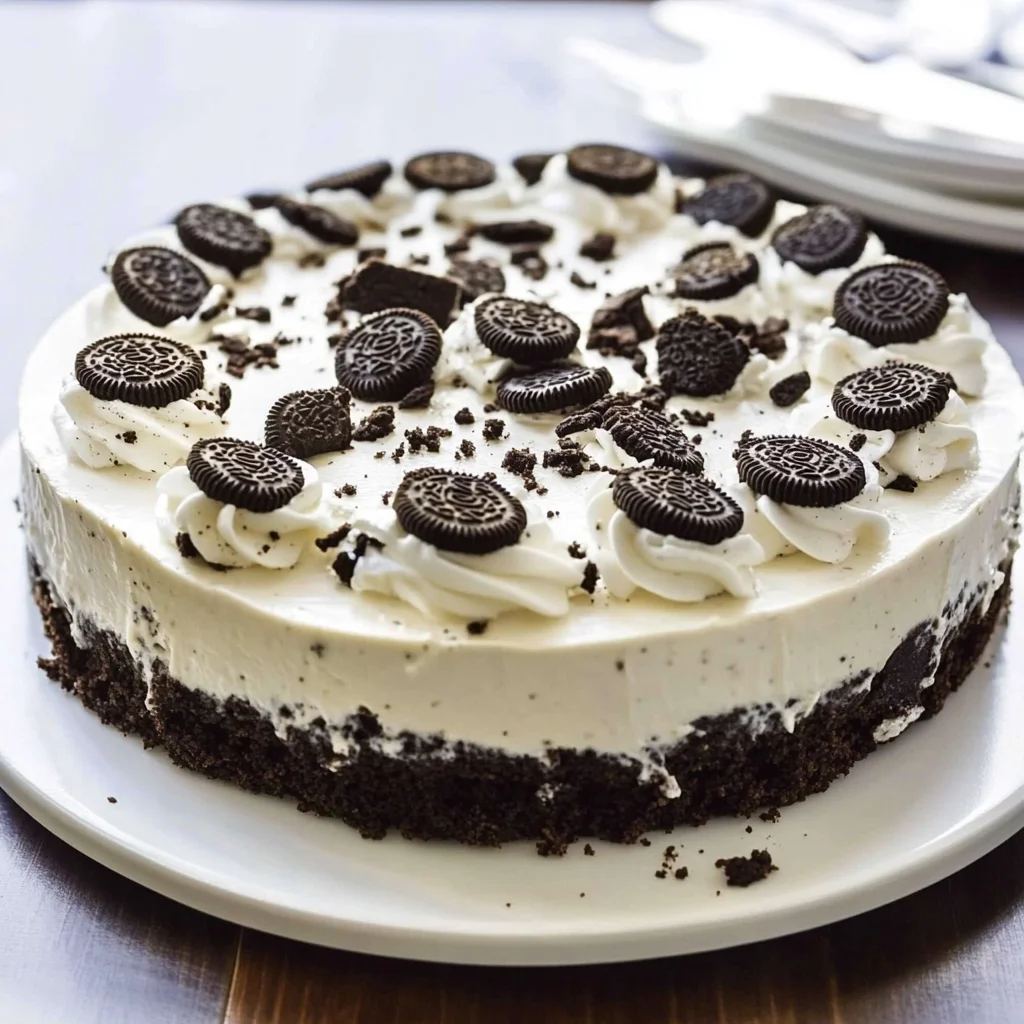
This isn’t just any dessert; it’s a slice of pure childhood joy, reimagined for your busy adult life. Imagine a rich, chocolatey Oreo crust cradling a velvety, sweet cream cheese filling bursting with more crushed Oreos. And the best part? No oven needed! It’s ridiculously easy, comes together in a flash, and tastes like something you spent hours perfecting. Trust me, once you make this, it’ll become your new go-to for potlucks, parties, or simply satisfying that sweet tooth craving without breaking a sweat. It’s truly as simple and satisfying as whipping up a batch of no-bake Oreo bars, but with that classic cheesecake charm!
Why You’ll Love No Bake Oreo Cheesecake
- Fast: Seriously, we’re talking minutes of active prep time, then let your fridge do the rest!
- Easy: No complicated water baths, no cracked tops, just pure, simple dessert magic.
- Giftable: This cheesecake looks absolutely stunning, making it a perfect hostess gift or a sweet treat for a neighbor.
- Crowd-pleasing: Who doesn’t love Oreos? And who doesn’t love cheesecake? Combine them, and you’ve got a guaranteed winner!
Ingredients
Gather your simple treasures from the pantry and fridge. Here’s what you’ll need to create this masterpiece:
- 24 Oreo cookies (for the crust – grab the classic ones, they’re perfect!)
- 6 tablespoons (85g) unsalted butter, melted (This binds our delicious crust together.)
- 16 ounces (454g) cream cheese, softened (Crucial for that smooth, luscious texture! Let it sit on the counter for a bit before you start.)
- ½ cup (100g) granulated sugar (Just enough sweetness to balance the tang.)
- 1 teaspoon vanilla extract (Always a must for that warm, comforting flavor.)
- 2 ½ cups (595g) heavy whipping cream (This is what makes our cheesecake light and fluffy!)
- 1 ½ cups (188g) confectioners’ sugar (Also known as powdered sugar, for that extra touch of sweetness and perfect consistency in the whipped cream.)
- 15 Oreo cookies, crushed (for the filling and garnish – more Oreo goodness!)
How to Make No Bake Oreo Cheesecake
Let’s get cooking (or rather, no-cooking!)! Follow these simple steps and you’ll be enjoying your cheesecake in no time.
Prepare the Crust
- First things first, grab those 24 Oreo cookies for the crust. Carefully twist them open and remove the creamy filling, setting it aside in a bowl – don’t toss it, we’ll use that deliciousness later! Now, take those naked cookie wafers and pop them into a food processor. Pulse until they’re finely crushed, almost like sand. You should end up with about 1½ cups of crumbs.
- In a large bowl, combine your finely crushed Oreo cookies with the melted butter. Give it a good stir until every crumb is coated and it looks like wet sand.
- Now, take your prepared 9-inch springform pan. Press the cookie mixture firmly and evenly into the bottom of the pan, and if you want a little edge, slightly up the sides. I like to use the back of a measuring cup to really compact it down, ensuring a sturdy base for your cheesecake. Pop this into the refrigerator to chill while you work on the filling.
Prepare the Filling
- In a large bowl, get your hand mixer ready! Beat the softened cream cheese until it’s wonderfully light and fluffy. This is key for a smooth cheesecake, so don’t rush this step.
- Add the granulated sugar, vanilla extract, and that reserved Oreo cookie filling to the cream cheese. Beat again until everything is thoroughly combined and smooth.
- In a separate, large bowl (clean bowl, please!), pour in your heavy whipping cream. Using your hand mixer again, whip the cream until it starts to thicken. Then, gradually add the confectioners’ sugar. Keep beating until beautiful, stiff peaks form. This means when you lift the beaters, the whipped cream holds its shape.
- Now for the magic! Gently fold about 2 cups of your freshly whipped cream mixture into the cream cheese mixture. Be gentle here; we want to keep all that lovely air you just whipped in! At this point, also fold in about 1 cup of the crushed Oreo cookies (you should have crushed 15 cookies total, so remember to reserve about ¼ cup for garnish!). Mix just until combined – don’t overmix!
- Pour this glorious cheesecake filling evenly over your chilled Oreo crust in the springform pan. Use a spatula to spread it smooth.
- This is perhaps the hardest part: waiting! Refrigerate your cheesecake for at least 3-4 hours, but honestly, for the best results and a perfectly set slice, I highly recommend leaving it overnight.
Garnish & Serve
Just before you’re ready to show off your masterpiece, it’s time for the final touches!
- If you have any remaining whipped cream from your original 2½ cups (which you might if you didn’t use all 2 cups in the filling, or you could whip a little extra for serving!), dollop it on top.
- Sprinkle with the reserved ¼ cup of crushed Oreos.
- And if you’re feeling extra indulgent (which, let’s be real, you always should be when it comes to cheesecake!), drizzle some hot fudge over the top. Pure perfection!
Substitutions & Additions
This No-Bake Oreo Cheesecake is fantastic as is, but that doesn’t mean you can’t get creative! Here are some ideas to make it your own:
- Cookie Swap: Not an Oreo fan (gasp!)? You can easily swap out the Oreos for Graham cracker crumbs, chocolate chip cookies, Nilla Wafers, or even digestive biscuits for the crust. Just follow the same ratio of crumbs to butter.
- Flavor Infusion: Add a hint of mint extract to the filling for a mint chocolate Oreo cheesecake, or a spoonful of instant espresso powder for a mocha twist. A swirl of melted peanut butter or caramel could also be divine!
- Mix-Ins: Besides crushed Oreos, try folding in mini chocolate chips, chopped candy bars, or even fresh berries (like strawberries or raspberries) for a delightful surprise in every bite. If you love fruit and cheesecake together, you might also adore a strawberry crunch cheesecake!
- Topping Extravaganza: Beyond hot fudge, consider chocolate syrup, caramel sauce, a dollop of whipped cream, fresh berries, or even some chopped nuts for extra crunch.
Tips for Success
Even though this is a “no-fail” recipe, a few little pointers can make sure your No-Bake Oreo Cheesecake is absolutely perfect every time:
- Softened Cream Cheese is Key: I really can’t stress this enough! If your cream cheese isn’t soft, it will be lumpy, and nobody wants lumpy cheesecake. Take it out of the fridge at least 30 minutes to an hour before you start.
- Don’t Overbeat the Cream Cheese: Beat it until it’s smooth and fluffy, but once you add the sugar and vanilla, mix only until just combined. Overbeating can incorporate too much air, which can sometimes lead to a less stable texture.
- Whip Cream to Stiff Peaks: This gives your cheesecake its light, airy, yet firm texture. If your cream is too runny, your cheesecake won’t set properly. Cold cream whips best!
- Gentle Folding: When combining the whipped cream with the cream cheese mixture, fold it gently. This preserves the airiness of the whipped cream and ensures a smooth, creamy filling.
- Chilling is Crucial: Patience is a virtue, especially with no-bake desserts! The longer your cheesecake chills, the firmer and more sliceable it will be. Overnight is always ideal. If you’re a fan of impressive layered desserts that don’t require an oven, you might also enjoy making a no-bake chocolate lasagna.
How to Store No Bake Oreo Cheesecake
Once your cheesecake has set and you’ve enjoyed your first glorious slice, you’ll want to make sure you store any leftovers properly to keep them fresh and delicious.
- Refrigeration: Always store your No-Bake Oreo Cheesecake in an airtight container or tightly covered with plastic wrap in the refrigerator. This will keep it fresh and prevent it from absorbing any other fridge odors.
- Shelf Life: Properly stored, your cheesecake will last for up to 3-4 days in the refrigerator.
- Freezing: Yes, you can freeze it! If you want to make it ahead or save some for later, place the cheesecake (uncovered) in the freezer until firm (about an hour). Then, wrap it tightly in plastic wrap, followed by a layer of aluminum foil. It can be frozen for up to 1 month. Thaw it in the refrigerator overnight before serving.
FAQs
Got questions? I’ve got answers!
Q: Can I use store-bought whipped cream instead of whipping my own?
A: While freshly whipped cream gives the best texture and flavor, you can substitute 2 cups of thawed whipped topping (like Cool Whip) for the heavy whipping cream and confectioners’ sugar. Just fold it into the cream cheese mixture.
Q: My cheesecake didn’t set. What went wrong?
A: The most common culprits are either not whipping the heavy cream to stiff peaks or not allowing enough chilling time. Make sure your cream cheese was soft, and your heavy cream was very cold before whipping!
Q: Can I make this in a different size pan?
A: Yes, you can use an 8-inch springform pan for a taller cheesecake, or a 9×13 inch baking dish for a flatter, bar-style dessert. Adjust chilling time accordingly – thinner cheesecakes might set faster.
Q: Do I really need to remove the Oreo filling for the crust?
A: Yes, for the crust, removing the filling helps create a perfectly crumbly and firm base. The filling will make the crust too greasy and soft. But don’t worry, we use that extra filling in the cheesecake itself, so no deliciousness goes to waste!
I hope you love this No-Bake Oreo Cheesecake as much as I do. It’s a true testament to how easy and incredibly delicious homemade desserts can be. Happy baking (or rather, no-baking!), my friends!
For more delicious recipes and kitchen inspiration, be sure to follow us on Pinterest!
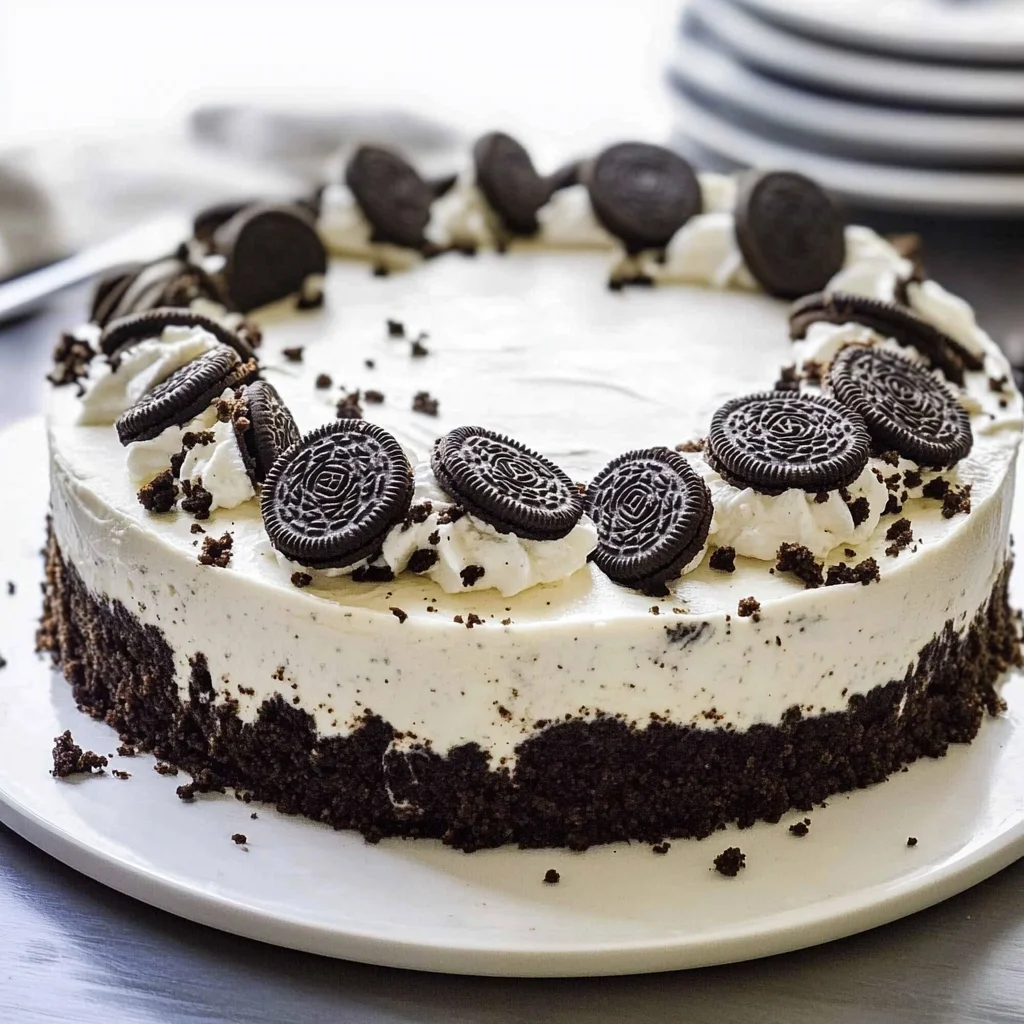
No-Bake Oreo Cheesecake
Ingredients
Equipment
Method
- Step 1: For the crust, twist open 24 Oreo cookies and remove the creamy filling, setting it aside in a bowl. Place the naked cookie wafers into a food processor and pulse until finely crushed, yielding about 1½ cups of crumbs.
- Step 2: In a large bowl, combine the finely crushed Oreo cookies with the melted butter. Stir until every crumb is coated and it looks like wet sand.
- Step 3: Press the cookie mixture firmly and evenly into the bottom of a 9-inch springform pan, and slightly up the sides if desired. Use the back of a measuring cup to compact it down. Pop this into the refrigerator to chill.
- Step 4: In a large bowl, beat the softened cream cheese with a hand mixer until wonderfully light and fluffy.
- Step 5: Add the granulated sugar, vanilla extract, and the reserved Oreo cookie filling to the cream cheese. Beat again until thoroughly combined and smooth.
- Step 6: In a separate, clean large bowl, pour in the heavy whipping cream. Using a hand mixer, whip the cream until it starts to thicken. Gradually add the confectioners' sugar and continue beating until beautiful, stiff peaks form.
- Step 7: Gently fold about 2 cups of the whipped cream mixture into the cream cheese mixture. Also, gently fold in about 1 cup of the crushed Oreo cookies (from the 15 reserved for filling and garnish). Mix just until combined; do not overmix.
- Step 8: Pour the cheesecake filling evenly over the chilled Oreo crust in the springform pan. Use a spatula to spread it smooth.
- Step 9: Refrigerate your cheesecake for at least 3-4 hours, or ideally overnight, for the best results and a perfectly set slice.
- Step 10: Just before serving, if you have any remaining whipped cream, dollop it on top. Sprinkle with the reserved ¼ cup of crushed Oreos. Optionally, drizzle some hot fudge over the top. Serve immediately.