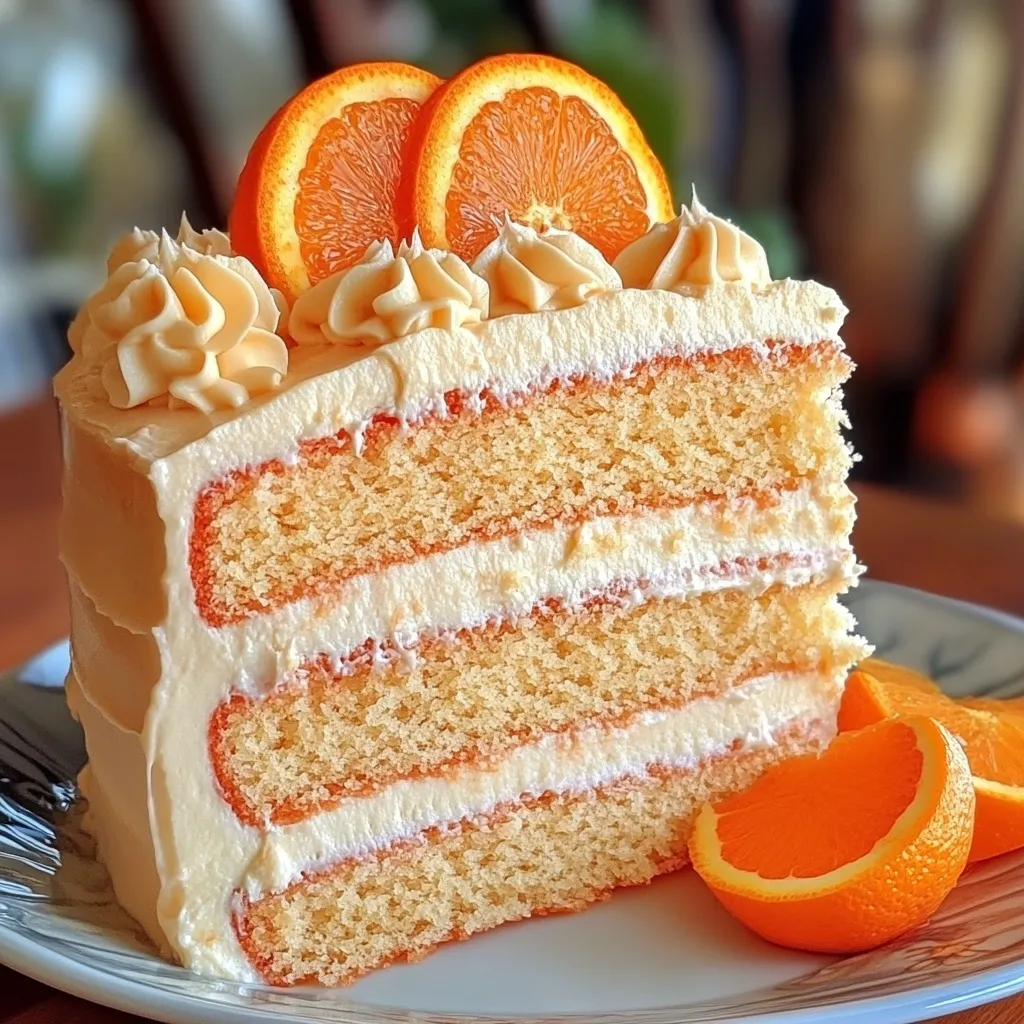
Remember those hot summer days, the sound of the ice cream truck jingling down the street, and that moment of pure bliss biting into a frosty orange creamsicle? Ahh, pure nostalgia! Well, get ready to bottle up that feeling because today, we’re transforming that iconic flavor into a show-stopping layer cake. This isn’t just any cake; it’s sunshine in dessert form! It’s surprisingly simple to make, smells absolutely divine as it bakes, and tastes like your favorite childhood summer memory.
Why You’ll Love This Recipe
This Orange Creamsicle Layer Cake is more than just delicious; it’s a joy to bake and share!
- Fast-ish! Okay, layer cakes take a little time, but this one comes together without too much fuss.
- Easy! If you can mix batter and beat frosting, you can absolutely make this beautiful cake.
- Giftable! Seriously, who wouldn’t light up receiving a slice (or a whole cake!) of this happy dessert?
- Crowd-Pleasing! That classic orange and vanilla combo is a guaranteed hit with everyone.
Ingredients
Gathering your ingredients is the first step to getting this party started! Here’s what you’ll need for this sunshine cake:
For the Orange Cake Layers:
- 225g (1 cup) unsalted butter, softened: Make sure it’s truly soft, like you can easily press a finger into it. Cold butter won’t cream properly!
- 300g (2 cups) granulated sugar: Sweetness and structure for our cake.
- 4 large eggs: At room temperature are best for emulsifying into the batter smoothly.
- 2 tsp vanilla extract: Adds that classic ‘creamsicle’ vanilla note.
- 280g (2½ cups) all-purpose flour: The base of our cake! Be sure to measure it correctly (spoon into the cup and level).
- 2 tsp baking powder: Our leavening agent to help the cake rise beautifully.
- ¼ tsp salt: Balances the sweetness and enhances the flavors.
- 1 tbsp fresh orange zest: This is where a lot of that bright orange flavor comes from! Don’t skip grating fresh zest.
- 120ml (½ cup) fresh orange juice: Freshly squeezed really does make a difference here for that vibrant citrus taste.
- 120ml (½ cup) whole milk: Also best at room temperature for a smooth batter.
For the Orange Buttercream Frosting:
- 225g (1 cup) unsalted butter, softened: Again, nice and soft!
- 600g (4 cups) powdered sugar: The key to fluffy buttercream. Sift it if it seems clumpy.
- 1 tsp vanilla extract: More creamy vanilla goodness.
- 1–2 tbsp fresh orange juice: Start with one, add more until you get the perfect consistency.
- 1 tbsp fresh orange zest: Double down on that orange flavor!
For Decoration (Optional but Recommended!):
- Sliced oranges: Fresh slices look gorgeous and add freshness.
- Whipped cream or additional frosting: For pretty piping on top.
How to Make It
Okay, let’s get baking! Follow these steps, and you’ll have a gorgeous, delicious cake ready to go.
1. First things first, preheat your oven to 175°C (350°F). Get three 8-inch round cake pans ready by greasing them and lining the bottoms with parchment paper. This makes getting the cakes out so much easier!
2. In your largest mixing bowl, add that lovely softened butter and the granulated sugar. Beat them together with an electric mixer until the mixture is light and fluffy – this can take a few minutes. It should look pale yellow.
3. Add the eggs one at a time, beating really well after each addition. Scrape down the sides of the bowl as needed to make sure everything is getting incorporated.
4. Stir in the vanilla extract. It smells good already, right?
5. In a separate, medium-sized bowl, whisk together the all-purpose flour, baking powder, salt, orange zest, and guess what? More orange juice! This is slightly different from the traditional way but infuses the dry ingredients with flavor.
6. Now, it’s time to combine wet and dry. With the mixer on low speed, gradually alternate adding the dry ingredients mixture and the milk to the wet butter mixture. Start with about a third of the dry ingredients, mix just until it’s starting to combine, then add half of the milk, mix, then another third of the dry, the rest of the milk, and finish with the last third of the dry. Mix just until everything is combined and you don’t see any dry streaks of flour. Seriously, don’t overmix, or your cake can get tough.
7. Divide the batter evenly among your three prepared cake pans. I like to use a kitchen scale for this to ensure they are all exactly the same weight, which helps them bake evenly.
8. Pop those pans into the preheated oven. Bake for 25–30 minutes. You’ll know they’re done when a toothpick inserted into the center of a cake comes out clean.
9. Let the cakes cool in their pans for about 10 minutes. They’ll firm up a little. Then, carefully turn them out onto a wire rack to cool completely. Make sure they are totally cool before you even think about frosting them, or you’ll have a melty mess!
Now, let’s whip up that dreamy frosting!
10. In a clean mixing bowl (or the same one, washed and dried), beat the softened butter until it’s smooth and creamy.
11. Gradually add the powdered sugar, about a cup at a time, beating on a low speed until it’s incorporated. This helps prevent a sugar cloud explosion in your kitchen!
12. Add the vanilla extract, the orange juice (start with 1 tbsp), and the orange zest. Beat them in.
13. Now, increase the mixer speed to medium-high and beat for 3–4 minutes. This is the secret to light and fluffy buttercream! Beat until it’s wonderfully smooth. If it seems too thick, add the second tablespoon of orange juice (or even a tiny bit more, just a teaspoon at a time) until you reach your desired consistency.
Alright, time to assemble this masterpiece!
14. Place one cooled cake layer on your cake stand or serving plate. A little dollop of frosting on the plate first helps secure the cake.
15. Spread a nice, generous layer of that fluffy orange buttercream over the top of the first cake layer, going almost to the edge.
16. Gently place the second cake layer on top and press lightly. Spread another layer of frosting.
17. Place the third layer on top. Now, apply a thin layer of frosting all over the top and sides of the cake. This is your “crumb coat” – it traps any loose crumbs and gives you a smooth surface for the final layer.
18. Pop the cake in the fridge for 15–20 minutes. This lets the crumb coat firm up and makes applying the final layer of frosting so much easier!
19. Once the crumb coat is set, apply your final, thicker layer of frosting over the sides and top. Smooth it out with an offset spatula or bench scraper for a clean finish, or give it a rustic swirl!
20. If you like, load some frosting (or whipped cream) into a piping bag with a star tip and pipe some pretty dollops around the top edge of the cake.
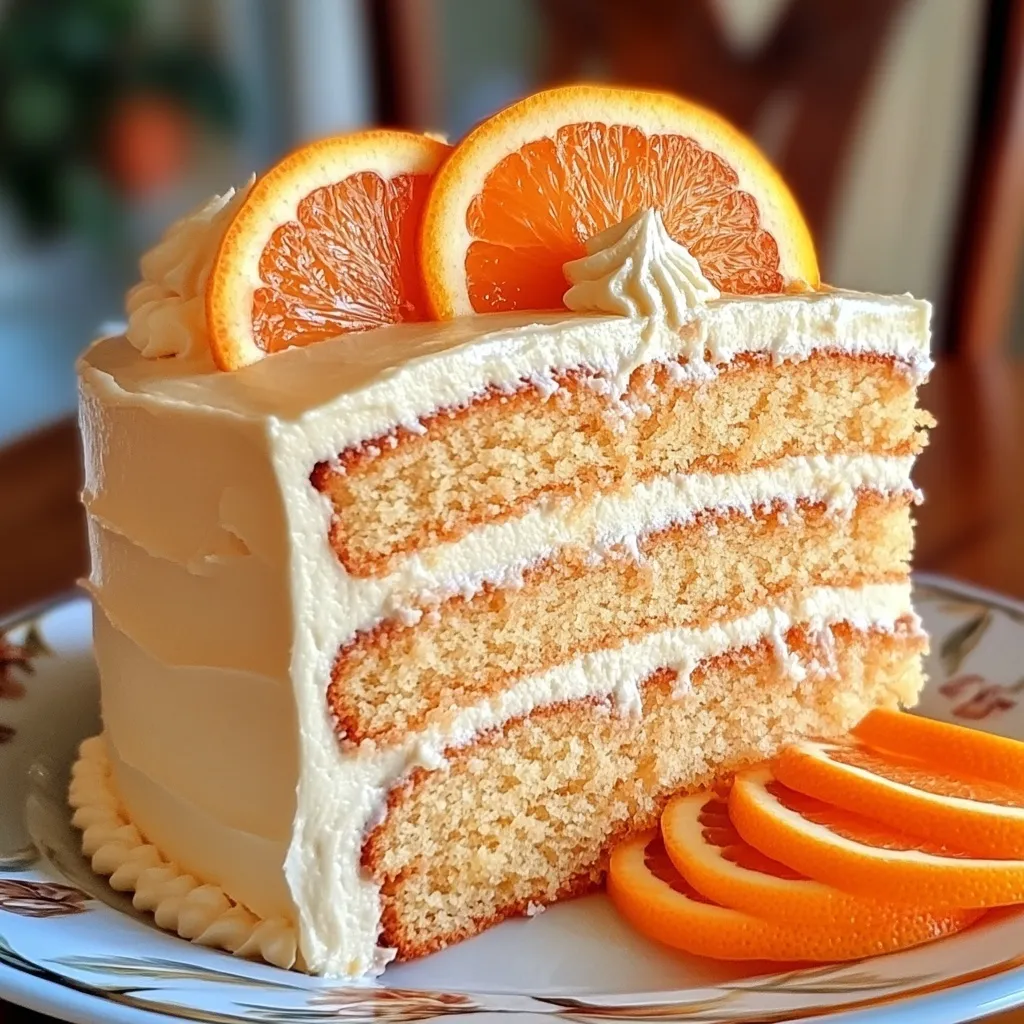
21. Arrange fresh orange slices around the base or on top for beautiful garnish. It really highlights the flavor!
22. Slice into that glorious stack and serve immediately! Enjoy that taste of sunshine!
Substitutions & Additions
Want to play around with this recipe? Here are a few ideas:
- Lemon Swap: You could swap the orange zest and juice for lemon for a Lemon Vanilla cake!
- Add Extract: For an extra punch of flavor, add ½ tsp of orange extract to the cake batter and/or frosting.
- Different Frosting: Not a buttercream fan? A cream cheese frosting would be lovely here, or even a stabilized whipped cream frosting for a lighter cake.
- Mix-ins: Fold ½ cup of white chocolate chips into the cake batter before baking for little pockets of sweetness.
- Decoration Fun: Add sprinkles, toasted coconut, or white chocolate curls to the outside of the cake.
Tips for Success
Making a great cake is all about the details! Keep these tips in mind:
- Room Temperature Ingredients: Make sure your butter, eggs, and milk are at room temperature. This helps them emulsify properly for a smooth, well-risen cake.
- Measure Flour Correctly: Don’t scoop directly from the bag! Fluff the flour in the bag, then spoon it into your measuring cup and level off the top with a straight edge. Too much flour is a common cake mistake.
- Don’t Overmix: Once you add the dry ingredients, mix just until the flour disappears. Overmixing develops gluten, which can make your cake tough.
- Cool Completely: I know, I know, you want to frost it! But hot or warm cakes will melt buttercream into a greasy mess. Patience is key here.
- The Crumb Coat: Don’t skip this step! It’s a thin layer that catches all the loose crumbs, ensuring your final frosting layer is smooth and beautiful.
- Prep Ahead: You can bake the cake layers a day in advance, wrap them tightly in plastic wrap, and store them at room temperature. The frosting can also be made a day ahead and stored in the fridge; just let it soften slightly and re-whip before using.
How to Store It
If you manage to have any left, here’s how to keep your beautiful cake fresh:
- Room Temperature: This cake is fine at room temperature for 1-2 days, especially if your room isn’t too warm. Keep it covered loosely with plastic wrap or under a cake dome.
- Refrigerator: For longer storage, or if it’s warm, store the cake in an airtight container or covered well with plastic wrap in the refrigerator for up to 4-5 days.
- Freezing: You can freeze individual slices or whole layers (unfrosted). Wrap tightly in plastic wrap, then in foil, and place in a freezer bag or container. Frosted cake can also be frozen, but it’s best to freeze it uncovered until the frosting is hard, then wrap tightly. Thaw in the refrigerator overnight.
FAQs
Got questions? I’ve got answers!
Q: Can I make this into cupcakes?
A: Absolutely! This batter should yield about 24 cupcakes. Bake for 18-22 minutes, or until a toothpick comes out clean. The frosting quantity is perfect for frosting cupcakes too.
Q: Do I have to use fresh orange juice and zest?
A: Fresh is definitely recommended for the best flavor. Bottled juice will work, but it won’t have the same bright, fresh taste. The zest is crucial for intense orange flavor, so please use fresh if possible!
Q: My buttercream seems too thick/thin. What do I do?
A: If it’s too thick, add a tiny bit more orange juice (a teaspoon at a time) or even a splash of milk until it reaches the right consistency. If it’s too thin, add powdered sugar, a tablespoon at a time, beating until it’s thick enough. Make sure your butter wasn’t melted initially, just soft.