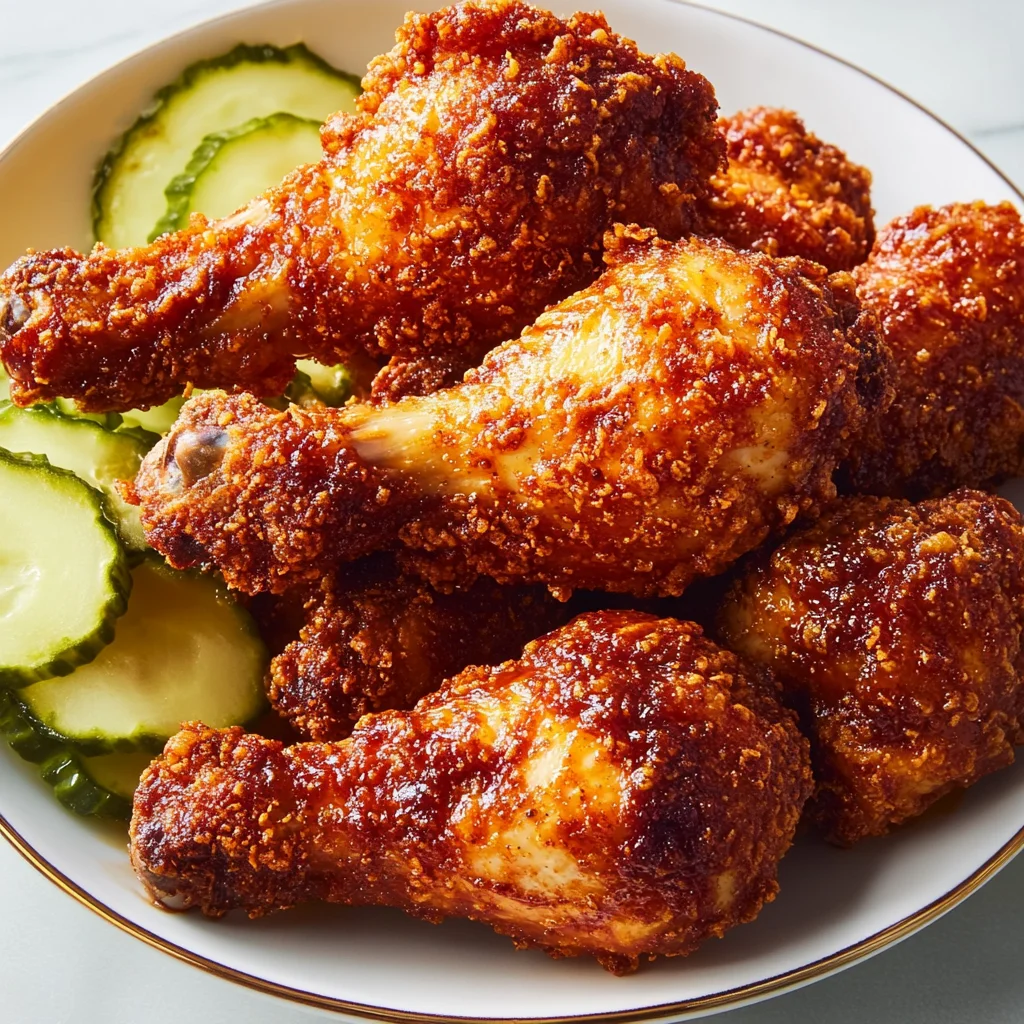
Okay, friends, let’s talk about that legendary Nashville Hot Chicken. You know the one – that perfect combination of unbelievably crispy coating, tender, juicy chicken, and a fiery, smoky, sweet kick that just keeps you coming back for more. Traditionally, it’s deep-fried, which, let’s be honest, can be a bit of a production (and a mess!). But what if I told you you could capture all that amazing flavor and crunch right in your own kitchen oven?
This recipe is my absolute go-to when that Nashville craving hits without the frying fuss. It’s surprisingly easy, seriously cuts down on the grease, and still delivers on that essential crispy skin and that signature spicy glaze. Get ready to make some magic!
Why You’ll Love This Recipe
- Fast(er than deep frying!)
- Easy (Less mess, simple steps)
- Giftable (Maybe not this hot chicken, but the idea of making comfort food is!)
- Crowd-pleasing (Warning: may cause happy tears and requests for more!)
Ingredients
Here’s what you’ll need to gather. Most of these are probably already hanging out in your pantry!
- For the Chicken:
- 8 pieces bone-in chicken (Drumsticks, thighs, or breasts work great here. Bone-in tends to stay moister!)
- 1 cup buttermilk (Our secret weapon for tender chicken!)
- 1 large egg (Helps the coating stick like a dream.)
- 2 cups all-purpose flour (The base for our crispy shell.)
- 2 tablespoons smoked paprika (Adds that essential smoky depth.)
- 1 tablespoon garlic powder (Because everything is better with garlic.)
- 1 tablespoon onion powder (Adds another layer of savory flavor.)
- 1 teaspoon cayenne pepper (This brings the heat! Adjust up or down based on your spice tolerance.)
- 1 teaspoon salt (Crucial for flavor.)
- 1/2 teaspoon black pepper (Adds a little bite.)
- For the Hot Oil Glaze:
- 1/2 cup unsalted butter (Melts into the perfect base for our fiery glaze.)
- 1/4 cup hot sauce (Such as Frank’s RedHot. Use your favorite!)
- 2 tablespoons cayenne pepper (Yep, more heat! This is Nashville Hot, after all.)
- 2 tablespoons brown sugar (Balances the heat with a touch of sweetness.)
- 1 teaspoon smoked paprika (More smoky goodness.)
- 1/2 teaspoon garlic powder (Can you ever have too much garlic?)
- 1/2 teaspoon black pepper (Finishes off the spice blend.)
How to Make It
Ready to make some magic? Let’s get cooking!
1. First things first, let’s get that chicken ready for its flavor bath. In a large bowl, grab a whisk and combine the buttermilk and the egg. Give it a good mix. Pop your chicken pieces into the bowl, making sure they are completely submerged in that lovely liquid. This is where the magic starts – the buttermilk helps tenderize the chicken and makes the coating stick better. Cover the bowl and let it chill in the fridge for at least 2 hours. If you have time, letting it go overnight is even better for maximum flavor and tenderness!
2. While your chicken is soaking up all that goodness, let’s prep the dry coating. In a shallow dish (or a big resealable bag – hello, easy cleanup!) combine the flour, smoked paprika, garlic powder, onion powder, cayenne pepper, salt, and black pepper. Give everything a thorough mix so all those spices are evenly distributed throughout the flour. This is going to be our crispy crust!
3. Time to get the oven hot! Preheat your oven to a toasty 425°F (220°C). Line a large baking sheet with foil (trust me, this makes cleanup SO much easier later!). Place an oven-safe wire rack on top of the foil-lined sheet. Lightly spray the wire rack with cooking spray. The rack is key to getting that all-around crispy texture because it allows air to circulate underneath the chicken.
4. Now for the coating! Take a piece of chicken out of the buttermilk mixture, letting any excess drip off for a second. Dredge (that just means coating!) each piece generously in the flour mixture you made. Really press the flour onto the chicken, making sure you get a thick, even coating all over. You want every inch covered!
5. Place the dredged chicken pieces onto the prepared wire rack on your baking sheet. Make sure to leave a little space between each piece so they can get crispy and not steam. Pop the baking sheet into your preheated oven and bake for 30 minutes. After 30 minutes, carefully flip each piece of chicken. Bake for another 20-30 minutes. The exact time will depend on the size of your chicken pieces. You’re looking for the chicken to be cooked through (an internal temperature of 165°F or 74°C) and the coating to be beautifully golden brown and crispy.
6. While your chicken is getting nice and golden in the oven, whip up that signature hot oil glaze! In a small saucepan, melt the butter over low heat. Once it’s melted, stir in the hot sauce, cayenne pepper, brown sugar, smoked paprika, garlic powder, and black pepper. Whisk everything together until it’s well combined and heated through. You don’t want it to boil, just get warm enough for everything to melt together into a smooth, spicy sauce.
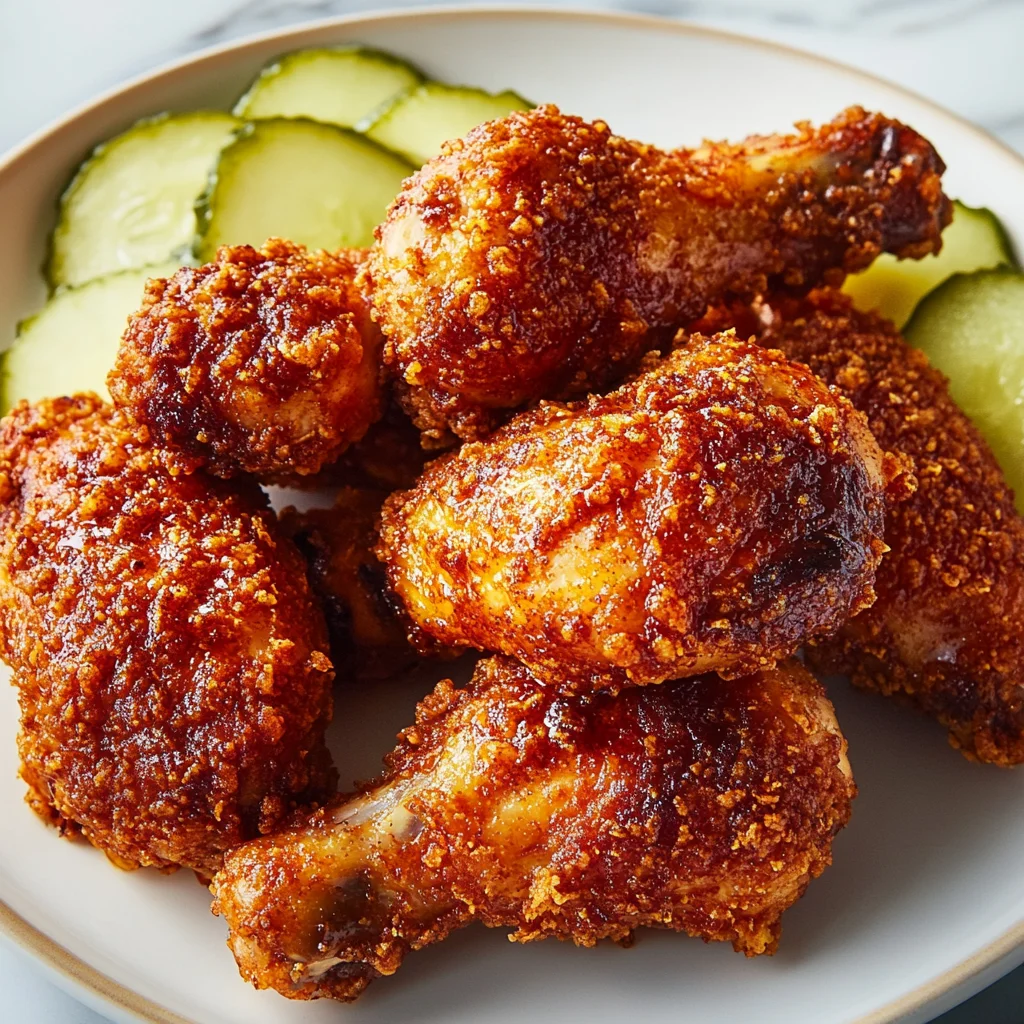
7. As soon as the chicken comes out of the oven, immediately brush each piece generously with that hot oil glaze. Don’t be shy! Get every nook and cranny. The hot chicken will really soak up that flavorful glaze. Serve it hot and prepare for rave reviews! It’s amazing with pickles on top, coleslaw, or just on its own.
Substitutions & Additions
Want to switch things up? Here are a few ideas:
- Chicken Cuts: You can absolutely use boneless, skinless pieces, but they will cook much faster (reduce baking time significantly!) and might not stay quite as moist without the bone and skin. Bone-in, skin-on pieces truly give the best result for this recipe.
- Buttermilk Substitute: No buttermilk? You can make your own! Combine 1 cup of milk (dairy or non-dairy) with 1 tablespoon of white vinegar or lemon juice. Let it sit for 5-10 minutes until it looks slightly curdled, then use it like regular buttermilk.
- Adjusting the Heat: This recipe has a kick! For less heat, reduce or omit the cayenne pepper in both the flour mixture and the hot oil glaze. For more heat, add extra cayenne, a pinch of red pepper flakes, or even a dash of super hot sauce to the glaze.
- Additions: Traditional Nashville Hot Chicken is served simply, often on white bread with pickle chips. Try serving yours this way! A side of coleslaw, mac and cheese, or potato salad makes it a full meal.
Tips for Success
Here are a few pointers to make sure your Nashville Hot Oven-Fried Chicken turns out perfectly every time:
- Don’t Skip the Brine: The buttermilk soak is crucial for both tenderness and getting a good, thick coating. Plan ahead for this step!
- Use a Wire Rack: This is non-negotiable for oven frying. It allows air to circulate, ensuring the bottom of the chicken gets just as crispy as the top.
- Don’t Overcrowd: Give your chicken pieces space on the rack. If they’re too close, they’ll steam instead of getting crispy. You might need to use two baking sheets.
- Get a Good Coating: Really press the flour mixture onto the chicken. A thick, even coating is what gives you that satisfying crunch.
- Brush Immediately: As soon as the chicken comes out of the oven, brush on the hot glaze. The heat of the chicken helps the glaze adhere and soak in slightly.
- Prep Ahead: You can definitely do the buttermilk soak a day in advance. You can also mix the flour coating ingredients ahead of time and keep them in a sealed container.
How to Store It
While this chicken is definitely best enjoyed fresh and hot right after glazing, you can store leftovers.
Store any leftover chicken in an airtight container in the refrigerator for 3-4 days. To reheat, the best way to maintain some crispiness is in the oven or an air fryer. Reheating in the microwave will still taste good, but the coating will likely soften.
FAQs
Got questions? I’ve got (brief!) answers!
Can I use boneless chicken breasts?
Yes, but they will cook much faster (check them earlier!) and may not stay as moist. Bone-in, skin-on is recommended for the best result.
Why oven-fried instead of deep-fried?
It’s less messy, uses less oil, and is generally considered a lighter option while still achieving a great crispy texture thanks to the high heat and wire rack.
How spicy is this recipe?
It has a significant kick! The cayenne pepper in the flour and the glaze provides heat. You can adjust the amount of cayenne up or down based on your personal spice preference.
Can I make the hot oil glaze ahead of time?
You can make it ahead, but it will solidify as it cools. You’ll need to gently reheat it in a small saucepan over low heat just before you’re ready to brush the chicken.
Easy Oven-Fried Nashville Hot Chicken
Ingredients
Equipment
Method
- 1. Prepare Chicken Soak: In a large bowl, whisk together the buttermilk and egg. Add the chicken pieces, ensuring they are fully submerged. Cover and refrigerate for at least 2 hours, or preferably overnight.
- 2. Prepare Dry Coating: In a shallow dish or large resealable bag, combine the flour, 2 tablespoons smoked paprika, 1 tablespoon garlic powder, 1 tablespoon onion powder, 1 teaspoon cayenne pepper, 1 teaspoon salt, and 1/2 teaspoon black pepper. Mix thoroughly.
- 3. Preheat Oven: Preheat your oven to 425°F (220°C). Line a large baking sheet with foil and place an oven-safe wire rack on top. Lightly spray the rack with cooking spray.
- 4. Coat Chicken: Remove a piece of chicken from the buttermilk mixture, letting excess drip off. Dredge each piece generously in the flour mixture, pressing to ensure a thick, even coating.
- 5. Bake Chicken: Place the coated chicken pieces on the prepared wire rack, leaving space between pieces. Bake for 30 minutes. Flip each piece and bake for another 20-30 minutes, until cooked through (internal temp 165°F/74°C) and golden brown and crispy. (Total bake time: 50-60 minutes)
- 6. Make Hot Oil Glaze: While chicken bakes, melt the butter in a small saucepan over low heat. Stir in the hot sauce, 2 tablespoons cayenne pepper, brown sugar, 1 teaspoon smoked paprika, 1/2 teaspoon garlic powder, and 1/2 teaspoon black pepper. Whisk until combined and heated through (do not boil).
- 7. Glaze and Serve: Immediately upon removing the chicken from the oven, brush each piece generously with the hot oil glaze. Serve hot, optionally with pickles, coleslaw, or white bread.