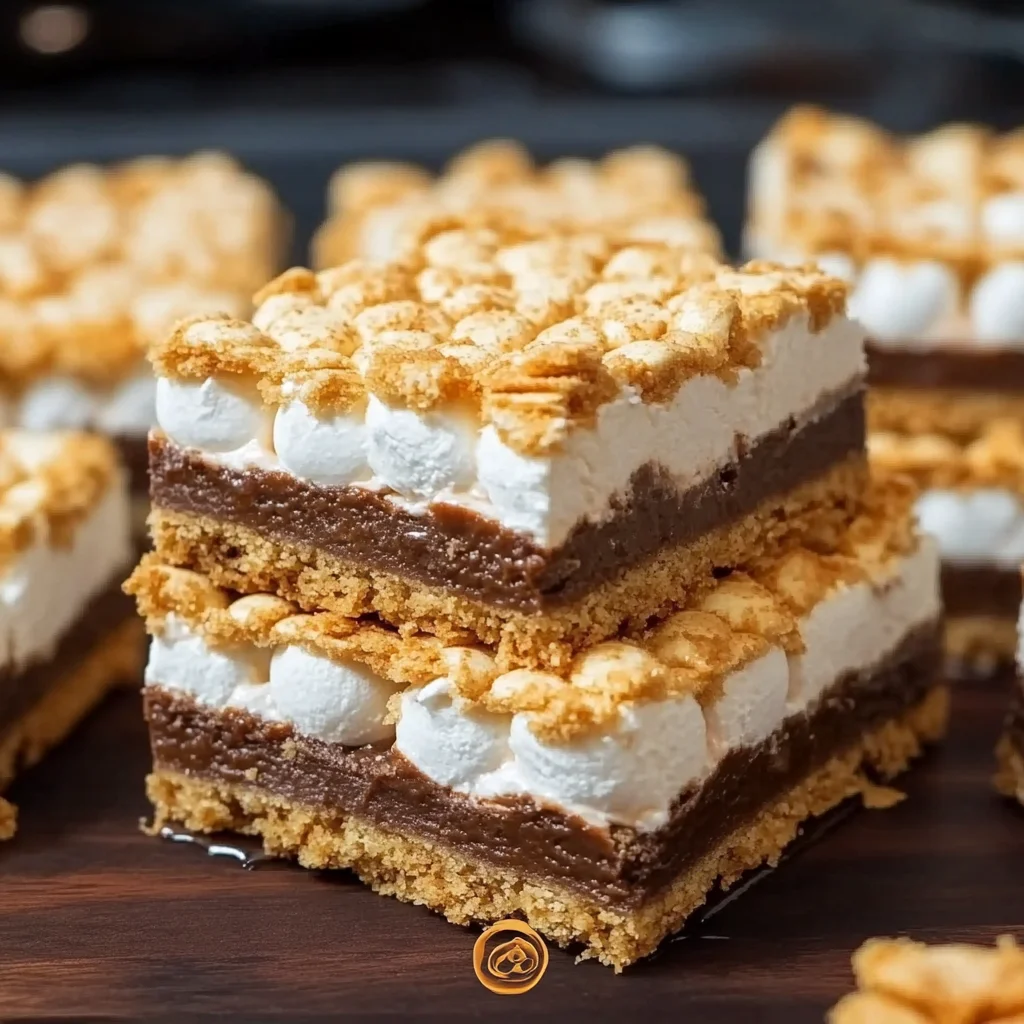
Remember gathering around a crackling campfire, roasting marshmallows until they’re perfectly golden (or maybe a little burnt!), and squishing them between graham crackers with a piece of chocolate? Ah, the nostalgia! What if I told you you could capture all that ooey-gooey s’mores magic right in your kitchen, with no smoke in your eyes or sticky fingers (well, maybe a little sticky)? These Gooey S’mores Bars are the answer! They’re ridiculously easy, super quick to whip up, and honestly, they taste like pure happiness. Get ready to make some unforgettable memories (and a few delightful crumbs!).
Why You’ll Love This Recipe
- Fast: Ready in about 30 minutes active time!
- Easy: Seriously simple steps, perfect for beginners.
- Giftable: Package them up for friends – they’ll be thrilled!
- Crowd-pleasing: Who doesn’t love s’mores?!
Ingredients
Alright, let’s gather our campfire (kitchen) essentials! Most of these are likely already in your pantry.
- 1/2 cup unsalted butter, melted: Melts down easily for the base. Unsalted is best so you control the saltiness.
- 1/2 cup brown sugar, packed: Adds that lovely moisture and a touch of caramel flavor. Make sure you pack it down in the measuring cup!
- 1/4 cup granulated sugar: Just a bit for sweetness balance.
- 1 egg: Our binder, helping everything stick together like true s’mores!
- 1 tsp vanilla extract: A splash of warmth and flavor. Don’t skip this!
- 1 cup all-purpose flour: The structure for our bar base.
- 1 cup graham cracker crumbs: Hello, s’mores flavor! You can buy them pre-crushed or crush your own.
- 1/2 tsp baking powder: Gives our bars a little lift.
- 1/4 tsp salt: Just a pinch to balance all that sweetness.
- 1 1/2 cups mini marshmallows: The star of the show! They get perfectly gooey and toasted on top.
- 1 cup milk chocolate chips: Melts into glorious chocolate rivers. Milk chocolate is classic s’mores, but use your fave!
- 1/2 cup crushed graham crackers for topping: Adds that perfect crunch and extra graham goodness right on top.
How to Make It
Ready to create some magic? Follow these simple steps, and you’ll have warm, gooey bars in no time!
First things first, let’s get the oven ready. Preheat it to 350°F (that’s 175°C if you’re working with Celsius). While it’s heating up, grab an 8×8-inch baking pan. I always recommend lining it with parchment paper, leaving a little overhang on the sides. This makes lifting the finished bars out so much easier – trust me on this one!
Now, in a large bowl, pour in that melted butter. Add your brown sugar (packed!) and granulated sugar. Give it a good mix until everything is nicely combined and looks like a sandy, sugary mixture.
Next, crack in your egg and pour in the vanilla extract. Whisk everything together until it’s well combined and smooth. It should look glossy and inviting!
In a separate bowl, measure out your dry ingredients: the all-purpose flour, graham cracker crumbs, baking powder, and salt. Give them a quick whisk just to make sure they’re all distributed evenly.
Now it’s time to bring the wet and dry ingredients together. Gradually add the dry mixture to your wet mixture. Mix just until everything is combined. Don’t overmix! You’ll have a soft dough.
Take about two-thirds of this delicious dough and press it evenly into the bottom of your prepared pan. Use your fingers or the back of a spoon to get it nice and flat, forming the base of your bars.
Now for the fun part: the fillings! Sprinkle those milk chocolate chips evenly over the dough layer. Get them right to the edges!
Pile the mini marshmallows right on top of the chocolate chips. Don’t be shy! They’ll puff up and get toasted in the oven.
Remember that leftover dough? Crumble it right over the top of the marshmallows and chocolate. Just scatter it around. Once it’s all crumbled, gently press down on the top layer. You just want to lightly compact it.
Finally, sprinkle the extra crushed graham crackers over the very top. This adds a lovely finish and extra texture.
Pop the pan into your preheated oven and bake for about 25 minutes. You’re looking for the top to be golden brown and the bars to be set around the edges. The middle might still look a little soft, which is perfect for gooeyness!
Here’s the hardest part (I know, I know): Let those bars cool completely in the pan before you even think about cutting them. Those gooey layers need time to set up. If you try to cut them while they’re warm, they’ll be a beautiful mess (a delicious mess, but a mess!). Once they’re cool, use the parchment paper overhang to lift the whole slab out and cut it into squares. Enjoy your s’mores paradise!
Substitutions & Additions
Want to play around a bit? Here are some ideas to make these bars uniquely yours!
- Chocolate Swap: Not a milk chocolate fan? Use semi-sweet or even dark chocolate chips. Peanut butter chips or white chocolate chips would also be delicious!
- Graham Cracker Fun: Instead of just graham crackers, try using Biscoff cookies or Nilla wafers for a different flavor twist in the base or topping.
- Add Nuts: Sprinkle some chopped nuts like pecans or walnuts over the chocolate layer for added crunch.
- Get Salty: A sprinkle of flaky sea salt over the top right after baking can enhance the sweet and chocolatey flavors beautifully.
Tips for Success
Making these bars is pretty straightforward, but here are a few insider tips to ensure they turn out perfect every time:
- Don’t Overmix: When adding the dry ingredients, mix just until the flour streaks disappear. Overmixing can make the bars tough.
- Use Parchment Paper: Seriously, this makes life so much easier when it comes to getting the bars out of the pan!
- Cool Completely: I mentioned it before, but it’s worth repeating! Patience is key to clean slices.
- Marshmallow Placement: Try to keep the marshmallows somewhat centered, away from the very edges of the pan, as they can melt and stick.
How to Store It
If by some miracle you have leftovers, here’s how to keep them fresh and gooey:
Store the cooled bars in an airtight container at room temperature. Layer them between sheets of parchment or wax paper to prevent them from sticking together. They should stay wonderfully soft and delicious for 3-4 days.
For longer storage, you can freeze the cut bars. Wrap individual bars tightly in plastic wrap, then place them in a freezer-safe bag or container. They’ll keep in the freezer for up to 3 months. Thaw them at room temperature before enjoying.
FAQs
Got questions? I’ve got answers!
Q: Can I use marshmallow fluff instead of mini marshmallows?
A: I don’t recommend it for this recipe. Fluff will just melt into a sticky puddle rather than holding its shape and getting that slightly toasted texture like the mini marshmallows do.
Q: My marshmallows got too brown on top, what happened?
A: Keep an eye on them! Ovens can vary. If they’re browning too quickly before the base is done, you can loosely tent the pan with aluminum foil for the remaining bake time.
Q: Can I double this recipe?
A: Yes, you can double the recipe and bake it in a 9×13-inch pan. The baking time might increase slightly, so keep an eye on it – probably closer to 30-35 minutes.
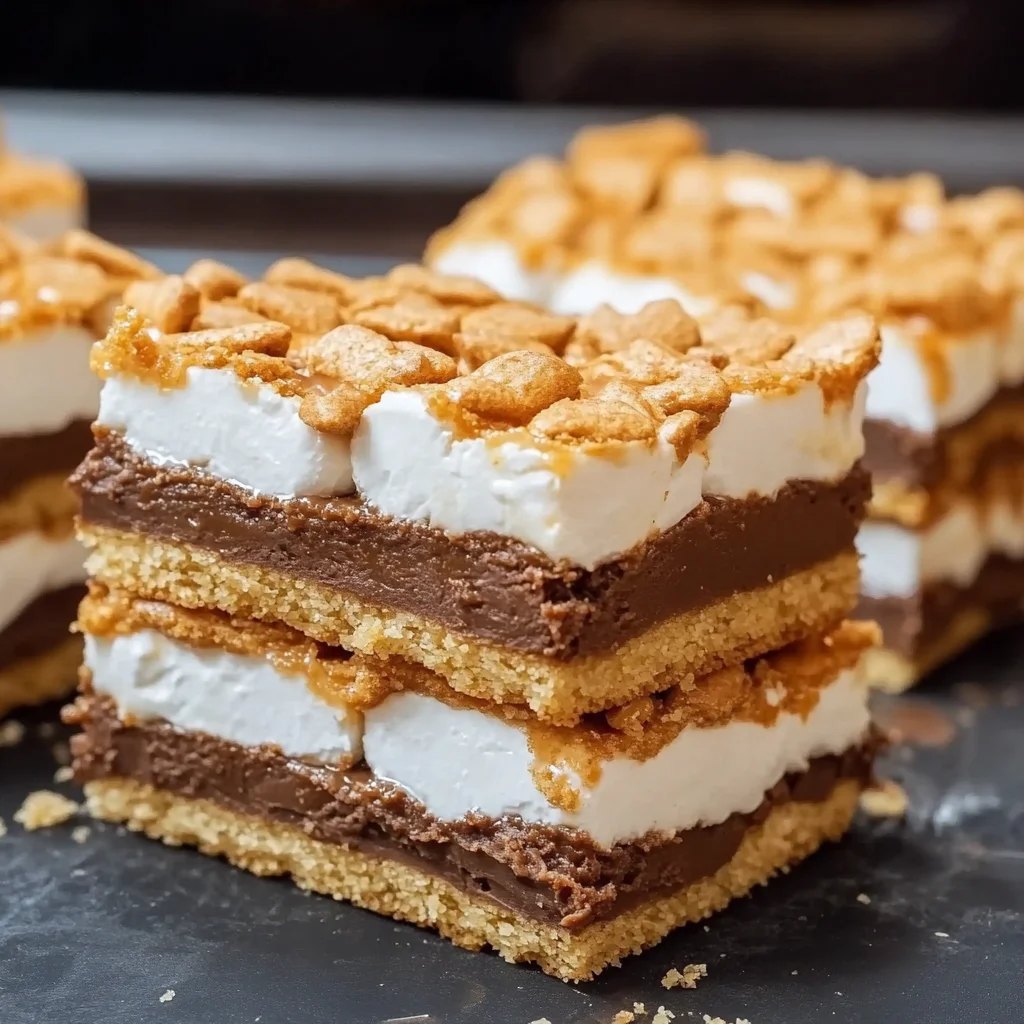
Gooey S'mores Bars
Ingredients
Equipment
Method
- Step 1: Preheat oven to 350°F (175°C). Line an 8x8-inch baking pan with parchment paper, leaving overhang.
- Step 2: In a large bowl, mix melted butter, brown sugar, and granulated sugar until combined.
- Step 3: Whisk in the egg and vanilla extract until well combined and smooth.
- Step 4: In a separate bowl, whisk together all-purpose flour, graham cracker crumbs, baking powder, and salt.
- Step 5: Gradually add the dry mixture to the wet mixture. Mix just until combined into a soft dough.
- Step 6: Press about two-thirds of the dough evenly into the bottom of the prepared pan.
- Step 7: Sprinkle milk chocolate chips evenly over the dough layer.
- Step 8: Pile the mini marshmallows on top of the chocolate chips. Try to keep marshmallows away from the edges.
- Step 9: Crumble the remaining dough over the top of the marshmallows and chocolate. Gently press down the top layer.
- Step 10: Sprinkle the extra crushed graham crackers over the very top.
- Step 11: Bake for about 25 minutes, until the top is golden brown and the edges are set.
- Step 12: Let bars cool completely in the pan before lifting out with parchment paper overhang and cutting into squares.