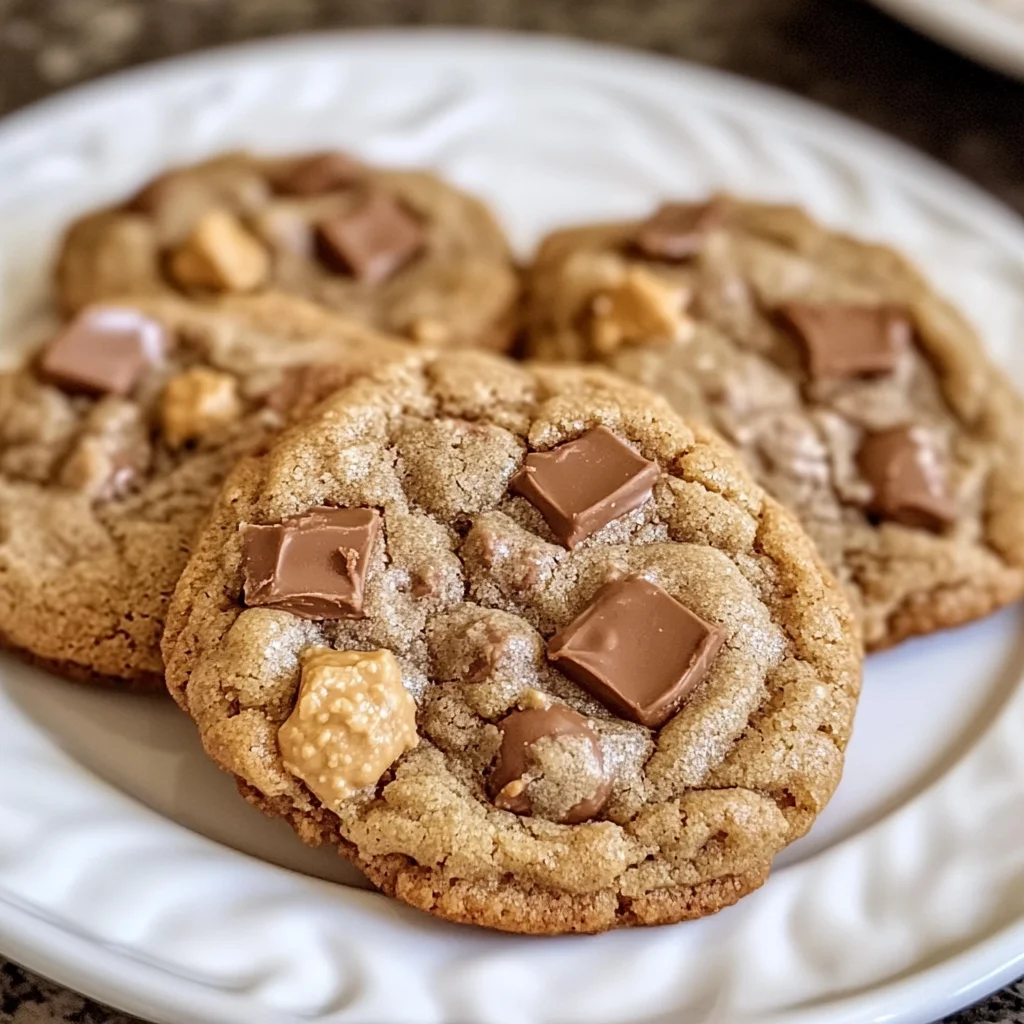
There’s something incredibly comforting about the smell of freshly baked cookies wafting through the kitchen, isn’t there? It instantly takes me back to childhood afternoons, sneaking bites of my grandma’s homemade treats while she smiled knowingly. Peanut Butter Butterfinger Cookies bring that same nostalgic warmth but with a fun, crunchy twist thanks to the beloved Butterfinger candy pieces mixed right into the dough. These cookies aren’t just another sweet snack — they’re a delightful blend of creamy peanut butter goodness and crispy candy crunch that will have you reaching for seconds (and thirds!). Best of all, they’re super easy to whip up and perfect for sharing with friends, family, or even gifting during the holidays.
Why You’ll Love Peanut Butter Butterfinger Cookies
- Fast: From mixing to baking, these cookies come together in under 30 minutes (not counting optional chilling time!).
- Easy: No complicated techniques or fancy ingredients — just pantry staples and Butterfinger bars.
- Giftable: Their beautiful golden color and candy-studded texture make them a charming homemade gift.
- Crowd-pleasing: Whether it’s a bake sale, party, or just a cozy night in, these cookies disappear fast.
Ingredients
Before you dive in, let’s talk ingredients. This recipe uses simple, familiar pantry staples with one special star: Butterfinger candy bars. Here’s a quick rundown:
- Unsalted butter: Softened for easy creaming and that tender cookie crumb.
- Granulated sugar and light brown sugar: A perfect blend for sweetness and moisture, plus a hint of caramel from the brown sugar.
- Creamy peanut butter: Adds richness and that signature peanut butter flavor we all love.
- Egg: Helps bind everything together while keeping the cookies soft.
- Pure vanilla extract: A splash of vanilla deepens the flavor beautifully.
- All-purpose flour: The classic base for structure.
- Baking soda and baking powder: These leavening agents work together to give your cookies a light, tender rise.
- Kosher salt: Just a pinch to balance sweetness and enhance flavor.
- Butterfinger candy: Chopped into chunks, these bars add irresistible crunch and a buttery, crispy candy flavor that complements the peanut butter perfectly.
If you’ve ever enjoyed the no-bake peanut butter brownie cookies over at Crispy Kitchens, you’ll appreciate how the Butterfinger candy transforms these baked cookies into something equally incredible but with a satisfying crunch.
How to Make Peanut Butter Butterfinger Cookies
Ready to bake? Let’s break it down step by step. I promise it’s as easy as pie (or should I say cookie?).
- Cream the butter and sugars: Start by beating your softened butter on medium speed until it’s smooth and creamy. Add both granulated and brown sugar, then beat for about 2 minutes until the mixture is light and fluffy. Scrape down the sides of the bowl to make sure everything is evenly mixed.
- Add peanut butter, egg, and vanilla: Next, add your creamy peanut butter and beat until fully combined. Then mix in the egg and vanilla extract until the dough is smooth and uniform. Don’t forget to scrape down the bowl again — this step ensures even mixing.
- Combine dry ingredients: Add the flour to the bowl, but don’t mix yet. Sprinkle baking soda, baking powder, and kosher salt evenly over the flour. Gently stir these dry ingredients together on top of the flour to distribute them evenly.
- Mix the dough: Turn your mixer to low speed and mix just until the dough begins to come together. It’s okay if you still see some streaks of flour; overmixing can make the cookies tough. Stop the mixer and scrape the bowl one last time.
- Fold in the Butterfinger candy: Using a spatula, fold in the chopped Butterfinger pieces until they’re evenly distributed throughout the dough. This is where the magic happens — those crunchy candy bits will give each bite a delightful texture.
- Chill the dough (optional): For thicker cookies, cover your dough and refrigerate it for 30 to 60 minutes. This step is optional but highly recommended if you prefer your cookies on the chunkier side.
- Preheat and prepare baking sheets: Preheat your oven to 350°F (175°C). Line two large baking sheets with parchment paper to prevent sticking and ensure even baking.
- Portion the dough: Using a large cookie scoop (about 2 tablespoons), portion dough into balls and place them at least 2 inches apart on the baking sheets. This gives the cookies room to spread without sticking together.
- Bake: Bake the cookies one sheet at a time in the center of your oven for 10-12 minutes. You want the edges to be set and lightly golden, but the centers should remain soft and slightly underbaked for that perfect chewy texture.
- Cool and finish: Let the cookies cool on the baking sheet for at least 10 minutes. If you want to add a little extra Butterfinger crunch, gently press more chopped candy pieces on top while the cookies are still warm. Then transfer them to a wire rack to cool completely before enjoying.
If you love buttery, candy-studded cookies, you’ll also want to check out the Crumbl Peanut Butter Reeses Copycat Cookies recipe on Crispy Kitchens for another peanut butter treat that’s equally delicious.
Substitutions & Additions
Don’t have Butterfinger bars on hand? No worries! You can swap in other crunchy candy bars or mix-ins to customize these cookies to your liking. Here are some ideas to get creative:
- Other candy bars: Try chopped Heath bars, Butterfingers’ close cousin, or even chopped peanut butter cups for a different flavor profile.
- Chocolate chips or chunks: If you want to skip candy bars, semi-sweet or dark chocolate chips add a lovely richness against the peanut butter.
- Crunchy nuts: Chopped roasted peanuts, pecans, or almonds add texture and nutty flavor without added sweetness.
- Add a sprinkle of sea salt: A tiny pinch of flaky sea salt on top of the cookies right out of the oven can elevate the flavors beautifully.
- Use natural peanut butter: For a healthier twist, swap creamy peanut butter with natural or even almond butter. Just note the texture might change slightly.
For a no-bake alternative packed with peanut butter goodness, you might enjoy the No Bake Peanut Butter Brownie Cookies — perfect when you want something quick and fuss-free.
Tips for Success
Baking cookies is as much an art as it is a science, so here are some of my personal tips to make sure your Peanut Butter Butterfinger Cookies turn out perfectly every time:
- Don’t skip chilling the dough: While optional, chilling helps prevent spreading and gives you thicker, chewier cookies. If you’re short on time, even 15 minutes in the fridge helps.
- Measure flour properly: Spoon and level your flour instead of scooping directly from the bag to avoid packing too much flour, which can make cookies dry and dense.
- Use room temperature ingredients: The egg and butter should be at room temperature for better mixing and texture.
- Mix carefully: Overmixing after adding the flour can develop gluten and make your cookies tough. Mix just until combined.
- Watch your baking time: The cookies continue to set as they cool on the baking sheet. Pull them out when edges are golden but centers are still soft for that perfect chew.
- Press extra Butterfinger pieces on top: Right after baking, this little trick adds extra crunch and makes the cookies look irresistible.
Speaking of baking tips, if you’re looking for more cozy dessert ideas, don’t miss the Salted Caramel Crunch Cookies for another sweet and salty treat that’s sure to delight.
How to Store Peanut Butter Butterfinger Cookies
Once baked, these cookies store beautifully so you can enjoy them over several days—or even longer if you plan ahead. Here’s how to keep them fresh:
- Room temperature: Store your cookies in an airtight container at room temperature for up to 4-5 days. Place a slice of bread in the container to help maintain softness—it’s an old baking secret that really works!
- Refrigeration: If your kitchen is warm or humid, you can refrigerate the cookies for up to a week. Just bring them back to room temperature before serving for the best texture.
- Freezing: These cookies freeze wonderfully. Place them in a single layer on a baking sheet to freeze individually, then transfer to a freezer-safe bag or container. Freeze for up to 3 months. Thaw at room temperature for about an hour before enjoying.
Storing cookies properly means you can bake ahead for parties or gift-giving. If you love gifting homemade treats, you might also enjoy the charming Grandma’s Secret Easy Blueberry Biscuits for a savory-sweet option.
FAQs
Can I use crunchy peanut butter instead of creamy?
Absolutely! Crunchy peanut butter will add even more texture to the cookies, which can be a nice contrast to the smooth dough and crispy Butterfinger bits.
What if I don’t have Butterfinger candy bars?
You can swap in other crunchy candy bars like Heath or Skor, or even use peanut butter cups or chopped chocolate chips for a different but equally tasty variation.
Do I have to chill the dough?
Nope! Chilling is optional but recommended if you want thicker cookies. If you’re in a hurry, you can skip it, but the cookies may spread out a bit more.
How do I make sure my cookies stay soft?
Don’t overbake! Pull the cookies out when the edges are set but the centers still look slightly underbaked. Letting them cool on the baking sheet helps them set up without drying out.
With these tips and tricks, you’re all set to bake up a batch of Peanut Butter Butterfinger Cookies that will be the star of any gathering or a comforting treat on a quiet night. And if you’re craving more delicious recipes to try, check out the full collection over at Crispy Kitchens’ recipe hub for endless inspiration.
Happy baking, friend! Don’t forget to follow us on Pinterest for more tasty recipes and kitchen inspiration.

Peanut Butter Butterfinger Cookies
Ingredients
Equipment
Method
- Step 1: Cream the softened unsalted butter with granulated and light brown sugar on medium speed until smooth and fluffy, about 2 minutes. Scrape down the bowl sides.
- Step 2: Add creamy peanut butter and beat until combined. Then mix in the egg and pure vanilla extract until the dough is smooth and uniform. Scrape down the bowl again.
- Step 3: Add all-purpose flour to the bowl. Sprinkle baking soda, baking powder, and kosher salt evenly over the flour. Gently stir dry ingredients on top to distribute.
- Step 4: Mix on low speed just until the dough begins to come together. Some streaks of flour are okay; avoid overmixing. Scrape the bowl one last time.
- Step 5: Fold in chopped Butterfinger candy pieces evenly with a spatula.
- Step 6 (optional): Chill the dough covered in the refrigerator for 30 to 60 minutes for thicker cookies.
- Step 7: Preheat the oven to 350°F (175°C). Line two large baking sheets with parchment paper.
- Step 8: Using a large cookie scoop (about 2 tablespoons), portion dough into balls and place them at least 2 inches apart on baking sheets.
- Step 9: Bake cookies one sheet at a time in the oven center for 10-12 minutes until edges are set and lightly golden but centers remain soft and chewy.
- Step 10: Let cookies cool on the baking sheet for at least 10 minutes. Press extra Butterfinger pieces on top while warm if desired, then transfer to a wire rack to cool completely.