There’s just something about a comforting, savory skillet meal that brings everyone to the table, isn’t there? It reminds me of those wonderful, bustling nights at Texas Roadhouse, where every bite felt like a warm hug. Now, imagine bringing that iconic, melt-in-your-mouth butter chicken flavor right into your own kitchen, but without the wait! This Texas Roadhouse Butter Chicken Skillet recipe is not just easy, it’s lightning-fast and so incredibly satisfying, it’s destined to become a staple in your dinner rotation. Get ready for a dinner that feels special, yet comes together effortlessly.
Why You’ll Love Texas Roadhouse Butter Chicken Skillet
- Fast
- Easy
- Giftable
- Crowd-pleasing
Ingredients
Gathering your ingredients is the first step to any delicious meal, and for this Butter Chicken Skillet, you’ll find everything is super straightforward. Here’s what you’ll need:
- 4 boneless, skinless chicken breasts (or thighs): I often use breasts for speed, but thighs will give you a richer, juicier flavor if you have a little extra time!
- 4 tbsp butter, divided: The star of the show! We’re using real butter to get that signature Texas Roadhouse richness.
- 4 cloves garlic, minced: Fresh is best here, it really brightens up the sauce.
- 1 cup chicken broth: This forms the base of our savory, luscious sauce.
- 2 tbsp honey: Just a touch of sweetness balances the savory notes beautifully.
- 1 tsp paprika: For a lovely color and a hint of warm flavor.
- 1 tsp dried parsley: A classic herb that adds a fresh finish.
- Salt and cracked black pepper to taste: Essential for seasoning your chicken to perfection.
- Optional: shredded cheddar or Monterey Jack cheese for topping: If you love that cheesy goodness, don’t skip this!
- Optional: caramelized onions for extra richness: Talk about an upgrade! These add incredible depth.
How to Make Texas Roadhouse Butter Chicken Skillet
Alright, friends, let’s get cooking! This recipe is truly as simple as it gets, perfect for busy weeknights or when you just want maximum flavor with minimal fuss.
- First things first, let’s get that chicken seasoned up! Grab your boneless, skinless chicken breasts or thighs and give them a good sprinkle of salt, cracked black pepper, and paprika. Make sure they’re coated evenly – this is where a lot of our initial flavor comes from!
- Next, grab a large skillet (one that has a lid will be perfect for later!) and place it over medium heat. Melt 2 tablespoons of that lovely butter in the pan. Once it’s shimmering, carefully place your seasoned chicken into the skillet. Sear the chicken until it’s beautifully golden brown on both sides and cooked all the way through, which usually takes about 5-6 minutes per side, depending on the thickness of your chicken. Once done, remove the chicken from the skillet and set it aside on a plate. Don’t clean that pan just yet – those browned bits are flavor gold!
- Now, back to the skillet! Without cleaning it, melt the remaining 2 tablespoons of butter right into the pan. Add your minced garlic and let it cook for just about 30 seconds to a minute, until you can smell that amazing fragrance filling your kitchen. Be careful not to let it brown too much!
- Time to build our sauce! Pour in the chicken broth and the honey. Using a wooden spoon or spatula, scrape up all those delicious browned bits from the bottom of the pan – that’s called “fond,” and it’s pure flavor! You’ll see it dissolve into the liquid, making your sauce even richer.
- Gently return your cooked chicken pieces to the skillet. Spoon that wonderful sauce all over the top of the chicken. Let everything simmer together for about 5-7 minutes, giving the sauce a chance to thicken up slightly and for the flavors to really meld.
- If you’re opting for that cheesy finish, now’s the time! Sprinkle your shredded cheddar or Monterey Jack cheese evenly over the chicken. Pop a lid on the skillet and let it sit for just a minute or two, or until the cheese is perfectly melted and gooey. It adds such a nice touch!
- Finally, garnish your skillet with dried parsley for a pop of color and a fresh aroma. Serve it up hot! This skillet meal pairs wonderfully with a side of rice, mashed potatoes, or even some homemade breadsticks to soak up all that incredible sauce.
Substitutions & Additions
Part of the joy of cooking is making a recipe your own! Here are a few ideas to get your creative juices flowing for your Butter Chicken Skillet:
- For the Chicken: While breasts and thighs are classic, you could also use chicken tenders for an even quicker cook time. Just adjust the searing time accordingly!
- Spice It Up: If you like a little kick, add a pinch of red pepper flakes along with the paprika.
- Add Veggies: Sauté some sliced mushrooms, bell peppers, or even a handful of spinach right after the garlic step for added nutrition and flavor.
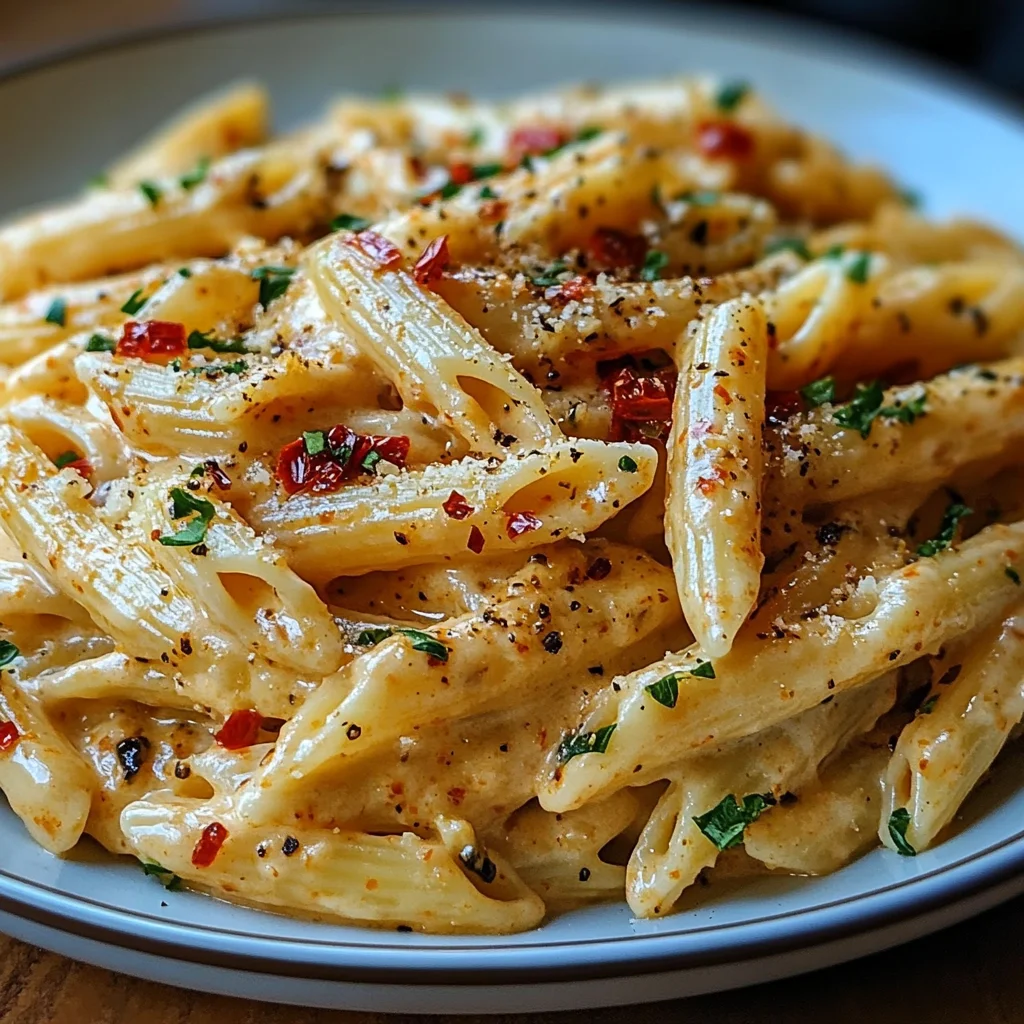
- Make it Creamier: For an even more luxurious sauce, stir in a splash of heavy cream or a spoonful of cream cheese (trust me on this one!) in the last few minutes of simmering. It adds a wonderful richness, almost like our Creamy Chicken Alfredo Tater Tot Casserole!
- Sweetness Swap: No honey? Maple syrup or a touch of brown sugar can work in a pinch for that hint of sweetness.
- Herb Power: Fresh parsley or chives chopped finely right before serving would be a fantastic fresh upgrade to the dried parsley.
Tips for Success
Cooking should be fun, not frustrating! Here are my top tips to ensure your Texas Roadhouse Butter Chicken Skillet turns out perfectly every single time:
- Don’t Crowd the Pan: If you’re making a double batch, sear your chicken in two separate batches. Crowding the pan will steam the chicken instead of searing it, and you won’t get that lovely golden crust.
- Scrape the Fond: Those browned bits at the bottom of the pan after cooking the chicken? That’s pure flavor gold! Make sure to scrape them up when you add the broth and honey; it’ll enrich your sauce tremendously.
- Chicken Thickness Matters: If your chicken breasts are very thick, consider pounding them lightly to an even ½-inch thickness. This ensures they cook more quickly and evenly.
- Taste and Adjust: Always taste your sauce before serving! You might want a little more salt, pepper, or even a tiny bit more honey to get it just right for your palate.
- Prep Ahead: You can season your chicken ahead of time and keep it in the fridge for up to 24 hours. This makes dinner even faster when you’re ready to cook!
How to Store Texas Roadhouse Butter Chicken Skillet
Sometimes, there are delicious leftovers (the best kind of problem to have!). Here’s how to store your skillet for maximum deliciousness:
- Refrigeration: Once cooled completely, transfer any leftover chicken and sauce to an airtight container. It will keep beautifully in the refrigerator for up to 3-4 days.
- Freezing: This dish freezes pretty well too! Place cooled chicken and sauce in a freezer-safe container or heavy-duty freezer bag. It can be frozen for up to 2-3 months. Thaw overnight in the refrigerator before reheating.
- Reheating: For best results, reheat gently on the stovetop over medium-low heat, adding a splash more chicken broth or water if the sauce seems too thick. You can also microwave individual portions until heated through.
FAQs
Got a question? I’ve got answers! Here are a few common queries about this fantastic dish:
Q: Can I use frozen chicken?
A: Yes, but make sure it’s fully thawed before seasoning and cooking. Patting it dry will also help it sear better!
Q: What are the best sides to serve with this?
A: Mashed potatoes, rice, steamed green beans, or a simple side salad are all fantastic choices. And of course, don’t forget some warm rolls to sop up that incredible sauce!
Q: Can I make this dish spicier?
A: Absolutely! Add a pinch of cayenne pepper or a dash of your favorite hot sauce to the pan along with the broth for an extra kick.
Q: Is this recipe gluten-free?
A: Yes, this recipe is naturally gluten-free as long as your chicken broth is gluten-free! Always double-check labels if it’s a concern.
For more mouth-watering recipes and daily inspiration, be sure to follow us on Pinterest!

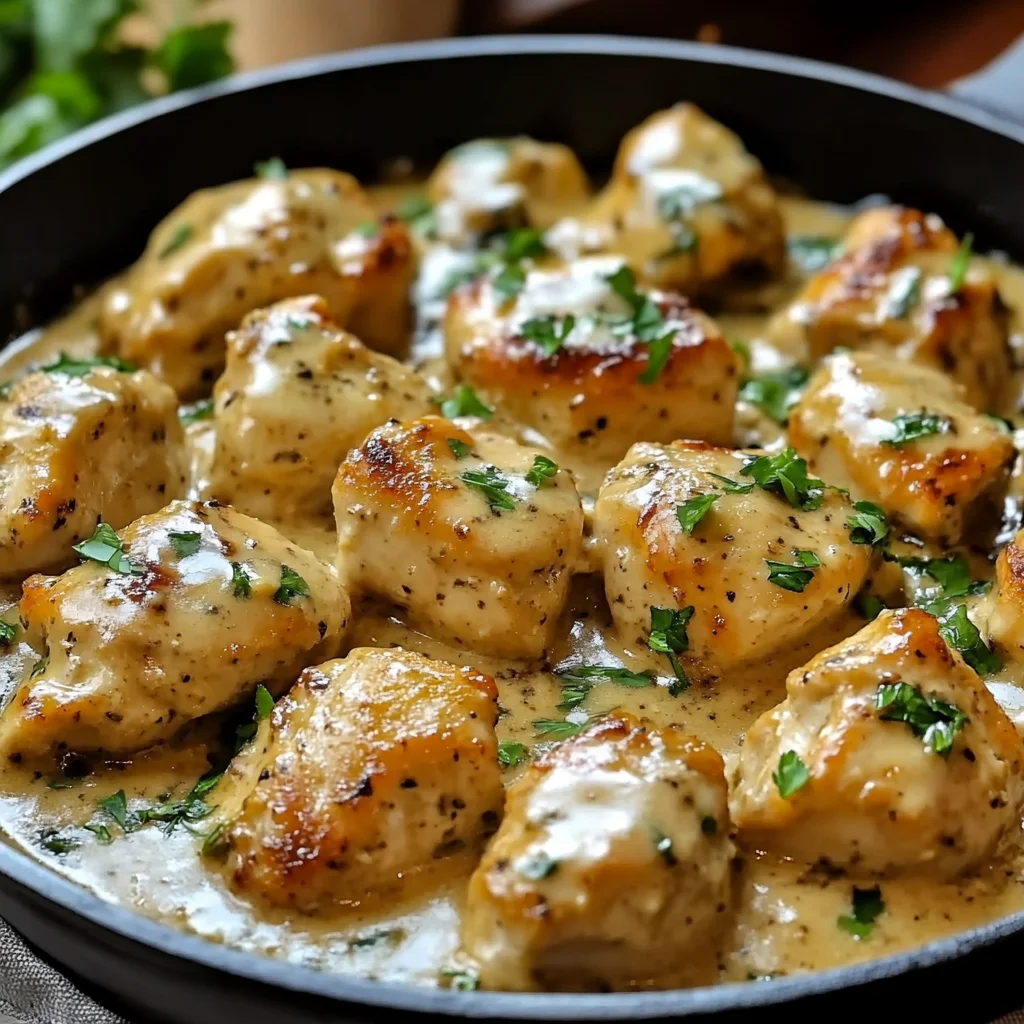
Texas Roadhouse Butter Chicken Skillet
Ingredients
Equipment
Method
- Step 1: Grab your boneless, skinless chicken breasts or thighs and season them evenly with salt, cracked black pepper, and paprika.
- Step 2: In a large skillet, melt 2 tablespoons of butter over medium heat. Carefully place your seasoned chicken into the skillet. Sear until golden brown on both sides and cooked through, about 5-6 minutes per side. Remove chicken from the skillet and set aside on a plate.
- Step 3: Without cleaning the skillet, melt the remaining 2 tablespoons of butter into the pan. Add your minced garlic and cook for about 30 seconds to 1 minute, until fragrant. Be careful not to let it brown too much.
- Step 4: Pour in the chicken broth and honey. Using a wooden spoon or spatula, scrape up all the delicious browned bits (fond) from the bottom of the pan to dissolve into the liquid.
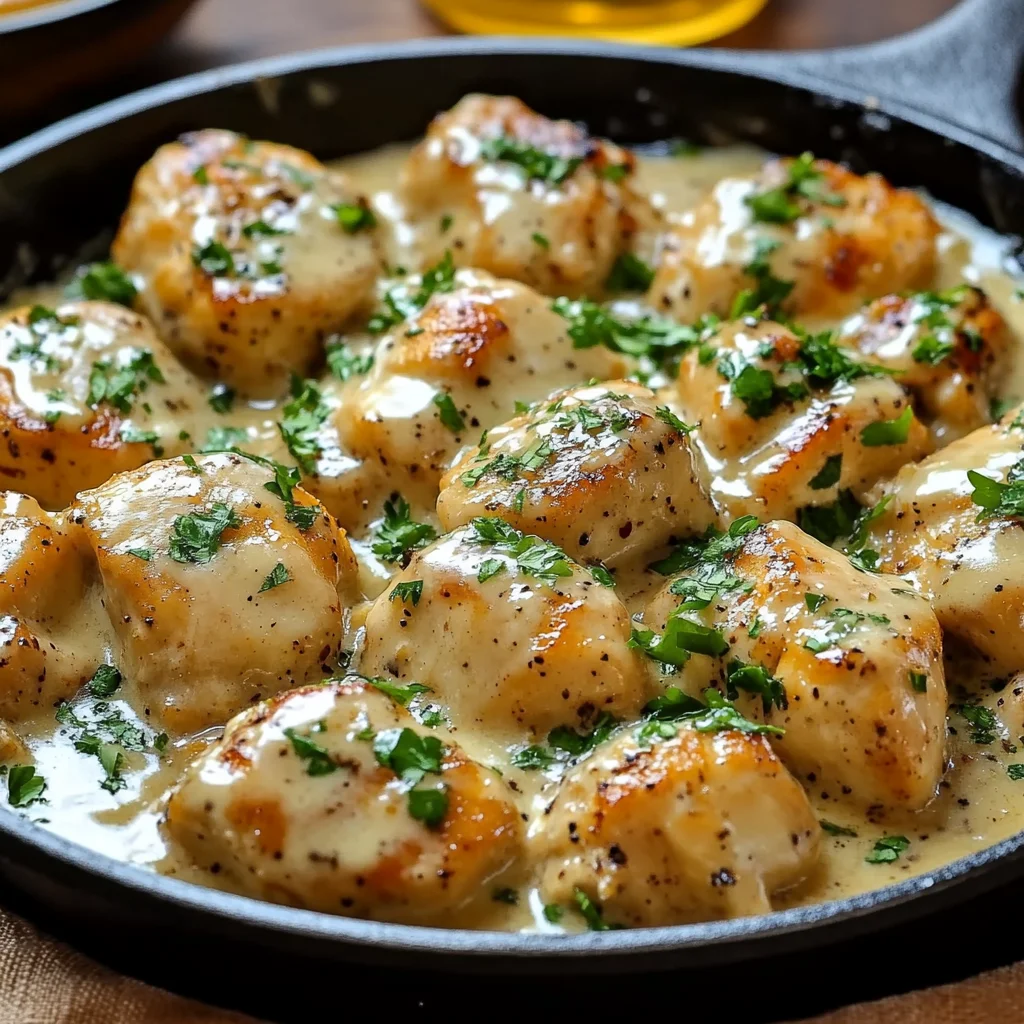
- Step 5: Gently return your cooked chicken pieces to the skillet. Spoon the sauce all over the top of the chicken. Let everything simmer together for about 5-7 minutes, allowing the sauce to thicken slightly and flavors to meld.
- Step 6: If opting for a cheesy finish, sprinkle your shredded cheddar or Monterey Jack cheese evenly over the chicken. Pop a lid on the skillet and let it sit for just 1-2 minutes, or until the cheese is perfectly melted and gooey.
- Step 7: Garnish your skillet with dried parsley for a pop of color and a fresh aroma. Serve it up hot, ideally with a side of rice, mashed potatoes, or some warm breadsticks.