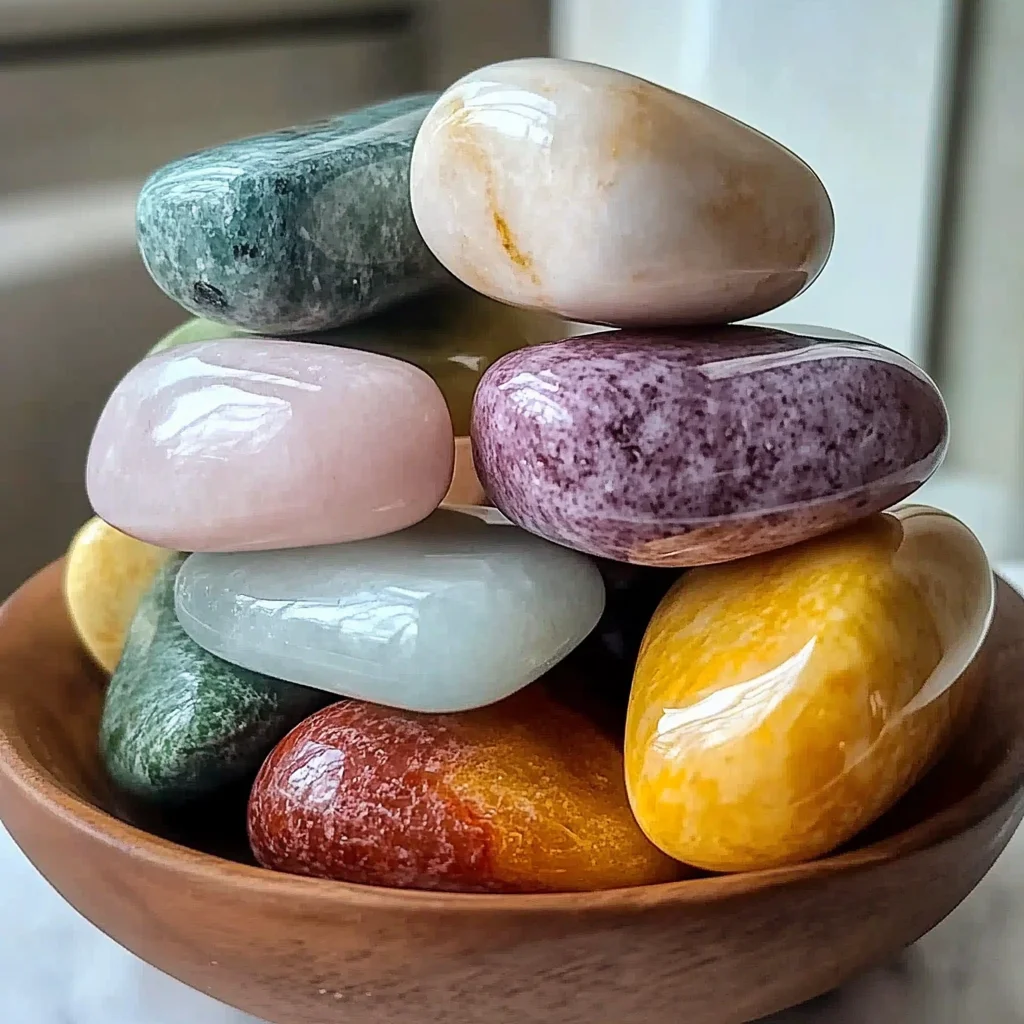
Ingredients
Equipment
Method
- Step 1: Grab a good-sized mixing bowl. Measure out your baking soda and cornstarch and combine them thoroughly. You want them completely mixed before adding any liquid, so give it a good whisk!
- Step 2: Slowly pour in the water, stirring continuously as you add it. You're aiming for a smooth, thick paste – almost like pancake batter, but a bit thicker. If it seems too dry, add a tiny bit more water, a teaspoon at a time. If it’s too wet, a sprinkle of more cornstarch will fix it right up.
- Step 3: Add 20-30 drops of your chosen essential oils. Stir it really well to make sure that beautiful fragrance is evenly distributed throughout your mixture.
- Step 4: If you’re feeling colorful, now’s the time to add a few drops of food coloring. Start with just one or two and mix until you get the shade you desire. Remember, a little goes a long way!
- Step 5: Lay out your silicone molds on a flat surface, perhaps on a piece of wax paper or parchment paper to protect your countertop.
- Step 6: Carefully spoon or pour the mixture into your molds. Don't overfill them! You can smooth the top with a small spatula or the back of a spoon to make them look neat and tidy.
- Step 7: Once filled, gently tap the molds on the counter a few times. This helps release any pesky air bubbles hiding in the mixture, ensuring your stones come out smooth.
- Step 8: Now, find a warm, dry spot in your home to let them do their thing. Covering them with a thin, breathable towel can help keep dust off while they dry.
- Step 9: Allow them to dry for at least 24 hours. You want them completely hardened and dry to the touch before moving them. If they still feel a little soft or damp, give them more time.
- Step 10: Finally, once they’re fully dry, carefully pop them out of the silicone molds. They should release easily!
Notes
Substitutions & Additions: Don't be shy about mixing essential oils! Try lavender and chamomile for ultimate relaxation, orange and peppermint for an energizing boost, or cinnamon and clove for a festive feel. For a beautiful visual touch, sprinkle a few dried lavender buds, rose petals, or tiny sprigs of rosemary into the molds before pouring in the mixture. Instead of food coloring, try a touch of cosmetic-grade mica powder for a lovely shimmer! While essential oils are fantastic, you could also experiment with fragrance oils (ensure they are skin-safe if you plan to touch the stones frequently) for different scent profiles.
Tips for Success: Ensure your dry ingredients are perfectly combined before adding water. This prevents lumps and helps create a uniform paste. The mixture should be thick enough to hold its shape but smooth enough to pour. If it's too crumbly, add water in tiny increments. If it's too runny, add a bit more cornstarch. Don't rush the drying process! If you unmold them too soon, they might crumble or break. A warm, well-ventilated area is ideal. Stir your essential oils thoroughly to ensure that every part of your stone has that lovely scent. You can mix the dry ingredients (baking soda and cornstarch) ahead of time and store them in an airtight container. When you're ready to make stones, just add water and oils!
How to Store Aroma Stones: If you’re making a batch to give as gifts or to use later, store them in an airtight container or a sealed jar. This helps preserve their scent and keeps them free from dust and humidity. Just like baked goods, these stones don't love humidity. Keep them in a dry environment to prevent them from softening or attracting moisture. The scent will naturally fade over time (usually a few weeks to a couple of months, depending on the oil). When it does, simply add a few more drops of your favorite essential oil directly onto the stone to refresh it!