Ingredients
Equipment
Method
- 1. Crust Time: Grab a small bowl, and let's get those cookies ready! Combine the 2 cups of crushed chocolate sandwich cookie crumbs with your melted butter. Give it a good stir until all the crumbs are moistened. It should look like wet sand, ready to be packed down.
- 2. Cup Prep: Now, for the fun part! Take your 28 two-ounce plastic cups. Using a small cookie scoop or a spoon, portion out the cookie crumb mixture into the bottom of each cup. Here’s my little trick: use the bottom of another plastic cup (or a shot glass!) to firmly press the crumbs into an even, compact layer. This creates a sturdy base for your creamy filling.
- 3. Creamy Filling Foundation: In a separate, larger mixing bowl, add your room-temperature cream cheese and granulated sugar. With an electric hand mixer, start on medium speed and cream these two together until they’re perfectly smooth and well combined. No lumps, please! This is where the magic really starts to happen for your no-bake cheesecake-like filling.
- 4. Whip it Good: Next, pour in the heavy whipping cream and vanilla extract. Increase your mixer speed to medium-high and whip until the mixture is light, fluffy, and holds soft peaks. Be careful not to overmix; you want it creamy, not stiff like butter.
- 5. Cookie Fold: Gently fold in the remaining ½ cup of crushed chocolate sandwich cookie crumbs. You want to see those beautiful cookie flecks throughout the creamy filling. Use a spatula for this step to keep that lovely airy texture you just whipped up.
- 6. Fill 'Em Up: Transfer your glorious cookies and cream mixture into a piping bag. If you don't have a piping bag, a large Ziploc bag with a corner snipped off works just as well! Pipe the mixture into each cup, filling them about three-quarters full. This leaves room for our pretty garnish!
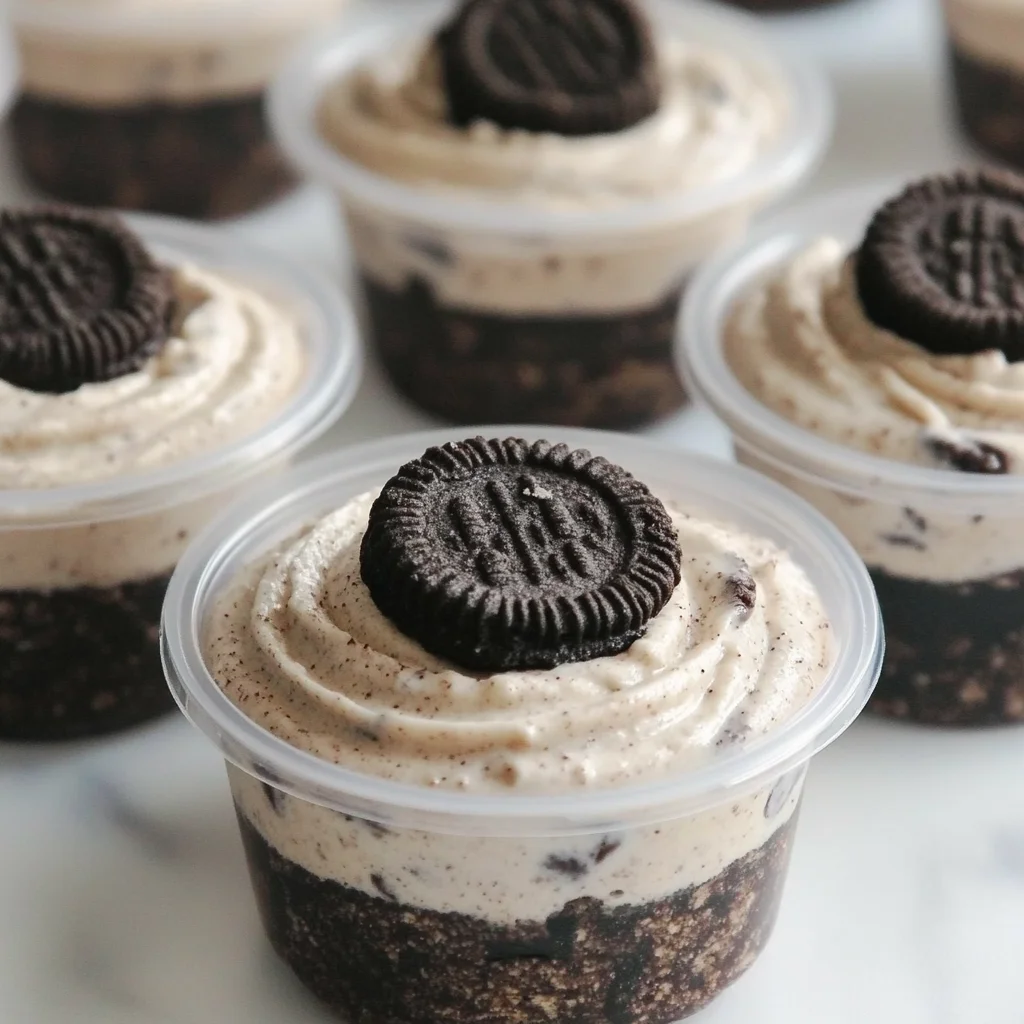
- 7. Garnish & Chill: Top each dessert cup with a mini chocolate sandwich cookie. If you prefer, a sprinkle of extra cookie crumbs looks fantastic too! Once garnished, pop a lid on each cup. This step is crucial for keeping them fresh and easy to transport. Place them in the fridge to chill for at least an hour, or until they're nicely set. The colder they are, the better they taste!
Notes
These dessert cups are excellent for making ahead and can be stored in the refrigerator for up to 3-4 days when properly covered. For best results, ensure cream cheese is at room temperature to achieve a smooth filling, and be careful not to overmix the heavy cream when whipping. Chilling time of at least an hour (or overnight) is crucial for the flavors to meld and the filling to set. Feel free to customize by using different cookie types (e.g., peanut butter, ginger snaps), folding in mini chocolate chips or candy bars, adding a swirl of caramel or hot fudge, or sprinkling with crushed toffee bits or nuts. For an adult version, a tablespoon of coffee liqueur or Irish cream can be added to the cream cheese mixture. This recipe can be made gluten-free with gluten-free chocolate sandwich cookies. If an electric mixer is unavailable, a whisk can be used, though it requires more effort. Store-bought whipped topping can be used as a substitute for heavy cream for a simpler preparation, though the texture may differ.