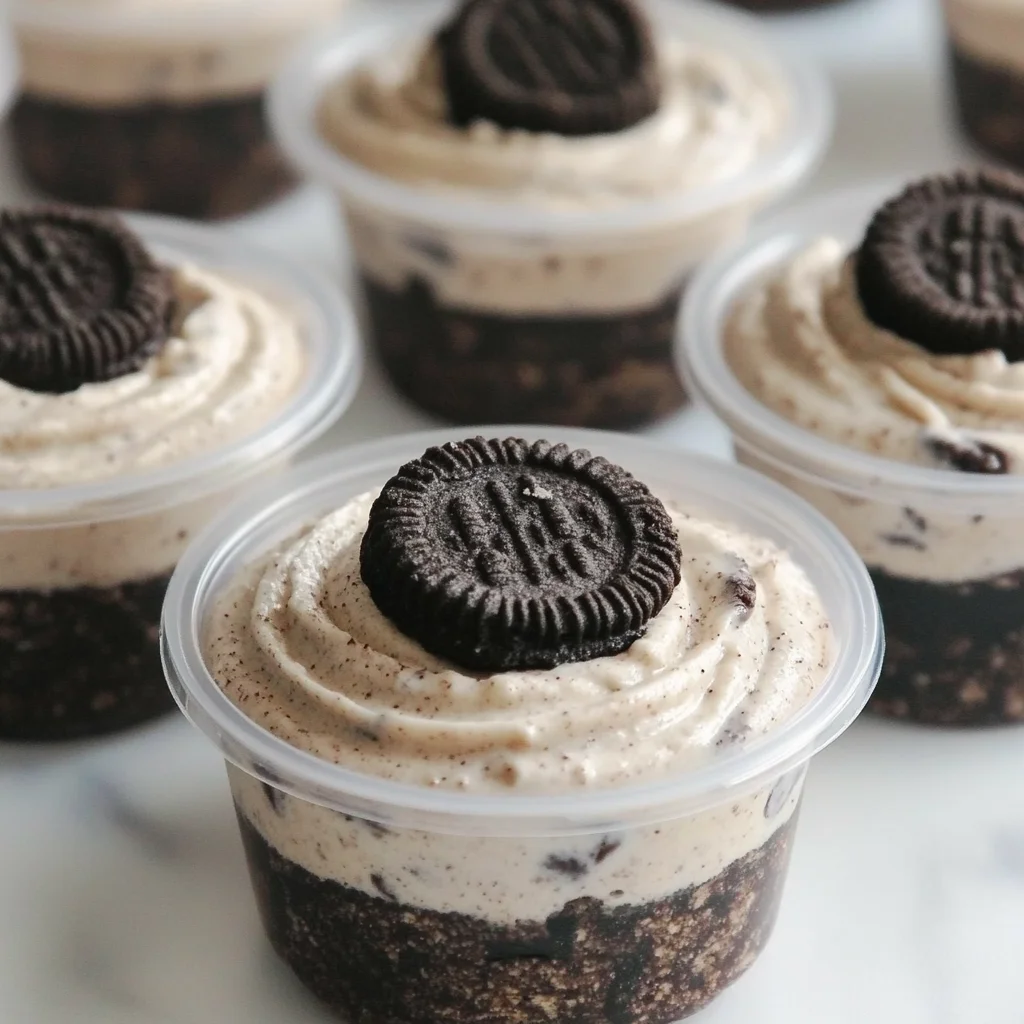
Oh honey, do you remember those summer days when you just wanted something sweet, but the thought of turning on the oven was just too much? Or those spontaneous get-togethers where you needed a show-stopping dessert that didn’t take all day to whip up? Well, let me tell you, these Cookies and Cream Dessert Cups are about to become your new best friend! They remind me of simpler times, of grabbing a big, cold glass of milk and dipping my favorite chocolate sandwich cookies into it until they were perfectly soft. Pure bliss!
These little cups of joy are not just a dessert; they’re a memory waiting to happen. They’re incredibly easy, shockingly quick, and unbelievably delicious. Seriously, if you can crush a cookie and use a mixer, you’ve got this! No baking, minimal fuss, and maximum creamy, dreamy cookies and cream goodness. Prepare yourself for compliments, because everyone who tries these is going to be asking for the recipe! And if you’re always on the hunt for more quick and delicious ideas, make sure to explore my full recipe collection – there’s always something new to discover!
Why You’ll Love Cookies and Cream Dessert Cups
- Fast: Seriously, we’re talking minutes, not hours!
- Easy: No baking required, just simple mixing and layering.
- Giftable: Perfect for potlucks, parties, or a sweet treat for a friend. Just pop on a lid and go!
- Crowd-pleasing: Who doesn’t love the classic combo of cookies and cream? It’s a universal favorite!
Ingredients
Gather your simple ingredients, and let’s get ready to make some magic!
- Chocolate Sandwich Cookies: You’ll need about two cups of crushed cookies for the crust and half a cup for the filling. And don’t forget those adorable minis for garnish! Grab your favorite brand – you know the ones I mean!
- Butter: Just a little bit, melted, to bind that delicious cookie crust together.
- Cream Cheese: Make sure it’s at room temperature! This is key for a super smooth, lump-free filling.
- Granulated Sugar: For just the right amount of sweetness in our creamy filling.
- Vanilla Extract: A splash of vanilla always enhances those sweet flavors.
- Heavy Cream: This is what gives our filling that light, fluffy, whipped texture. So decadent!
- Mini Chocolate Sandwich Cookies: For that perfect final touch on top – they’re just too cute!
How to Make Cookies and Cream Dessert Cups
Alright, apron on? Let’s dive into making these delightful dessert cups. It’s so straightforward, you’ll wonder why you haven’t made them every week!
1. Crust Time: Grab a small bowl, and let’s get those cookies ready! Combine the 2 cups of crushed chocolate sandwich cookie crumbs with your melted butter. Give it a good stir until all the crumbs are moistened. It should look like wet sand, ready to be packed down.
2. Cup Prep: Now, for the fun part! Take your 28 two-ounce plastic cups. Using a small cookie scoop or a spoon, portion out the cookie crumb mixture into the bottom of each cup. Here’s my little trick: use the bottom of another plastic cup (or a shot glass!) to firmly press the crumbs into an even, compact layer. This creates a sturdy base for your creamy filling.
3. Creamy Filling Foundation: In a separate, larger mixing bowl, add your room-temperature cream cheese and granulated sugar. With an electric hand mixer, start on medium speed and cream these two together until they’re perfectly smooth and well combined. No lumps, please! This is where the magic really starts to happen for your no-bake cheesecake-like filling.
4. Whip it Good: Next, pour in the heavy whipping cream and vanilla extract. Increase your mixer speed to medium-high and whip until the mixture is light, fluffy, and holds soft peaks. Be careful not to overmix; you want it creamy, not stiff like butter.
5. Cookie Fold: Gently fold in the remaining ½ cup of crushed chocolate sandwich cookie crumbs. You want to see those beautiful cookie flecks throughout the creamy filling. Use a spatula for this step to keep that lovely airy texture you just whipped up.
6. Fill ‘Em Up: Transfer your glorious cookies and cream mixture into a piping bag. If you don’t have a piping bag, a large Ziploc bag with a corner snipped off works just as well! Pipe the mixture into each cup, filling them about three-quarters full. This leaves room for our pretty garnish!
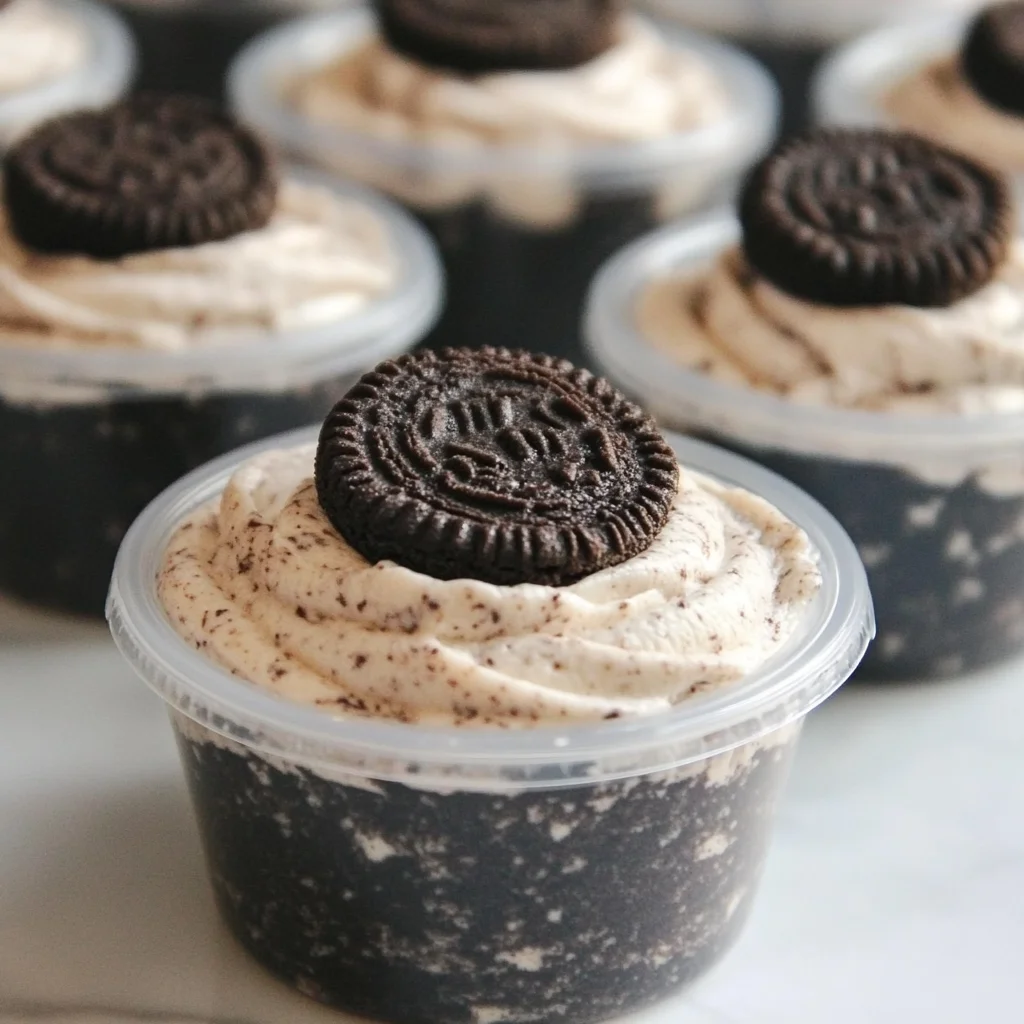
7. Garnish & Chill: Top each dessert cup with a mini chocolate sandwich cookie. If you prefer, a sprinkle of extra cookie crumbs looks fantastic too! Once garnished, pop a lid on each cup. This step is crucial for keeping them fresh and easy to transport. Place them in the fridge to chill for at least an hour, or until they’re nicely set. The colder they are, the better they taste!
Substitutions & Additions
One of the best things about these dessert cups is how adaptable they are! Feel free to get creative and make them your own.
- Different Cookies: While classic chocolate sandwich cookies are, well, classic, you could totally experiment! Try peanut butter cookies for a delicious twist, or even ginger snaps for a holiday spin.
- Add-ins: Fold in some mini chocolate chips, chopped candy bars, or even a swirl of caramel or hot fudge into the filling before piping.
- Extra Crunch: For more texture, sprinkle some crushed toffee bits or chopped nuts on top alongside your mini cookie.
- Boozy Treat: For an adult version, add a tablespoon of coffee liqueur or Irish cream to the cream cheese mixture. Just a little something extra! And if you’re a fan of no-bake wonders, you might also love my easy no-bake caramel pretzel bars for another sweet and salty hit!
Tips for Success
- Room Temperature Cream Cheese is a Must: Seriously, I can’t stress this enough! Cold cream cheese will give you lumpy filling, and no one wants that. Pull it out of the fridge at least 30 minutes to an hour before you start.
- Don’t Overmix the Whipped Cream: Once your heavy cream is added, watch it closely. You want it light and fluffy, but if you go too far, it can turn grainy. Stop when it holds soft peaks.
- Crush Cookies Evenly: For the crust, you want fine crumbs. For the filling, a mix of fine and slightly larger pieces adds great texture. You can use a food processor for speed or just a good old Ziploc bag and a rolling pin for a little stress relief!
- Chilling Time is Key: These aren’t just for cooling; chilling allows the flavors to meld and the filling to firm up, making them perfect for serving. Plan for at least an hour, but overnight is even better!
How to Store Cookies and Cream Dessert Cups
These dessert cups are fantastic for making ahead! Once you’ve assembled them and popped on their lids, they’ll stay fresh and delicious in the refrigerator for up to 3-4 days. Just make sure those lids are on tight to prevent any unwanted fridge odors from sneaking in. I wouldn’t recommend freezing them, as the texture of the cream cheese filling can change once thawed. Best enjoyed fresh and chilled!
FAQs
Can I make these without plastic cups?
Absolutely! You can layer these in small glass jars, ramekins, or even one large trifle dish for a stunning centerpiece. Just adjust the portioning as needed.
What if I don’t have an electric mixer?
While an electric mixer makes whipping the cream and cream cheese much easier, you can do it by hand with a whisk! Just be prepared for a bit of a arm workout to get that cream fluffy. It’s totally doable, just takes a little more muscle.
Can I use store-bought whipped topping instead of heavy cream?
You can! If you’re really in a pinch, you can substitute the heavy cream with an equal amount of thawed whipped topping. The texture will be a bit different, perhaps less rich, but it will still be delicious and incredibly easy. For another super easy no-bake treat that’s a total crowd-pleaser, you might love these no-bake Oreo bars!
Are these dessert cups gluten-free?
This recipe can easily be made gluten-free by simply using gluten-free chocolate sandwich cookies! The rest of the ingredients are naturally gluten-free, but always double-check labels to be sure.
Don’t miss out on all the deliciousness! Follow Easily Cooked on Pinterest for daily recipe inspiration and cooking tips!

Dreamy No-Bake Cookies and Cream Dessert Cups
Ingredients
Equipment
Method
- 1. Crust Time: Grab a small bowl, and let's get those cookies ready! Combine the 2 cups of crushed chocolate sandwich cookie crumbs with your melted butter. Give it a good stir until all the crumbs are moistened. It should look like wet sand, ready to be packed down.
- 2. Cup Prep: Now, for the fun part! Take your 28 two-ounce plastic cups. Using a small cookie scoop or a spoon, portion out the cookie crumb mixture into the bottom of each cup. Here’s my little trick: use the bottom of another plastic cup (or a shot glass!) to firmly press the crumbs into an even, compact layer. This creates a sturdy base for your creamy filling.
- 3. Creamy Filling Foundation: In a separate, larger mixing bowl, add your room-temperature cream cheese and granulated sugar. With an electric hand mixer, start on medium speed and cream these two together until they’re perfectly smooth and well combined. No lumps, please! This is where the magic really starts to happen for your no-bake cheesecake-like filling.
- 4. Whip it Good: Next, pour in the heavy whipping cream and vanilla extract. Increase your mixer speed to medium-high and whip until the mixture is light, fluffy, and holds soft peaks. Be careful not to overmix; you want it creamy, not stiff like butter.
- 5. Cookie Fold: Gently fold in the remaining ½ cup of crushed chocolate sandwich cookie crumbs. You want to see those beautiful cookie flecks throughout the creamy filling. Use a spatula for this step to keep that lovely airy texture you just whipped up.
- 6. Fill 'Em Up: Transfer your glorious cookies and cream mixture into a piping bag. If you don't have a piping bag, a large Ziploc bag with a corner snipped off works just as well! Pipe the mixture into each cup, filling them about three-quarters full. This leaves room for our pretty garnish!
- 7. Garnish & Chill: Top each dessert cup with a mini chocolate sandwich cookie. If you prefer, a sprinkle of extra cookie crumbs looks fantastic too! Once garnished, pop a lid on each cup. This step is crucial for keeping them fresh and easy to transport. Place them in the fridge to chill for at least an hour, or until they're nicely set. The colder they are, the better they taste!