Ingredients
Equipment
Method
- Step 1: Get your filling ready: Grab a medium-sized bowl. Add your cooked, shredded chicken, the shredded mozzarella or cheddar cheese, the softened cream cheese, and the garlic powder. Now, get in there and mix it all up! A sturdy spoon or even your hands (clean, of course!) work well. You want everything really well combined so the cream cheese coats the chicken and cheese evenly. It should be a nice, scoopable mix.
- Step 2: Fill those wraps: Lay out your wraps on a clean surface. Divide the chicken mixture evenly among the wraps. Place the filling slightly off-center towards one edge – this makes rolling easier!
- Step 3: Roll 'em up tight: This is key! Fold the sides of the wrap in over the filling, then tightly roll the wrap from the filling edge all the way up. Roll as snugly as you can without tearing the wrap. A tight roll keeps all that cheesy goodness inside.
- Step 4: Slice and serve (or heat!): You can totally eat them cold like this, but I highly recommend slicing each rolled wrap in half on a slight diagonal. This makes them easy to handle and shows off that lovely filling.
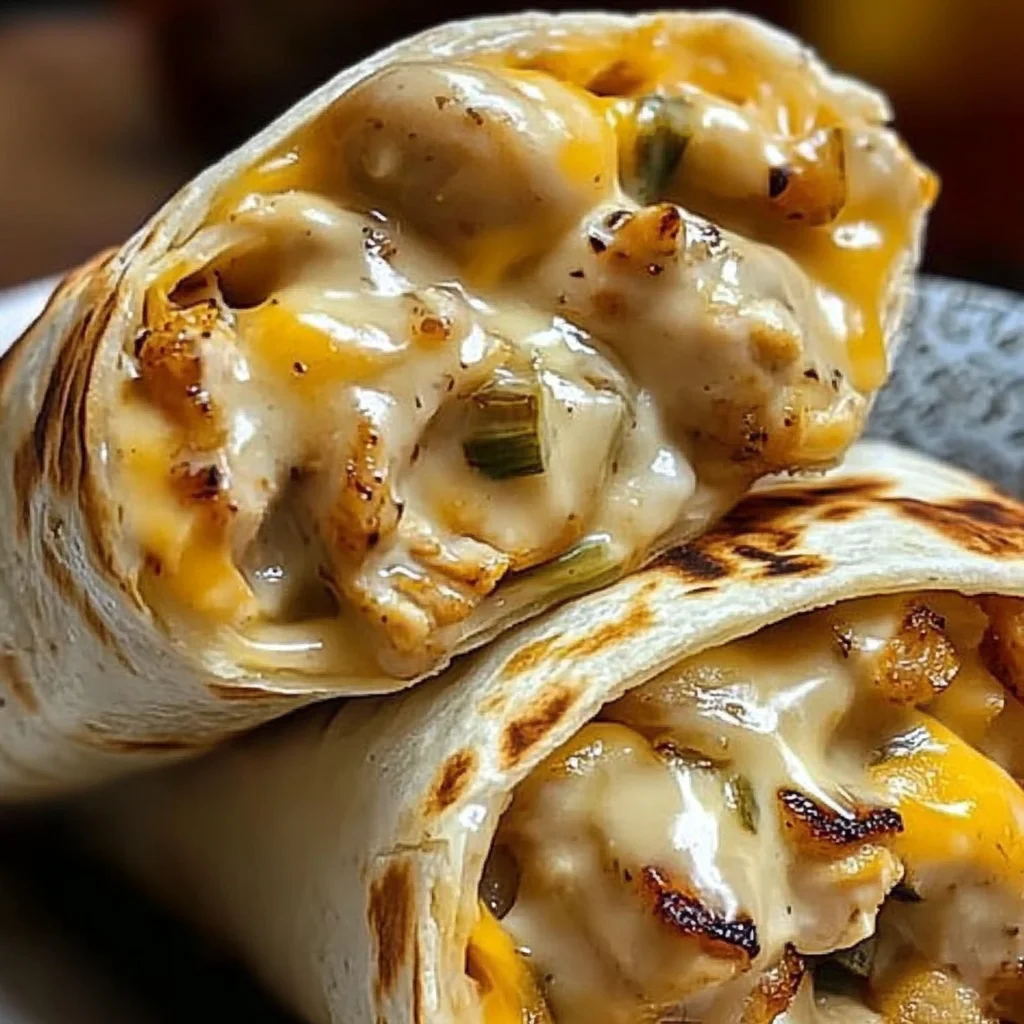
- Step 5: Give them a little heat (optional but recommended!): To get that melted cheese perfection and slightly toasted tortilla, heat the rolled (or sliced) wraps briefly. You can do this in a dry skillet over medium heat for a couple of minutes per side until golden and warm, use a panini press, or even pop them in the microwave for 30-60 seconds. Getting that cheese melty takes them from good to amazing.
- Step 6: Serve warm: Enjoy your delicious, cheesy, garlicky chicken wraps right away! They are best when the cheese is still warm and gooey.
Notes
Substitutions & Additions: Try pepper jack, Monterey Jack, or smoked gouda. Stir in finely diced bell peppers, onions, spinach, corn. Add Italian seasoning, paprika, onion powder, cayenne, fresh parsley or chives. Use cooked, shredded turkey or drained canned tuna. Stir in hot sauce, ranch dressing, or pesto.
Tips for Success: Use cooked, cooled chicken. Make sure cream cheese is softened. Don't overfill the wraps. Roll wraps tightly. Filling mixture can be made up to a day ahead; assembled wraps can be refrigerated for a few hours before heating.
Storage: Store leftover assembled wraps in an airtight container in the fridge for 2-3 days. Reheat in a skillet or panini press for best results; microwave works but tortilla may soften. Freezing is not recommended.