Ingredients
Equipment
Method
- Step 1: Prep Your Crust: Make sure your 9-inch pie crust is already pre-baked and completely cooled. A warm crust will melt your beautiful layers.
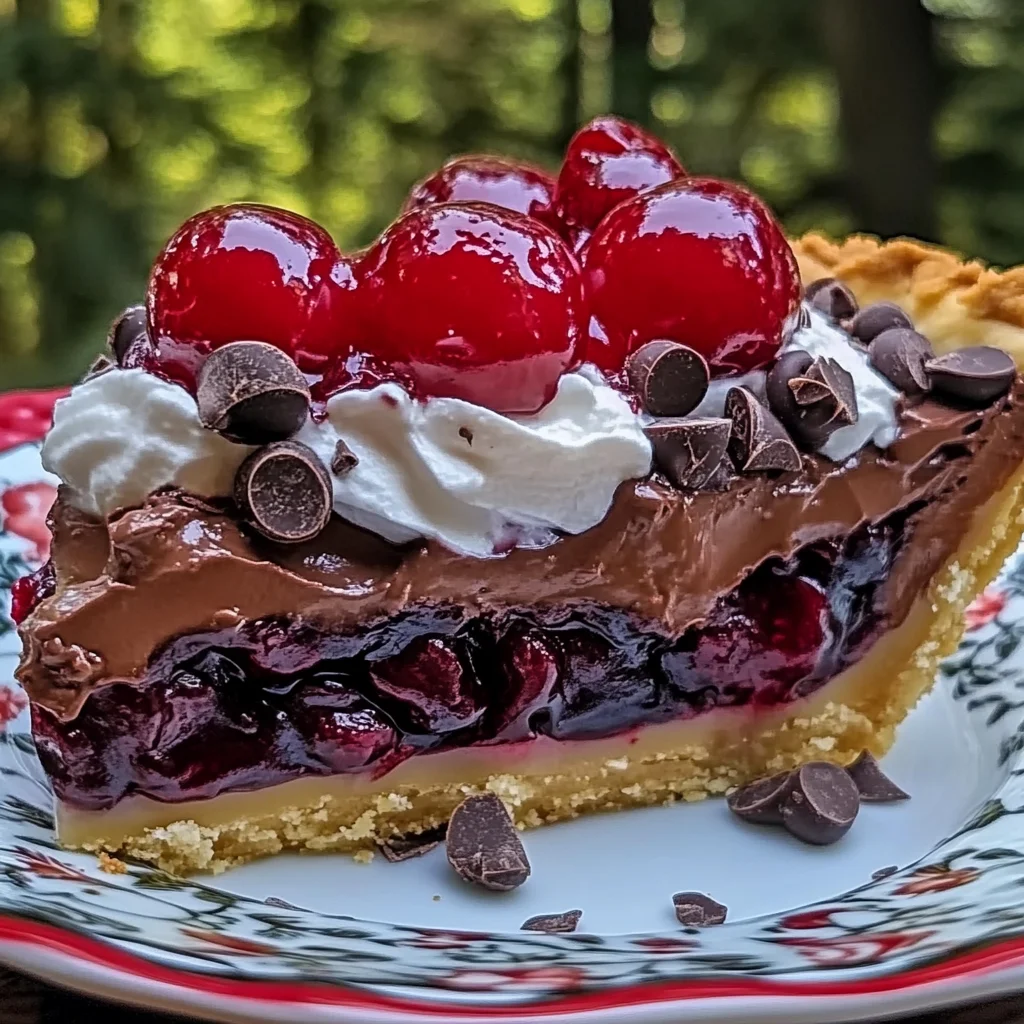
- Step 2: Layer the Cherries: Open the can of cherry pie filling and spread it out evenly over the bottom of your cooled pie crust, ensuring it gets into all the nooks and crannies.
- Step 3: Whip Up the Pudding: In a medium bowl, combine the chocolate pudding mix with the cold milk. Whisk vigorously for about 2 minutes, or until the mixture starts to thicken. Gently spread this chocolatey goodness over the cherry layer.
- Step 4: Add the Creamy Topping: Gently spread your whipped cream over the chocolate pudding layer, creating a smooth and even topping. An offset spatula works well for this.
- Step 5: Garnish and Glam Up: Sprinkle the chocolate chips generously over the whipped cream. If you have fresh cherries on hand, arrange a few artfully on top for a stunning presentation.
- Step 6: Chill Out: Pop your pie into the refrigerator for at least 2 hours. This chilling time is crucial to allow all those delicious layers to set up nicely, ensuring clean slices. For a quicker set, you can freeze for 30-45 minutes before transferring to the fridge.
- Step 7: Slice and Serve: Once completely chilled and set, grab a sharp knife, slice into generous portions, and serve this delightful pie. Enjoy every chocolatey, cherry-filled bite!
Notes
This pie is fantastic for making a day ahead, as the flavors meld even better after a full night in the fridge. Proper chilling time (at least 2 hours) is crucial for setting. Store leftovers tightly covered with plastic wrap in the refrigerator for 3-4 days. Do not freeze, as the whipped cream and pudding layers can become watery or change texture when thawed. Always use really cold milk and whisk vigorously for the full 2 minutes when making the pudding to ensure a smooth consistency.