Ingredients
Equipment
Method
- Step 1: Grab a few clean, small jars (Mason jars or any clear, sealable jar) suitable for individual servings or a larger jar for sharing.
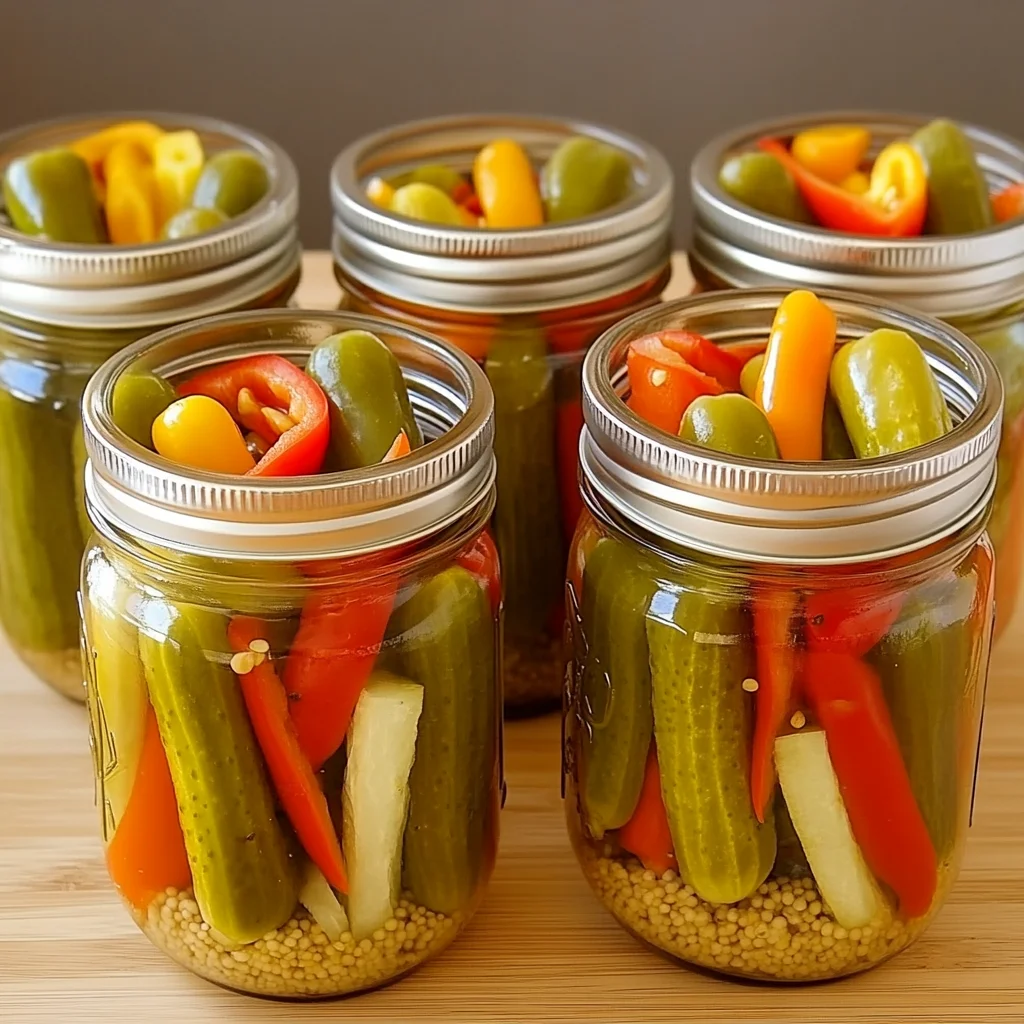
- Step 2: Layer the prepared veggies into the jars, alternating colors for presentation. Start with dill pickle chunks, then add sliced mini sweet peppers, baby carrots, and cauliflower florets. Repeat layers until jars are nicely filled, leaving a little space at the top.
- Step 3: Carefully pour the pickle brine over the layered vegetables until they are completely submerged.
- Step 4: Securely seal the jars with their lids and place them in the refrigerator for at least 2 hours. This chilling time is essential for the flavors to meld and develop.
- Step 5: Once thoroughly chilled, serve the snack jars directly from the jar as a snack, alongside your favorite sandwich, or as an appetizer.
Notes
This recipe is super flexible! Try adding sliced cucumber, cherry tomatoes, pearl onions, green beans, or small broccoli florets. For a kick, add a pinch of red pepper flakes or a few thin slices of fresh jalapeño. Fresh dill sprigs, garlic cloves (sliced or minced), or a few bay leaves can infuse extra flavor. If your pickle brine isn't quite strong enough, you can add a splash of white vinegar or apple cider vinegar. For individual snacks, small 8-12 oz jars are ideal; for a party, a larger quart-sized jar works. Pack veggies with enough space for brine to circulate. Don't rush the chill; 2 hours is good, but overnight or 24 hours provides the most intense flavors. Experiment with different pickle brines. Always keep your jars sealed and refrigerated. They will stay fresh and delicious for up to 5-7 days, but are best within the first 3-4 days when veggies are crisp. You can also use a homemade brine (equal parts water and white vinegar, a tablespoon of salt, and a teaspoon of sugar, plus seasonings; bring to a boil, then cool completely) instead of jarred pickle brine.