Ingredients
Equipment
Method
- Step 1: Get Peeling and Shaving: First things first, you'll want to peel all the paper labels off your blue crayons. This can be a fun task for younger helpers if you have them! Once peeled, grab your crayon sharpener and start creating a lovely pile of crayon shavings. Don't be afraid to make a mix – some fine, delicate shreds and some chunkier bits will give your finished suncatcher a really cool texture.
- Step 2: Set the Scene: Lay one sheet of waxed paper flat on a protected surface. I like to put down an old towel or a few layers of newspaper, just in case. Now, evenly sprinkle your colorful crayon shavings onto the waxed paper. Try not to pile them too high in one spot; you want a nice, even spread for the best melting.
- Step 3: Top it Off: Carefully place a second piece of waxed paper directly over the top of your crayon shavings. Gently press down on the edges to help align them and keep those shavings from escaping.
- Step 4: Time to Melt (Adults Only!): This step is where an adult absolutely needs to take over. Plug in your iron and set it to its lowest heat setting – no steam, please! Once it's warm, gently press the iron over the top sheet of waxed paper. You'll see the crayons begin to melt right before your eyes, fusing the colors together.
- Step 5: Swirl and Fuse: Continue ironing in small, gentle motions until all the crayon shavings have melted and blended into a beautiful, smooth, and swirly sheet of color.
- Step 6: Cool Down: Once you're happy with your melted design, turn off the iron and let your waxed paper sheet cool down for a few minutes. It needs to be completely cool and firm before you move on to the next step.
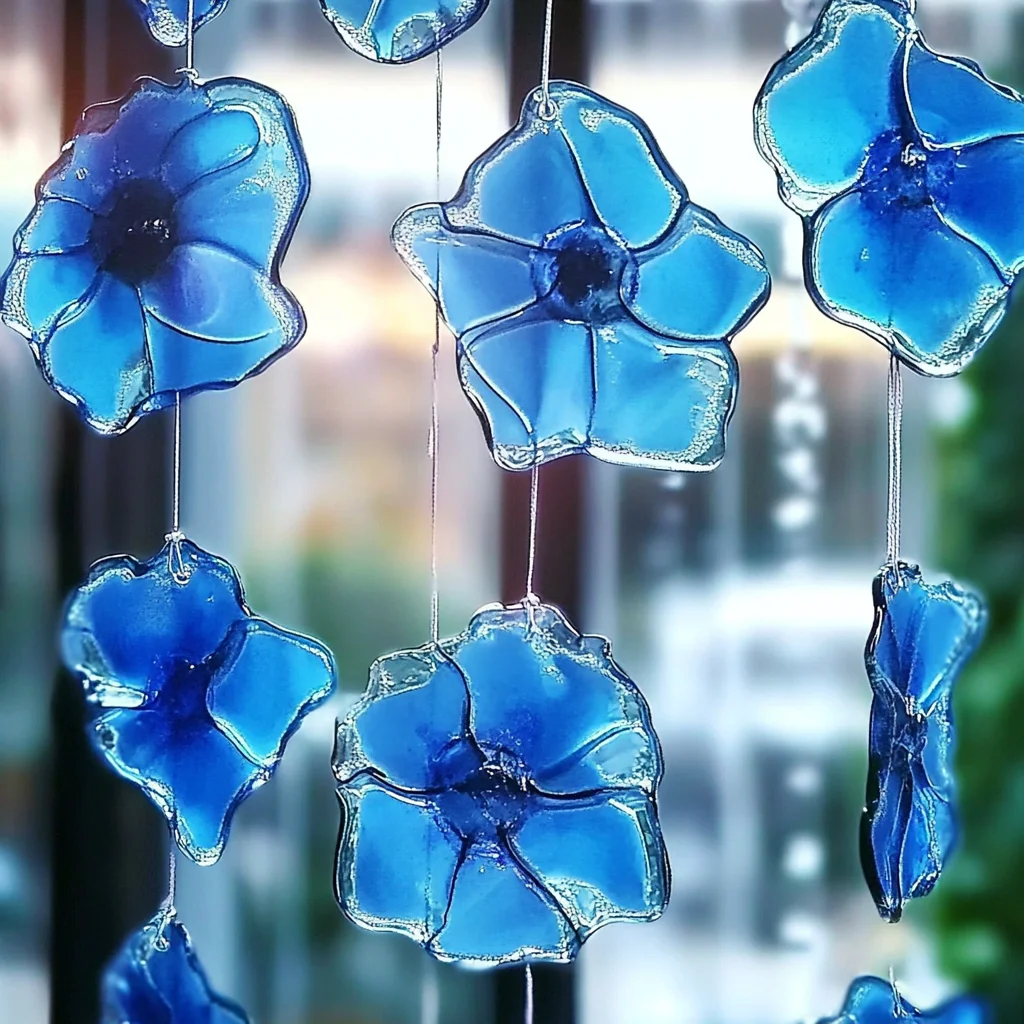
- Step 7: Shape It Up: Now for the creative part! Grab your scissors and either freehand sketch some fun shapes onto the cooled waxed paper or use cookie cutters as templates. Raindrops, stars, simple circles, or even a whimsical cloud shape would look amazing. Carefully cut out each suncatcher shape.
- Step 8: Punch and Hang: Take your hole punch and make a small hole at the top of each cut-out suncatcher. Thread your string, embroidery floss, or thread through the hole. Tie a loop, and then find the perfect sunny window to display your gorgeous new creations!
Notes
Substitutions & Additions: Don't limit yourself to just blue! Imagine a vibrant rainbow suncatcher, or ones themed for holidays like red and green for Christmas, or pastel shades for Easter. For extra sparkle, you can sprinkle a tiny bit of fine glitter onto the crayon shavings before you add the top layer of waxed paper. It will melt right in and add a magical shimmer! Before melting, try placing small, thin leaves or even pressed flowers between the layers of crayon and waxed paper for a nature-inspired design. Instead of freehand cutting, you can use metal cookie cutters (carefully!) to press shapes while the wax is still warm, right after ironing. Just make sure the cookie cutter is clean and gently remove it once cooled.
Tips for Success: Seriously, low heat is your best friend here. Too hot, and the wax paper can wrinkle or even scorch. Patience is a virtue when melting! Try to sprinkle your crayon shavings as evenly as possible. This helps ensure a smooth, consistent melt and prevents thick, unmelted spots. I always recommend laying down an old towel or several sheets of newspaper beneath your waxed paper before ironing. Wax can be a little messy if it gets on your ironing board! Resist the urge to cut too soon! If the wax isn't fully cooled and set, your shapes might distort or tear. The iron is hot and should only be handled by an adult. For younger crafters, they can help with peeling, sharpening, sprinkling, and cutting out shapes.
How to Store Blue Crayon Suncatchers: Store them flat in a cool, dry place, away from direct sunlight or hot windows if you're not hanging them immediately. A drawer or a shoebox works perfectly. If stacking multiple suncatchers, place a sheet of parchment paper or waxed paper between each one to prevent them from sticking together. These beautiful creations can last for years if stored properly! Just keep them away from anything that might scratch or melt them.