Ingredients
Equipment
Method
- Step 1: Warm the creamy base: Grab a medium saucepan and pour in your whole milk and heavy cream. Set it over medium heat. You want to heat this gently until it's steaming and tiny bubbles start to form around the edges – but be careful not to let it come to a full boil, as that can sometimes scorch the milk.
- Step 2: Melt in the sweetness: Once your milk mixture is steaming, toss in the white chocolate chips and the unsweetened cocoa powder. Whisk, whisk, whisk until everything is beautifully melted and the cocoa looks perfectly smooth with no lumps. You'll see it transform into a gorgeous, creamy canvas.
- Step 3: Infuse with flavor: Take the saucepan off the heat for a moment, and stir in your pure peppermint extract and vanilla extract. Give it a good stir to ensure the flavors are well distributed. Taste it! If you're a big fan of peppermint, feel free to add another tiny dash, a drop at a time, until it's just right for you.
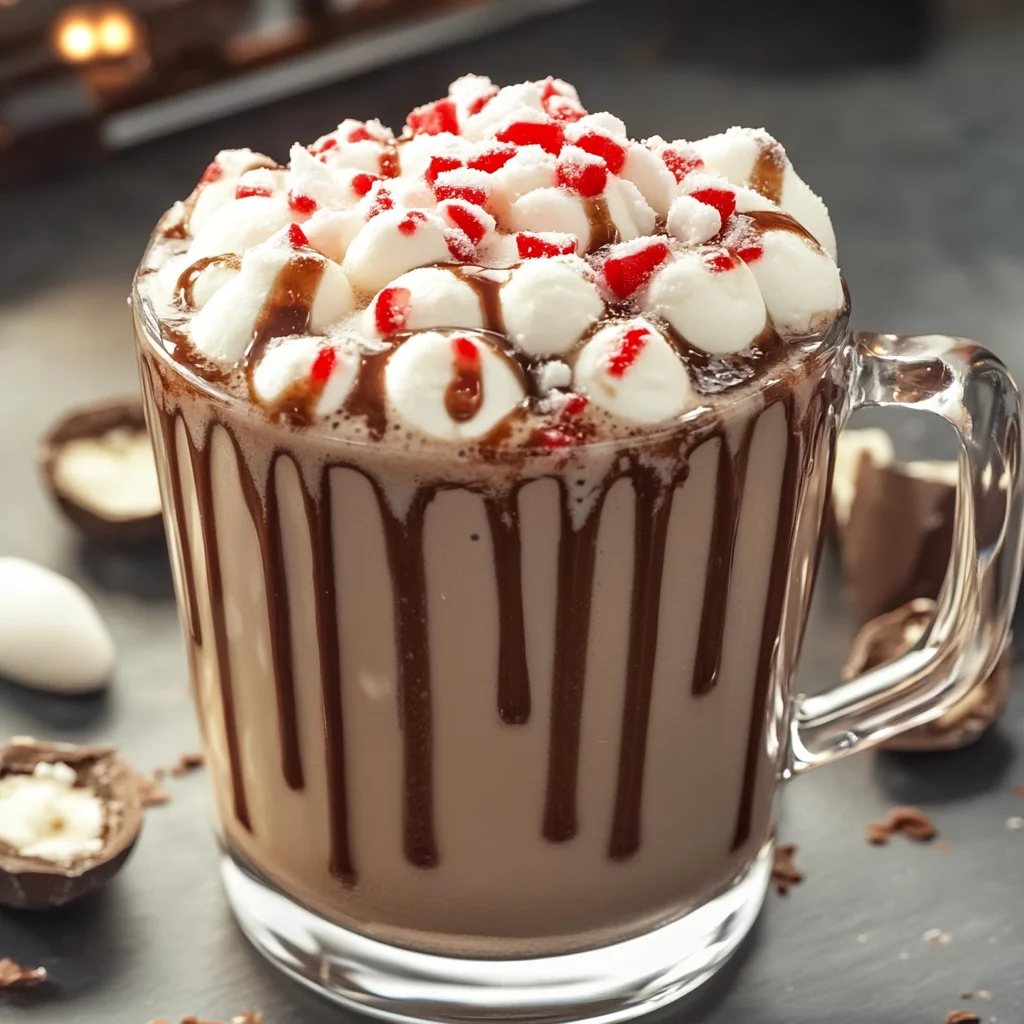
- Step 4: Pour and top: Carefully pour your warm, fragrant cocoa into your favorite mugs.
- Step 5: The finishing touch: Pile those mini marshmallows high on top! For an extra special presentation and a burst of chocolatey goodness, drizzle some chocolate syrup or melted chocolate over the marshmallows. It makes every sip feel like a treat.
Notes
Substitutions & Additions: You can use dairy-free milk and cream alternatives (ensure white chocolate is also dairy-free). Swap white chocolate for milk or dark chocolate chips. Add a pinch of cinnamon or nutmeg for warmth. For an extra peppermint kick, add a few drops of food-grade peppermint oil (sparingly!) or crushed candy canes. For an adult version, add a shot of peppermint schnapps or Baileys Irish Cream. Top with whipped cream, shaved white chocolate, or mini chocolate chips. This cocoa pairs wonderfully with easy swirled Christmas fudge or no-bake peppermint bark snowballs.
Tips for Success: Always use low and slow heat when warming milk and cream to prevent scorching. Whisk well to ensure chocolate and cocoa powder melt evenly and prevent clumps. Start with the specified amount of peppermint extract and adjust incrementally to taste, as it can be strong. Serve immediately for the best experience. You can prepare the cocoa base (steps 1-3) ahead of time and store in an airtight container in the refrigerator for up to 3 days, then gently reheat on the stove over low heat. This cocoa also makes a wonderful homemade gift by layering dry ingredients in a jar with instructions.
How to Store: Allow any leftover cocoa to cool completely, then transfer to an airtight container. It will keep in the refrigerator for up to 3-4 days. Gently reheat on the stove over low to medium-low heat, stirring occasionally, until hot and steaming again, avoiding a boil. You can also microwave individual mugs in 30-second intervals, stirring between.