Ingredients
Equipment
Method
- Step 1: Line a baking sheet with foil and dust evenly with powdered sugar. Form swirling “S” shaped wells in the powdered sugar to hold syrup as it cools. Use separate pans or divide the sheet if making multiple colors.
- Step 2: In a heavy-bottomed saucepan, combine water, granulated sugar, and light corn syrup. Heat over medium-high, stirring constantly until sugar dissolves completely.
- Step 3: Attach candy thermometer to pan side without touching bottom. Boil syrup without stirring until it reaches 300°F (hard crack stage).
- Step 4: Remove pan from heat once at 300°F and wait for bubbling to stop completely before proceeding.
- Step 5: Divide hot syrup into heatproof bowls if using multiple colors. Quickly stir in gel food coloring and flavored oil or extract. Work fast as syrup sets quickly.
- Step 6: Using a spoon or small ladle, drizzle colored syrup into powdered sugar wells on prepared pans, creating shallow pools. Avoid overfilling to prevent colors blending.
- Step 7: Allow candy to cool completely at room temperature for about 1 hour. Do not refrigerate to avoid cloudiness or stickiness.
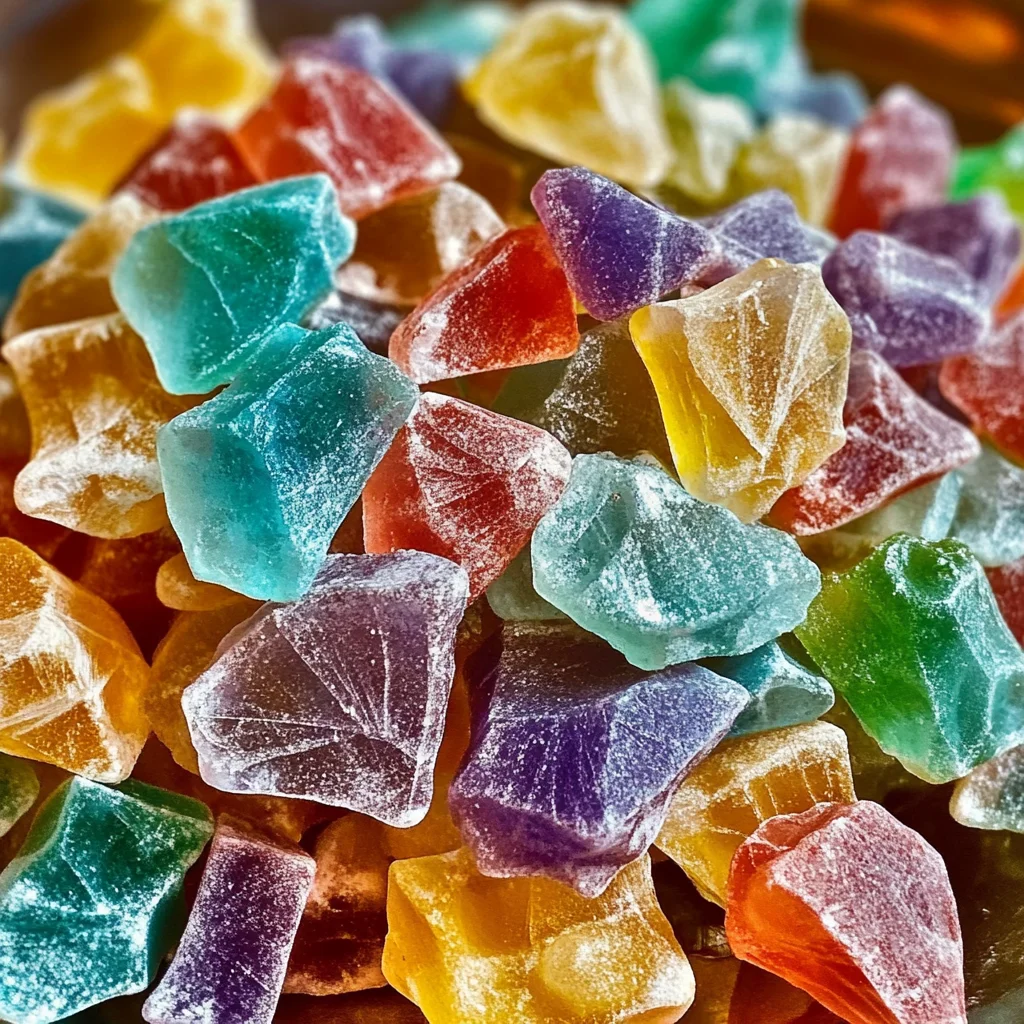
- Step 8: Once hardened, use kitchen scissors or a sharp knife to break candy into shard-like pieces with irregular edges for charm.
- Step 9: Lightly dust candy shards with powdered sugar to prevent sticking. Store in an airtight container at room temperature away from humidity to keep crisp and shiny.
Notes
Make multiple colors and flavors using separate pans or divided baking sheets. Add edible glitter or nonpareils before syrup hardens for sparkle. Store candy shards in airtight containers with parchment paper lining to prevent sticking. Shelf life is about 2-3 weeks; avoid humid environments and refrigeration to keep candy clear and crisp.