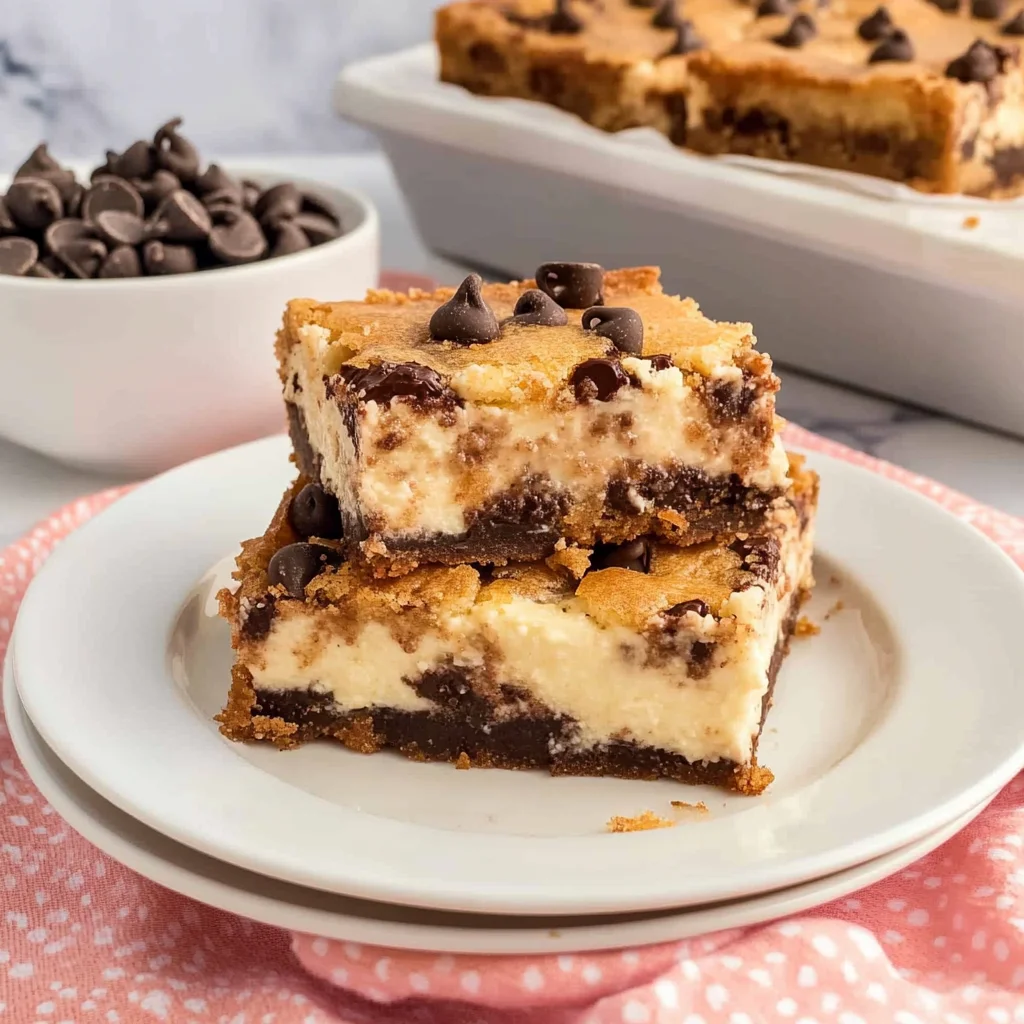
Oh, friends. Let me tell you, there are some recipes that just scream “cozy comfort food,” and these Chocolate Chip Cheesecake Bars are absolutely one of them. They remind me of lazy Saturday afternoons, baking with family, and the simple joy of a perfectly sweet treat. Imagine your favorite warm, gooey chocolate chip cookie combined with a rich, creamy, tangy cheesecake. Sounds like heaven, right? Well, guess what? It is! And the best part? They’re surprisingly simple to make, coming together without any fuss. They’re quick enough for a spontaneous craving but memorable enough for your next potluck. Seriously, you need these in your life.
Why You’ll Love This Recipe
- Fast: No complicated steps or techniques here!
- Easy: Perfect for beginner bakers or a fun afternoon project.
- Giftable: Wrap them up and share the deliciousness with friends and neighbors.
- Crowd-pleasing: Who doesn’t love chocolate chip cookies and cheesecake?
Ingredients
Gather ’round, because here’s what you’ll need to whip up this magic. Most of these are probably already hanging out in your pantry and fridge!
For the Crust:
- 2 cups All-Purpose Flour: Just your standard baking flour.
- ½ tsp Baking Soda: Helps give the cookie crust a little lift.
- ½ tsp Salt: Balances out all that sweetness.
- ⅔ cup softened Butter: Make sure it’s softened, not melted! Leave it out on the counter for a bit before you start.
- ½ cup Granulated Sugar: Classic sweetness.
- ⅔ cup Brown Sugar: This is where that chewy, classic chocolate chip cookie texture comes from! Pack it down in the measuring cup.
- 1 Egg: Binds everything together.
- 2 tsp Vanilla Extract: Use good quality pure vanilla extract for the best flavor.
- 2 cups Chocolate Chips: The more, the merrier! Semi-sweet is my go-to, but use your favorite.
For the Filling:
- 8 oz softened Cream Cheese: Again, softened is key for a smooth filling. Full-fat is best for richness!
- ½ cup Granulated Sugar: Sweetens the creamy layer.
- 1 Egg: Adds structure to the cheesecake filling.
- 1 tsp Vanilla Extract: Enhances the cheesecake flavor.
How to Make It
Alright, apron on? Let’s get baking! You’ve got this.
- Get Prepped: First things first, preheat your oven to 350°F (175°C). While that’s heating up, grab a 9×9-inch square baking pan. This size is perfect for nice thick bars. Line it with parchment paper or aluminum foil, letting some hang over the sides – this makes lifting the cooled bars out so much easier! Give that liner a quick spray with nonstick spray too, just to be safe.
- Mix the Dry Ingredients: In a medium bowl, whisk together your flour, baking soda, and salt. Set this aside for a moment.
- Cream the Wet Ingredients (Part 1): Now, in a large bowl, grab your softened butter, brown sugar, and granulated sugar. Cream them together using an electric mixer (or a sturdy whisk and some elbow grease!) until the mixture is light and fluffy. This should take a few minutes.
- Cream the Wet Ingredients (Part 2): Add the egg and vanilla extract to your creamed butter mixture. Beat it until everything is beautifully combined.
- Combine Wet and Dry: Gradually add your dry flour mixture to the wet ingredients. Mix on low speed, or with a spatula, just until everything comes together. Don’t overmix! Stop as soon as you don’t see streaks of flour anymore.
- Add the Chocolate: Time for the best part! Fold in those glorious chocolate chips.
- Assemble the Base: Now, take about 2/3 of your amazing cookie dough mixture. Press it evenly into the bottom of your prepared pan. You can use the back of a spoon or your hands for this. Make sure it’s a nice, even layer.
- Make the Filling: In a separate bowl, combine the softened cream cheese, ½ cup sugar, the second egg, and 1 tsp vanilla. Beat this together until it’s super smooth and perfectly blended. No lumps allowed!
- Layer it Up: Carefully spread the smooth cheesecake filling over the cookie dough layer you just pressed into the pan. Try to spread it gently so you don’t disturb the base layer too much. Level it out with a spatula.
- Crumble the Topping: Take the remaining 1/3 of the cookie dough. Crumble it evenly over the top of the cheesecake filling. It doesn’t need to be perfect; rustic crumbles are lovely!
- Bake: Pop the pan into your preheated oven. Bake for about 40 minutes. You’ll know they’re ready when the cheesecake center looks set (it won’t be liquidy) and the cookie dough topping is a beautiful golden brown.
- Cool & Chill: This is the hardest part – waiting! Let the bars cool completely in the pan on a wire rack. Seriously, resist the urge to cut them warm. Once they’re at room temperature, transfer the pan to the refrigerator and chill them for a few hours, or even better, overnight. Chilling is key for clean, perfect slices.
- Slice and Serve: Once chilled, lift the bars out of the pan using the parchment paper overhang. Place them on a cutting board and slice into squares or rectangles. Now, enjoy the fruits of your labor!
Substitutions & Additions
Want to get creative? Here are a few ideas to mix things up:
- Chocolate Choices: Swap semi-sweet chips for milk chocolate, dark chocolate, white chocolate, or a mix! Mini chocolate chips work great too.
- Add Nuts: Fold in ½ cup of chopped walnuts or pecans with the chocolate chips for some extra crunch.
- Extract Variation: Add a splash of almond extract to the cookie dough or filling for a different flavor note.
- Swirl It: Before adding the top crumble, swirl some caramel sauce, berry jam, or even peanut butter into the cheesecake layer.
- Holiday Twist: Add a sprinkle of cinnamon or nutmeg to the cookie dough for a warmer flavor profile, or use festive-colored sprinkles on top of the cheesecake layer before crumbling the dough.
Tips for Success
Here are a few things I’ve learned that help make these bars absolutely perfect every time:
- Softened Ingredients are Crucial: For both the butter (for the cookie dough) and the cream cheese (for the filling), make sure they are truly softened to room temperature. This helps everything cream together smoothly and prevents lumps in your filling.
- Don’t Overmix the Cookie Dough: Once you add the flour, mix just until combined. Overmixing can lead to tough bars.
- Don’t Overbake: Keep an eye on them! They should look set in the center and the topping should be golden, not dark brown. They will continue to set slightly as they cool.
- The Parchment Paper Trick: Seriously, don’t skip lining the pan with parchment paper and leaving an overhang. It makes removing the bars in one piece SO easy.
- Chill, Chill, Chill: I know waiting is hard, but chilling these bars is non-negotiable for clean slices and the best texture. Pop them in the fridge for at least 3-4 hours, but overnight is even better.
How to Store It
Got leftovers? (Unlikely, but hey, you never know!). Store your Chocolate Chip Cheesecake Bars in an airtight container in the refrigerator. They’ll keep well for 3-5 days.
Want to make them ahead or save some for later? These bars freeze beautifully! Once they are completely cooled and chilled, cut them into bars. Wrap each bar individually in plastic wrap, then place them in a freezer-safe bag or container. They can be frozen for up to 2-3 months. Thaw them in the refrigerator before serving.
FAQs
Got questions? I’ve got answers!
Why do I have to chill the bars?
Chilling is essential for two main reasons: it allows the cheesecake filling to fully set and firm up, and it makes the cookie crust and topping firm enough to cut into clean, neat bars without crumbling or smushing.
Can I use a different size pan?
A 9×9-inch pan gives you nice, thick bars. You could probably use an 8×8-inch pan, but you might need to increase the baking time slightly, and the bars will be even thicker. A 9×13-inch pan would make thinner bars and require a significantly shorter baking time (start checking around 25-30 minutes). For the best results following this specific recipe, I recommend sticking to the 9×9.
My cream cheese isn’t soft enough! Can I microwave it?
While you can gently warm cream cheese in the microwave in short bursts (like 15-20 seconds), be super careful not to melt it! It’s best to plan ahead and let it soften on the counter for an hour or two. If it’s still a little cool, beat it by itself for a minute before adding the sugar and egg.
Can I use cold butter for the crust?
No, this recipe relies on softened butter being creamed with the sugars to create the right texture and structure for the cookie dough. Using cold butter would result in a different dough consistency and likely a denser crust.

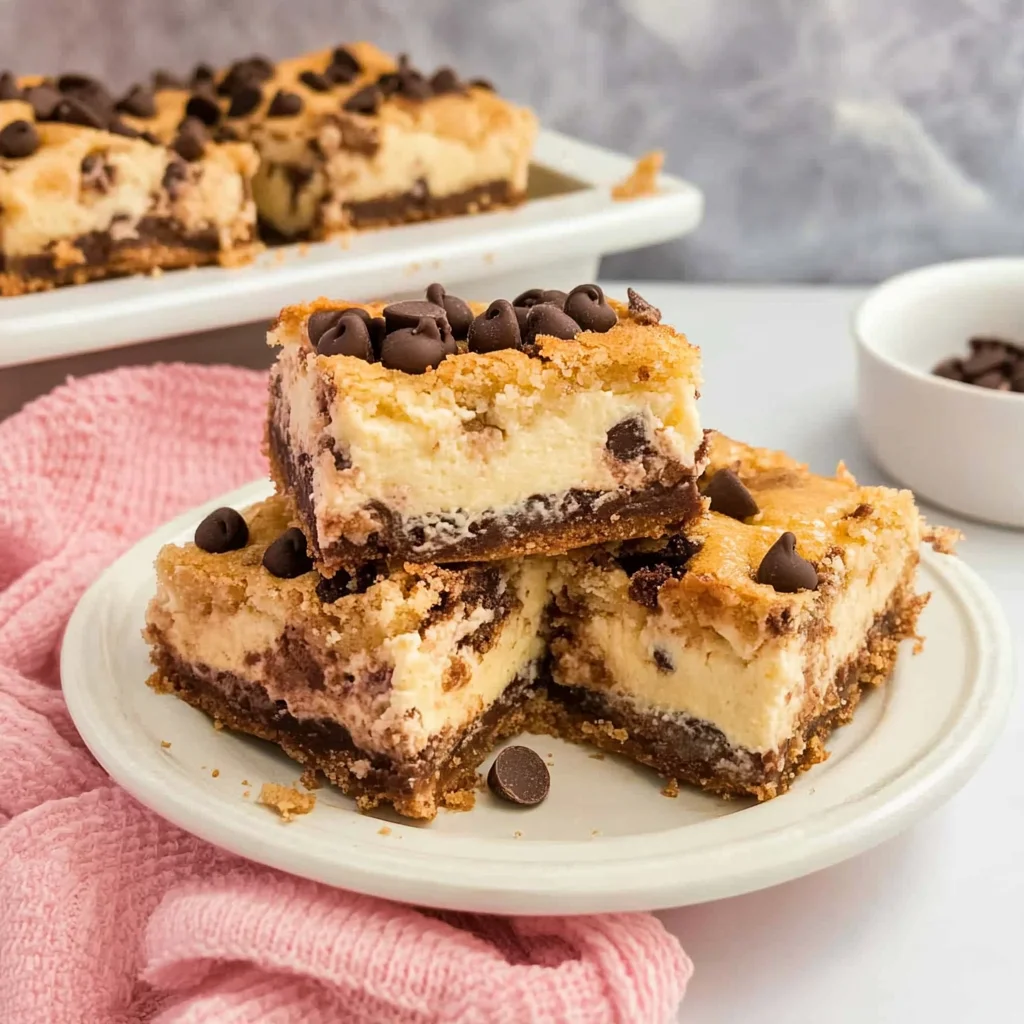
Easy Homemade Chocolate Chip Cheesecake Bars
Ingredients
Equipment
Method
- Step 1: First things first, preheat your oven to 350°F (175°C). While that's heating up, grab a 9x9-inch square baking pan. Line it with parchment paper or aluminum foil, letting some hang over the sides – this makes lifting the cooled bars out so much easier! Give that liner a quick spray with nonstick spray too, just to be safe.
- Step 2: In a medium bowl, whisk together your flour, baking soda, and salt. Set this aside for a moment.
- Step 3: Now, in a large bowl, grab your softened butter, brown sugar, and granulated sugar. Cream them together using an electric mixer (or a sturdy whisk and some elbow grease!) until the mixture is light and fluffy. This should take a few minutes.
- Step 4: Add the egg and vanilla extract to your creamed butter mixture. Beat it until everything is beautifully combined.
- Step 5: Gradually add your dry flour mixture to the wet ingredients. Mix on low speed, or with a spatula, just until everything comes together. Don't overmix! Stop as soon as you don't see streaks of flour anymore.
- Step 6: Time for the best part! Fold in those glorious chocolate chips.
- Step 7: Now, take about 2/3 of your amazing cookie dough mixture. Press it evenly into the bottom of your prepared pan. You can use the back of a spoon or your hands for this. Make sure it's a nice, even layer.
- Step 8: In a separate bowl, combine the softened cream cheese, ½ cup sugar, the second egg, and 1 tsp vanilla. Beat this together until it's super smooth and perfectly blended. No lumps allowed!
- Step 9: Carefully spread the smooth cheesecake filling over the cookie dough layer you just pressed into the pan. Try to spread it gently so you don't disturb the base layer too much. Level it out with a spatula.
- Step 10: Take the remaining 1/3 of the cookie dough. Crumble it evenly over the top of the cheesecake filling. It doesn't need to be perfect; rustic crumbles are lovely!
- Step 11: Pop the pan into your preheated oven. Bake for about 40 minutes. You'll know they're ready when the cheesecake center looks set (it won't be liquidy) and the cookie dough topping is a beautiful golden brown.
- Step 12: This is the hardest part – waiting! Let the bars cool completely in the pan on a wire rack. Seriously, resist the urge to cut them warm. Once they're at room temperature, transfer the pan to the refrigerator and chill them for a few hours, or even better, overnight. Chilling is key for clean, perfect slices.
- Step 13: Once chilled, lift the bars out of the pan using the parchment paper overhang. Place them on a cutting board and slice into squares or rectangles. Now, enjoy the fruits of your labor!