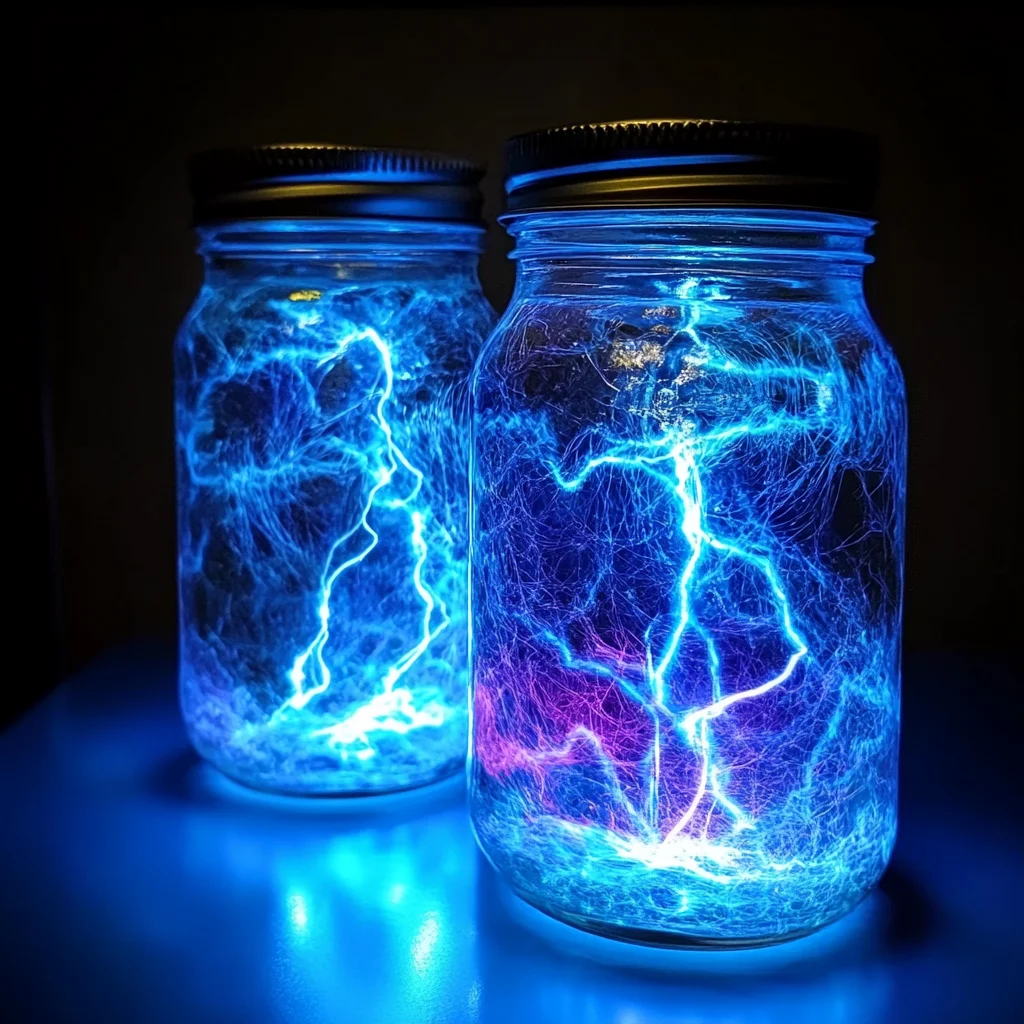
Remember those rainy afternoons as a kid, watching the sky darken and listening to the rumble of distant thunder? There was always a thrilling, mysterious magic to it, wasn’t there? Well, get ready to capture a piece of that wonder right in your own kitchen with these incredible Electrified Thunder Glow Jars!
This isn’t just a craft; it’s a mesmerizing experience that’s surprisingly easy to put together and leaves everyone, from toddlers to grown-ups, absolutely captivated. Whether you’re looking for a quick activity to brighten a dull day, a unique party favor, or just a little something special to spark joy, these glowing jars are an absolute blast. If you love discovering fun, hands-on projects, be sure to explore more of our delightful recipes for both the kitchen and craft room! Trust me, you’ll be amazed at how simple it is to create your very own mini-thunderstorm in a jar!
Why You’ll Love Electrified Thunder Glow Jars
- Fast: You’ll have these glowing wonders ready in minutes! No waiting around for complicated steps.
- Easy: If you can pour and stir, you can make these jars. Seriously, anyone can do it!
- Giftable: Wrap a ribbon around them, and you’ve got a unique, enchanting gift for birthdays, holidays, or just because.
- Crowd-pleasing: Perfect for playdates, science fair projects (shh, don’t tell them it’s mostly magic!), or a relaxing sensory tool for quiet time.
Ingredients
- 1 clear glass jar with lid: Mason jars, old jam jars, or even clean pickle jars work perfectly! The clearer the glass, the better your thunder glow will shine.
- 1/2 cup water: Just regular tap water will do the trick. Simple as that!
- 1/2 cup vegetable oil (or baby oil for clarity): Vegetable oil is super accessible, but if you want that extra “wow” factor, baby oil creates an almost invisible separation line, making the “thunder” effect even more dramatic.
- A few drops of blue or purple food coloring: These shades really give that stormy, electrifying vibe. But hey, feel free to get creative with other colors if you’re feeling adventurous!
- 1 teaspoon glow-in-the-dark paint or glowing powder (non-toxic): This is where the magic happens! Always make sure it’s non-toxic, especially if little hands might be involved in the crafting process. You can usually find this at most craft stores.
- 1 teaspoon silver or holographic glitter (for thunder sparks): The finer the glitter, the more realistic and dazzling your “lightning” will look as it shimmers through the jar. Holographic glitter adds an extra pop of sparkle!
- Small LED tea light or flashlight: This is your secret weapon for illuminating your thunder and making the glow really pop in a dark room.
How to Make Electrified Thunder Glow Jars
Alright, let’s get those creative sparks flying and bring your Electrified Thunder Glow Jar to life!
- Prep Your Glowing Water: Grab a separate bowl and pour in your 1/2 cup of water. Now, add just a few drops of your chosen food coloring – I usually go for blue or purple to mimic a stormy sky, but you do you! Stir it up until the color is beautifully blended.
- Add the Thunder Glow: Next, mix in your 1 teaspoon of glow-in-the-dark paint or glowing powder into the colored water. Stir, stir, stir until it’s fully dissolved and ready to make some magic. This is your base for that incredible stormy glow effect!
- Halfway There: Carefully pour your glowing, colored water into your clear glass jar. You want it to be about halfway full.
- Introduce the Oil Layer: Now for the fun part! Slowly, and I mean slowly, pour in your vegetable or baby oil until the jar is almost full, leaving a little bit of space at the top. The oil and water won’t mix, creating distinct layers that are perfect for our thunderclouds.
- Spark the Lightning: This is where your thunder sparks come in! Sprinkle in about 1 teaspoon of silver or holographic glitter. Watch it slowly drift down through the oil, creating a dazzling, lightning-like effect.
- Light It Up: Find a dark room – this is crucial for the full effect! Place a small LED tea light or even a mini flashlight directly underneath or right behind your jar. This light source will really bring out the glow and make your “thunderclouds” pop.
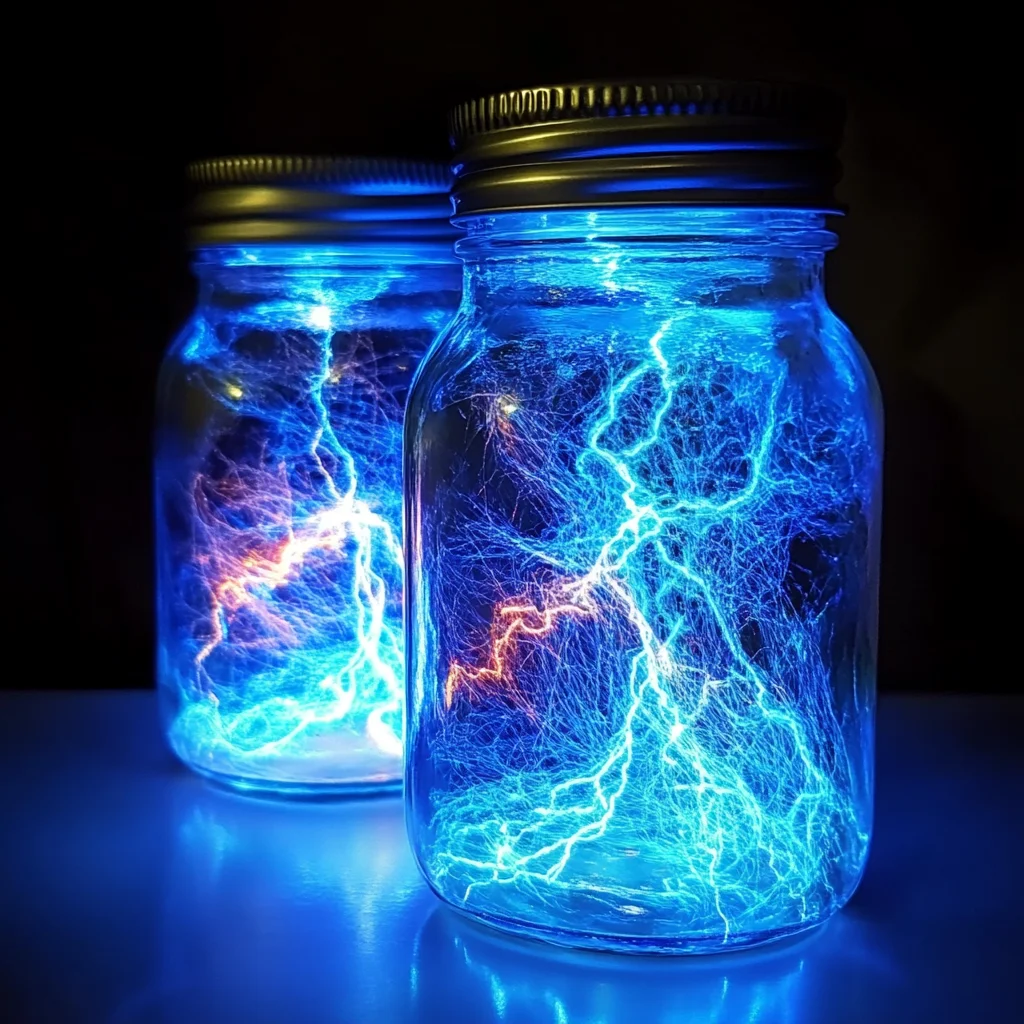
- Let the Storm Begin! Gently shake or swirl your jar. Don’t go too crazy, just enough to get the water and oil moving without fully mixing. You’ll see the glowing water separate into incredible swirling thunderclouds, and the glitter will dance like electrifying storm sparks. It’s truly mesmerizing! For another fun visual experience, you might enjoy trying out DIY bubbling rainbow lightning bottles for a different kind of light show.
Substitutions & Additions
Part of the fun of DIY crafts is making them your own! Here are some ideas to customize your Electrified Thunder Glow Jar:
- Oil Options: While vegetable oil is a great pantry staple, baby oil (which is typically mineral oil-based) offers a crystal-clear layer for maximum visual impact. You could even try pure mineral oil from the pharmacy section.
- Color Play: Don’t limit yourself to blue or purple! Try green for a neon storm, red for a fiery sky, or even multiple colors for a vibrant, swirling galaxy effect.
- Glow Power: If you can’t find glow-in-the-dark paint, you can carefully snip open a non-toxic glow stick (with adult supervision!) and pour the liquid into your water. Just be sure to handle it with care and dispose of the plastic responsibly.
- Sparkle & Shine: Beyond silver glitter, consider iridescent, gold, or even chunky glitter for different “lightning” textures. Small sequins could also add to the shimmering effect.
- Theme It Up: For a different kind of jar craft, especially around holidays, you could adapt this concept. For example, check out these adorable light-up scarecrow mason jars for fall!
- Add Small Objects: For an extra sensory experience, consider adding small, waterproof, non-floating items like plastic beads, small toy animals, or marbles to the water layer.
Tips for Success
To ensure your Electrified Thunder Glow Jars are a dazzling success every time, keep these pointers in mind:
- Non-Toxic is Key: Always double-check that your glow-in-the-dark paint or powder is labeled “non-toxic,” especially if children will be handling the jars. Safety first, friends!
- Slow Oil Pour: Pouring the oil slowly is crucial for a clean separation. If you pour too fast, you might get tiny oil bubbles in the water layer, which is fine, but a slower pour often gives a crisper, more defined look.
- Charge Your Glow: For the best glowing effect, expose your glow-in-the-dark paint/powder to bright light (sunlight or a strong lamp) for at least 15-30 minutes before mixing or before you plan to display it. This “charges” it up and makes it shine extra bright!
- Seal It Up: If your jar is going to be handled a lot by kids, or you want to make it truly permanent, you can use a strong adhesive (like E6000 or super glue) to seal the lid shut.
- Experiment with Ratios: The 1:1 water to oil ratio works great, but feel free to adjust slightly. More oil might create larger, slower-moving “clouds,” while more water could give a more intense color.
How to Store Electrified Thunder Glow Jars
The beauty of these Electrified Thunder Glow Jars is that they’re incredibly low-maintenance once assembled!
- Storage Spot: Simply store your jars in a cool, dry place. A bookshelf, a bedside table, or a craft cabinet are all perfect spots for display and storage.
- Shelf Life: These jars essentially last indefinitely! As long as the lid is sealed tightly, the contents won’t spoil or evaporate. The glow-in-the-dark paint might settle over time, but a quick shake brings it right back to life.
- Reactivating Glow: Remember to “charge” your jar’s glow-in-the-dark elements by placing it under a bright light for a while before you want to enjoy its full luminosity in the dark.
FAQs
- Q: Are Electrified Thunder Glow Jars safe for young children?
- A: Absolutely, as long as you use non-toxic glow-in-the-dark paint/powder and ensure the lid is securely sealed. For very young children, I recommend gluing the lid shut for extra peace of mind, just like with any sensory bottle.
- Q: How can I make my glow jar even brighter?
- A: The key is to fully “charge” your glow-in-the-dark paint! Expose the jar to bright light (sunlight, UV light, or a strong lamp) for at least 30 minutes before viewing in the dark. Using a powerful LED tea light or flashlight at the base will also boost the luminosity and make those thunderclouds truly pop.
- Q: Can I use different types of jars?
- A: Yes! Any clear, clean glass jar with a secure lid will work beautifully. Mason jars are popular because they’re sturdy and seal well, but feel free to upcycle old pickle, jam, or sauce jars. Just make sure they’re thoroughly cleaned!
- Q: My oil and water mixed a little when I shook it. Is that okay?
- A: No worries at all! A little mixing is totally fine and can even add to the cloudy, stormy effect. The oil and water will naturally separate again over time if left undisturbed. Just give it a little rest, and you’ll see the distinct layers return, ready for another swirl.
For even more dazzling DIYs and delicious recipes, follow us on Pinterest!