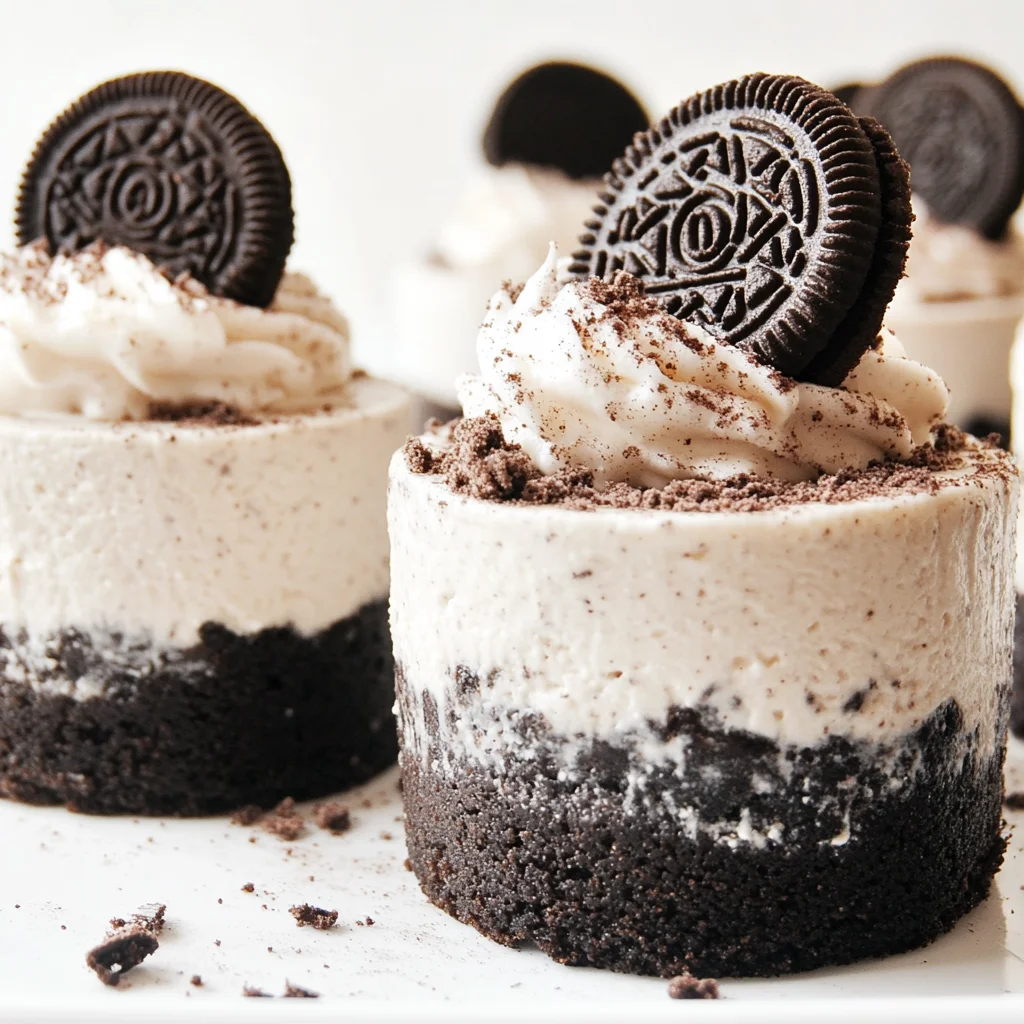
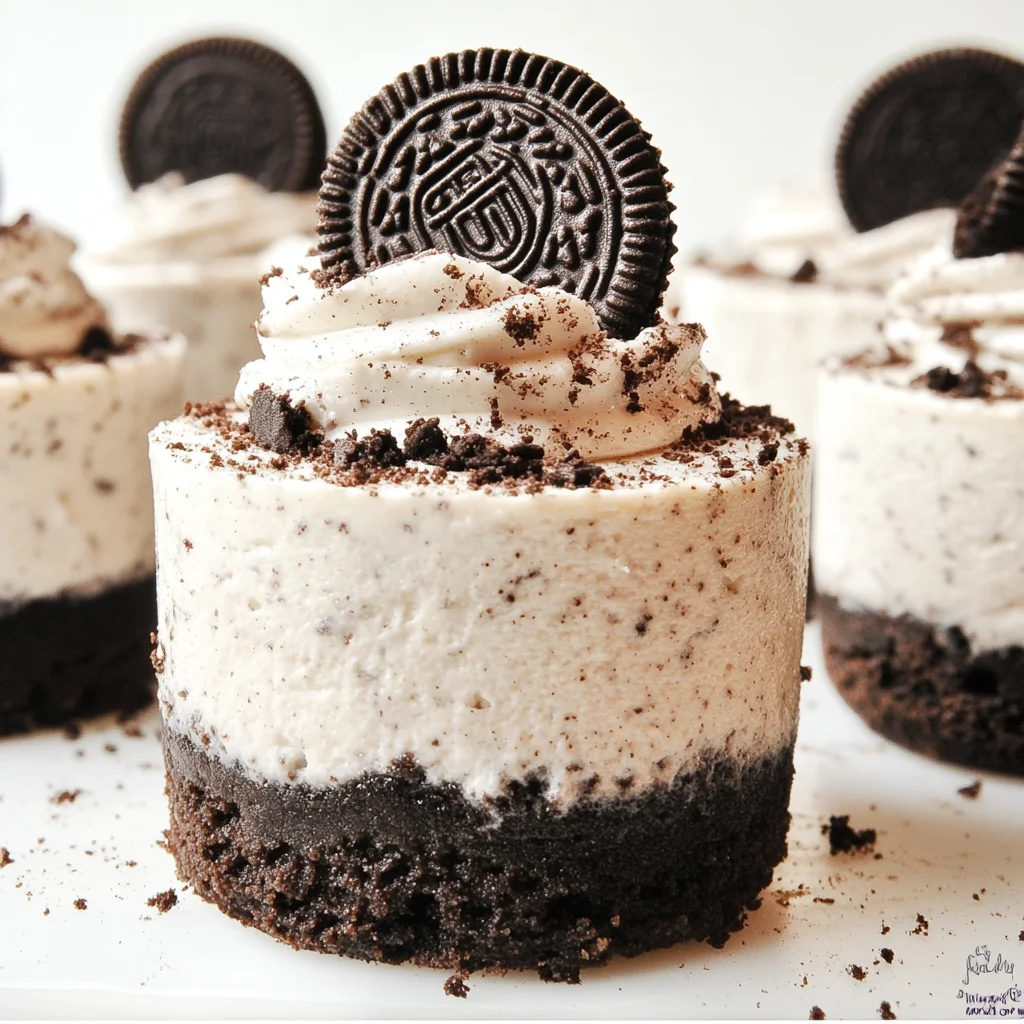
Oh, my sweet friends, do you remember those days when a simple treat could make your whole afternoon? Maybe it was a surprise ice cream cone, or a plate of cookies after school. Well, today, I’m bringing you a little slice of that pure, unadulterated joy, but with an adult twist that’s still unbelievably easy! We’re talking about Mini No-Bake Oreo Cheesecakes – tiny bites of creamy, dreamy heaven that taste like they took hours but actually come together in a snap. Seriously, if you’ve been craving that rich cheesecake flavor without turning on the oven, this recipe is about to become your new best friend.
These little wonders are perfect for literally any occasion – a last-minute get-together, a quiet evening on the couch, or even just a treat to make you smile. And the best part? They’re naturally dairy-free, so everyone can enjoy them!
Why You’ll Love Mini No-Bake Oreo Cheesecakes
- Fast: Minimal hands-on time, maximum deliciousness.
- Easy: No baking required, just simple mixing and chilling.
- Giftable: Perfect for sharing with friends, family, or neighbors!
- Crowd-pleasing: Who doesn’t love Oreos and cheesecake?
- Dairy-Free Friendly: A delicious treat for everyone!
Ingredients
Gather your simple ingredients, and let’s get started on this creamy adventure!
- 150g Oreo Cookies (for base): The classic, chocolatey goodness that forms the perfect crunchy foundation. Make sure they’re your favorite kind!
- 50g Dairy-Free Butter / Margarine (for base): This is what binds our cookie crumbs together for that perfect crust.
- 260g Dairy-Free Whipping Cream (for filling): This is key for that light, airy, and luscious cheesecake texture. Look for brands specifically for whipping!
- 160g Dairy-Free Cream Cheese (for filling): The star of our show, giving us that signature tangy, rich cheesecake flavor. Make sure it’s softened for easy blending.
- 8 Oreo Cookies (for filling): More Oreos means more happiness! These get blended into the creamy filling for an extra burst of chocolatey fun.
- 20g Dairy-Free Whipping Cream (for topping): Just a little extra fluff for a beautiful finish.
- 4 Oreo Cookies (for decoration): We’re making them pretty, right? Halved Oreos and crumbles add that professional touch.
How to Make Mini No-Bake Oreo Cheesecakes
Get ready to whip up some magic! These steps are super straightforward, I promise.
- Prepare the Base: First things first, grab a small saucepan and melt that 50g of dairy-free butter or margarine over low heat. Once it’s nice and melted, take it off the heat and pour it into a medium heat-proof mixing bowl.
- Next, it’s cookie time! Take 150g of your Oreo cookies and pop them into a blender or food processor. Whiz them up until they’re fine, beautiful crumbs. Pour these cookie crumbs right into your melted butter and stir it all together with a wooden spoon or spatula until every crumb is coated. It’ll smell heavenly!
- Now, for the fun part! Firmly press this cookie mixture into each cup of your cookie cup tin. You want a nice, even layer. Once they’re all set, pop those tins into the freezer while you get the creamy filling ready. This helps the crust firm up perfectly.
- Prepare the Cheesecake Filling: In a separate medium bowl, combine your 260g of dairy-free whipping cream and 160g of softened dairy-free cream cheese. Start whipping on low speed, then gradually increase to high. Keep going until the mixture is wonderfully thick and holds its shape. This is where the magic happens, turning simple ingredients into a luscious, creamy filling!
- Grab those remaining 8 Oreo cookies and blend them up until they’re fine crumbs. Add these delicious crumbs to your whipped cream cheese mixture and give it another quick whip to fully combine. Oh, the anticipation!
- Now for the neat trick: Transfer your gorgeous cheesecake filling to a piping bag. If you have a large round tip nozzle, use it! If not, no worries at all – just snip off the tip of the piping bag to create a good opening. This makes filling the cups super easy and mess-free.
- Pipe that decadent cheesecake filling evenly into each of your waiting cookie cups. Once they’re full, use an offset spatula (or the back of a spoon if you don’t have one) to level the tops. They’ll look so pretty!
- Pop those beauties into the freezer for at least 4 hours, or until they’re firm to the touch. Patience is a virtue, my friends, but it’s worth it! If you’re using push-up tins, simply push up the bases to release the cheesecakes. If you’re looking for more incredibly simple desserts that don’t require an oven, you might love our No-Bake Oreo Bars too!
- Prepare the Topping & Decorate: Once your cheesecakes are firm, transfer them to the refrigerator to defrost ever so slightly while you prepare the final flourish.
- Whip your 20g of dairy-free whipping cream in a bowl on high speed until it’s thick and fluffy.
- Transfer this whipped cream to a piping bag fitted with an open star tip nozzle (or again, just snip the tip!). Pipe a beautiful swirl of cream on top of each cheesecake. And if you’re a cheesecake fanatic like me, you absolutely have to check out our Decadent Triple Chocolate Cheesecake for another delightful treat!
- Finally, for the grand finale: Decorate each cheesecake with half an Oreo and a sprinkle of crumbled cookies. They’re now ready to impress!
Substitutions & Additions
This recipe is incredibly flexible, so feel free to get creative! Here are some ideas to make these mini cheesecakes truly your own:
- Cookie Crust Variations: Not an Oreo fan (gasp!)? You can use graham crackers, digestive biscuits, or even a different type of cookie like chocolate chip or shortbread. Just follow the same butter-to-crumb ratio.
- Filling Fun: Swirl in a tablespoon of peanut butter, a drizzle of caramel, or even a hint of mint extract to the cheesecake filling before adding the Oreos for a flavor twist.
- Topping Temptations: Instead of just whipped cream and Oreos, consider a sprinkle of chocolate shavings, a few fresh berries (strawberries or raspberries are lovely!), or a drizzle of chocolate fudge or caramel sauce.
- Mix-ins: Fold in mini chocolate chips, chopped nuts, or even crushed candies into the cheesecake filling for added texture and flavor.
Tips for Success
Even though these are super easy, a few little tips can make them absolutely perfect!
- Don’t Skip the Freeze: Freezing the crust before adding the filling, and then freezing the finished cheesecakes, is crucial for stability and easy handling. It ensures your mini cheesecakes hold their shape beautifully.
- Soften the Cream Cheese: Make sure your dairy-free cream cheese is at room temperature before whipping. This ensures a smooth, lump-free filling.
- Don’t Over-Whip: When whipping the cream and cream cheese, whip until just thick and firm. Over-whipping can sometimes cause the mixture to become grainy.
- Piping Bag Power: While not strictly necessary, a piping bag really makes filling the cups neat and even. If you don’t have one, a sturdy Ziploc bag with the corner snipped off works wonders too!
- Prep Ahead: These cheesecakes are fantastic for making ahead! Prepare them fully and freeze them. Just remember to move them to the fridge for a short defrost before serving. This is one of my favorite ways to stay ahead for parties!
How to Store Mini No-Bake Oreo Cheesecakes
You’ll want to keep these delicious treats fresh so you can enjoy them for days!
- Refrigerator: Store leftover cheesecakes in an airtight container in the refrigerator for up to 3-4 days. The crust might soften slightly over time, but they’ll still be incredibly delicious.
- Freezer: For longer storage, you can freeze the finished cheesecakes (without the whipped cream topping, if possible) in an airtight container for up to 1 month. When ready to enjoy, transfer them to the refrigerator for a few hours to thaw, then add the fresh whipped cream and decorations just before serving.
FAQs
Here are a few common questions you might have about making these no-bake wonders.
Q: Can I use regular dairy ingredients instead of dairy-free?
A: Absolutely! This recipe works perfectly with regular butter, whipping cream, and cream cheese if you don’t need it to be dairy-free. Just swap them out gram for gram.
Q: What kind of cookie cup tin should I use?
A: A standard 12-cup muffin tin lined with paper or silicone cupcake liners works perfectly. If you want them to pop out easily, I highly recommend silicone liners or even push-up pop containers for a fun presentation!
Q: My cheesecake filling isn’t getting thick enough. What’s wrong?
A: Make sure your cream cheese is softened and your whipping cream is very cold before you start. Also, ensure you’re using full-fat dairy-free cream cheese, as lower-fat versions may not firm up as well. Keep whipping on high speed, it should eventually thicken!
Q: Can I make this as one large cheesecake instead of mini ones?
A: Yes, you can! You’ll need a 9-inch pie plate or springform pan. Line the bottom with parchment paper for easy removal. You might need to adjust the quantities slightly and the chilling time will be longer (at least 6-8 hours or overnight).
I hope you love these Mini No-Bake Oreo Cheesecakes as much as I do! They’re a fantastic way to enjoy a classic dessert with minimal effort. Happy dessert making!
For more delicious recipes and kitchen inspiration, be sure to follow us on Pinterest!

Mini No-Bake Oreo Cheesecakes
Ingredients
Equipment
Method
- Step 1: Prepare the Base
- First things first, grab a small saucepan and melt that 50g of dairy-free butter or margarine over low heat. Once it’s nice and melted, take it off the heat and pour it into a medium heat-proof mixing bowl.
- Next, it’s cookie time! Take 150g of your Oreo cookies and pop them into a blender or food processor. Whiz them up until they're fine, beautiful crumbs. Pour these cookie crumbs right into your melted butter and stir it all together with a wooden spoon or spatula until every crumb is coated. It'll smell heavenly!
- Now, for the fun part! Firmly press this cookie mixture into each cup of your cookie cup tin (a standard 12-cup muffin tin lined with paper or silicone cupcake liners works perfectly). You want a nice, even layer. Once they’re all set, pop those tins into the freezer while you get the creamy filling ready. This helps the crust firm up perfectly.
- Step 2: Prepare the Cheesecake Filling
- In a separate medium bowl, combine your 260g of dairy-free whipping cream and 160g of softened dairy-free cream cheese. Start whipping on low speed, then gradually increase to high. Keep going until the mixture is wonderfully thick and holds its shape.
- Grab those remaining 8 Oreo cookies and blend them up until they're fine crumbs. Add these delicious crumbs to your whipped cream cheese mixture and give it another quick whip to fully combine.
- Now for the neat trick: Transfer your gorgeous cheesecake filling to a piping bag. If you have a large round tip nozzle, use it! If not, no worries at all – just snip off the tip of the piping bag to create a good opening. This makes filling the cups super easy and mess-free.
- Pipe that decadent cheesecake filling evenly into each of your waiting cookie cups. Once they're full, use an offset spatula (or the back of a spoon if you don’t have one) to level the tops.
- Pop those beauties into the freezer for at least 4 hours, or until they’re firm to the touch. If you’re using push-up tins, simply push up the bases to release the cheesecakes.
- Step 3: Prepare the Topping & Decorate
- Once your cheesecakes are firm, transfer them to the refrigerator to defrost ever so slightly while you prepare the final flourish.
- Whip your 20g of dairy-free whipping cream in a bowl on high speed until it’s thick and fluffy.
- Transfer this whipped cream to a piping bag fitted with an open star tip nozzle (or again, just snip the tip!). Pipe a beautiful swirl of cream on top of each cheesecake.
- Finally, for the grand finale: Decorate each cheesecake with half an Oreo and a sprinkle of crumbled cookies. They’re now ready to impress!