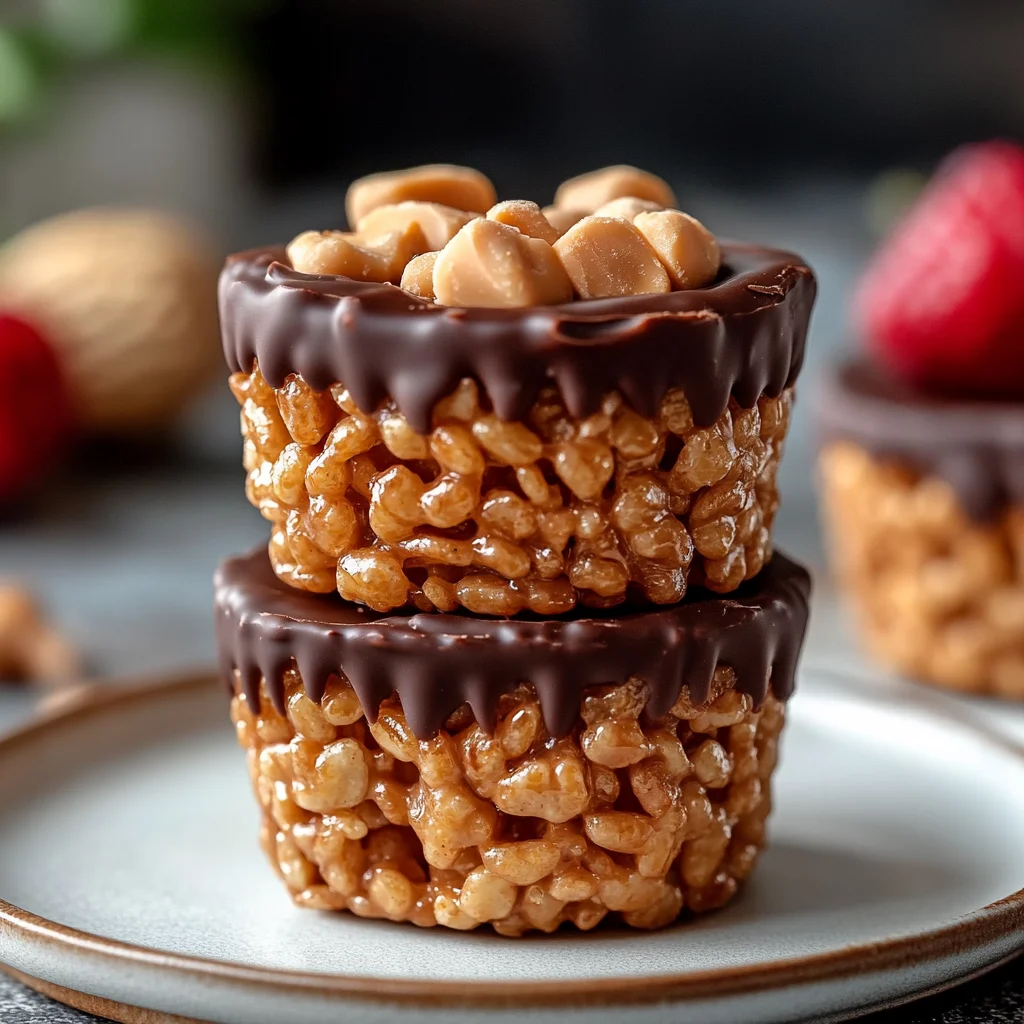
Oh, honey, let me tell you about a little slice of heaven that takes me right back to my grandma’s kitchen! You know those moments when you just crave something sweet, comforting, and utterly delicious, but you don’t want to spend all day baking? That’s where these Chocolate Peanut Butter Rice Krispie Cups come in. They’re like a warm hug for your taste buds, packed with that unbeatable combo of rich chocolate and creamy peanut butter, all with a satisfying Krispie crunch. Seriously, these are so easy, so quick, and so incredibly memorable, they’ll become a go-to in your recipe box, just like they have in mine!
Why You’ll Love Chocolate Peanut Butter Rice Krispie Cups
- Fast: From start to finish, you’re looking at minutes, not hours. Perfect for last-minute cravings!
- Easy: No oven required! If you can melt and stir, you can make these.
- Giftable: Wrap a few up with a pretty ribbon, and you’ve got a homemade gift everyone will adore.
- Crowd-pleasing: Who doesn’t love chocolate, peanut butter, and a good crunch? Kids and adults alike devour these!
Ingredients
- 3 cups Rice Krispies cereal: The classic crunch base! Make sure they’re fresh for maximum crispiness.
- 1 cup creamy peanut butter: Your favorite brand works perfectly here. I usually go for a smooth, creamy one for that perfect texture.
- ½ cup unsalted butter: This helps bind everything together and adds a rich, buttery flavor.
- 1 cup mini marshmallows: These melt down beautifully to create that signature chewy, sticky goodness.
- 1 cup chocolate chips: Semi-sweet, milk chocolate, dark chocolate – pick your pleasure! I often use semi-sweet for a balanced flavor.
- ½ tsp vanilla extract (optional): A little splash can really elevate the flavors. Don’t skip it if you have it!
- Pinch of sea salt (optional): Just a tiny sprinkle on top cuts through the sweetness and enhances the chocolate and peanut butter. Trust me on this one!
How to Make Chocolate Peanut Butter Rice Krispie Cups
Ready to whip up some magic? Grab your saucepan and let’s get started!
1. Melt the Base: In a medium saucepan, set your heat to low. Add the unsalted butter and mini marshmallows. Now, here’s the key: stir consistently! You want everything to melt down into a beautiful, smooth liquid without anything sticking or burning. Patience is a virtue here, my friend.
2. Add Peanut Butter: Once that buttery marshmallow mixture is perfectly smooth, take the saucepan off the heat. This is important because you don’t want to “cook” your peanut butter. Stir in the creamy peanut butter and, if you’re using it, the vanilla extract. Keep stirring until it’s all fully combined and looks wonderfully creamy and uniform.
3. Mix with Cereal: Pour your trusty Rice Krispies cereal into a large bowl. Gently pour the warm peanut butter mixture over the cereal. Now, using a spatula or a large spoon, gently fold everything together until every single Krispie is coated evenly. You don’t want any dry spots!
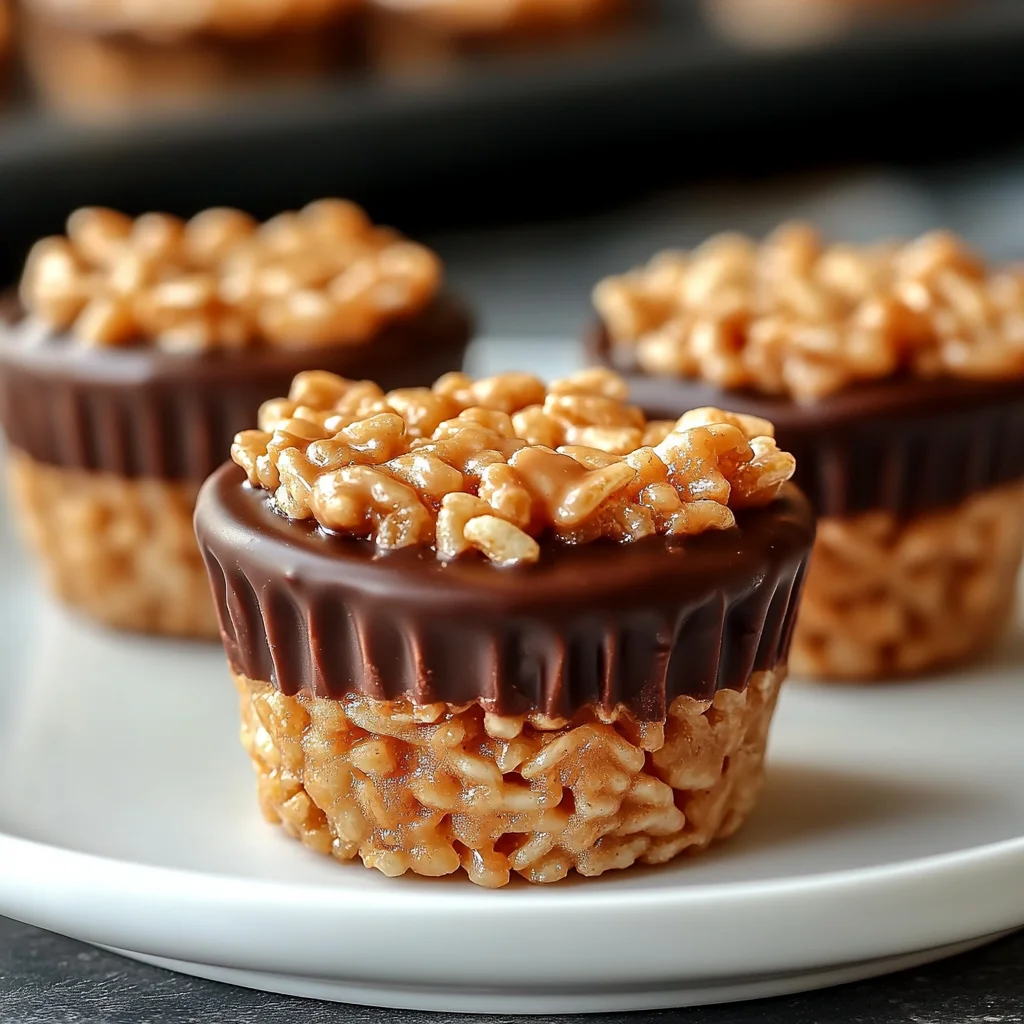
4. Shape the Cups: Grab a muffin tin and line each cup with paper liners. This makes them super easy to remove later! Spoon the cereal mixture evenly into each cup. Don’t be shy – press down gently to create a flat, compact surface. This ensures they hold their shape beautifully.
5. Add Chocolate Layer: Time for the grand finale – the chocolate! Melt your chocolate chips in a microwave-safe bowl. Do this in 20-second bursts, stirring really well between each interval, until the chocolate is smooth and glossy. If you’re looking for another amazing no-bake treat with chocolate, you absolutely have to try my No-Bake Chocolate Peanut Butter Bars next!
Once melted, spoon the chocolate evenly over the top of each Rice Krispie cup. Spread it out with the back of your spoon or a small offset spatula. If you’re going for that gourmet touch, sprinkle a tiny pinch of sea salt on top of each cup. It makes a world of difference!
6. Set and Serve: Now comes the hardest part: waiting! Let the cups cool at room temperature for about 20 minutes to set. If you’re in a hurry (and I totally get it!), pop them in the fridge for 10-15 minutes to speed up the process. Once they’re firm, carefully remove the paper liners and get ready to enjoy your masterpiece! If you love how easy this no-bake dessert is, you might also adore my Easy No-Bake Caramel Pretzel Bars for another quick sweet treat!
Substitutions & Additions
- Nut Butters: Not a peanut butter fan? Almond butter or cashew butter can work, but keep in mind their consistency might vary slightly.
- Chocolate Types: Get creative! White chocolate chips, butterscotch chips, or even a mix can add different flavor profiles.
- Mix-Ins: Before shaping the cups, try folding in mini M&Ms, chopped Reese’s Peanut Butter Cups, or even some crushed pretzels for an extra salty crunch.
- Toppings: Drizzle with extra peanut butter, caramel sauce, or a sprinkle of chopped nuts.
- Gluten-Free: Ensure your Rice Krispies cereal is certified gluten-free if needed. Most major brands offer this option now!
Tips for Success
- Low Heat is Key: When melting butter and marshmallows, always keep the heat low. High heat will make the marshmallows seize up or burn, and nobody wants burnt marshmallow flavor!
- Work Quickly: The mixture can start to set as it cools, so once the peanut butter is mixed in, incorporate the Rice Krispies and get them into the muffin tin pretty quickly.
- Even Coating: Ensure all the cereal is coated before pressing into the cups for consistent texture.
- Don’t Over-Press: Pressing too hard can make the cups overly dense. Just a gentle firm press is all you need.
- Room Temp vs. Fridge: For a chewier texture, let them set at room temperature. For a firmer, snappier bite, chill them in the fridge.
How to Store Chocolate Peanut Butter Rice Krispie Cups
These delicious cups are pretty stable!
- Store them in an airtight container at room temperature for up to 3-4 days.
- For a slightly firmer texture and extended freshness, you can store them in the refrigerator for up to a week. Just let them sit out for a few minutes before serving if you prefer them a little softer.
- They can also be frozen for up to 2 months! Wrap them individually in plastic wrap, then place them in a freezer-safe bag or container. Thaw at room temperature for about 15-20 minutes before enjoying. It’s like having a secret stash of happiness! Speaking of freezing, if you love convenient desserts, you absolutely must check out my No-Churn Peanut Butter Frozen Yogurt Bars!
FAQs
Q: Can I use natural peanut butter?
A: While you can, natural peanut butter tends to be thinner and can result in a greasier or less firm cup. Creamy, conventional peanut butter works best for consistency.
Q: How can I prevent the chocolate from cracking when I bite into it?
A: A common reason for cracking chocolate is extreme temperature changes. If you refrigerate them, let them come closer to room temperature for a few minutes before eating. Also, a pinch of coconut oil (about ½ teaspoon per cup of chocolate chips) added to the melting chocolate can make it a little more pliable.
Q: Can I make these in a pan instead of individual cups?
A: Absolutely! You can press the entire mixture into an 8×8 or 9×9 inch pan lined with parchment paper, top with chocolate, and cut into squares once set. This is a great option if you’re serving a crowd.
Don’t forget to follow me on Pinterest for more delicious and easy recipes!

No-Bake Chocolate Peanut Butter Rice Krispie Cups
Ingredients
Equipment
Method
- Step 1: In a medium saucepan, set your heat to low. Add the unsalted butter and mini marshmallows. Stir consistently until everything melts down into a beautiful, smooth liquid without anything sticking or burning.
- Step 2: Once that buttery marshmallow mixture is perfectly smooth, take the saucepan off the heat. Stir in the creamy peanut butter and, if using, the vanilla extract. Keep stirring until it's all fully combined and looks wonderfully creamy and uniform.
- Step 3: Pour your Rice Krispies cereal into a large bowl. Gently pour the warm peanut butter mixture over the cereal. Using a spatula or a large spoon, gently fold everything together until every single Krispie is coated evenly.
- Step 4: Grab a muffin tin and line each cup with paper liners. Spoon the cereal mixture evenly into each cup. Press down gently to create a flat, compact surface.
- Step 5: Melt your chocolate chips in a microwave-safe bowl in 20-second bursts, stirring really well between each interval, until the chocolate is smooth and glossy. Spoon the melted chocolate evenly over the top of each Rice Krispie cup. Spread it out with the back of your spoon or a small offset spatula. Optionally, sprinkle a tiny pinch of sea salt on top of each cup.
- Step 6: Let the cups cool at room temperature for about 20 minutes to set. If you're in a hurry, pop them in the fridge for 10-15 minutes to speed up the process. Once they're firm, carefully remove the paper liners and enjoy.