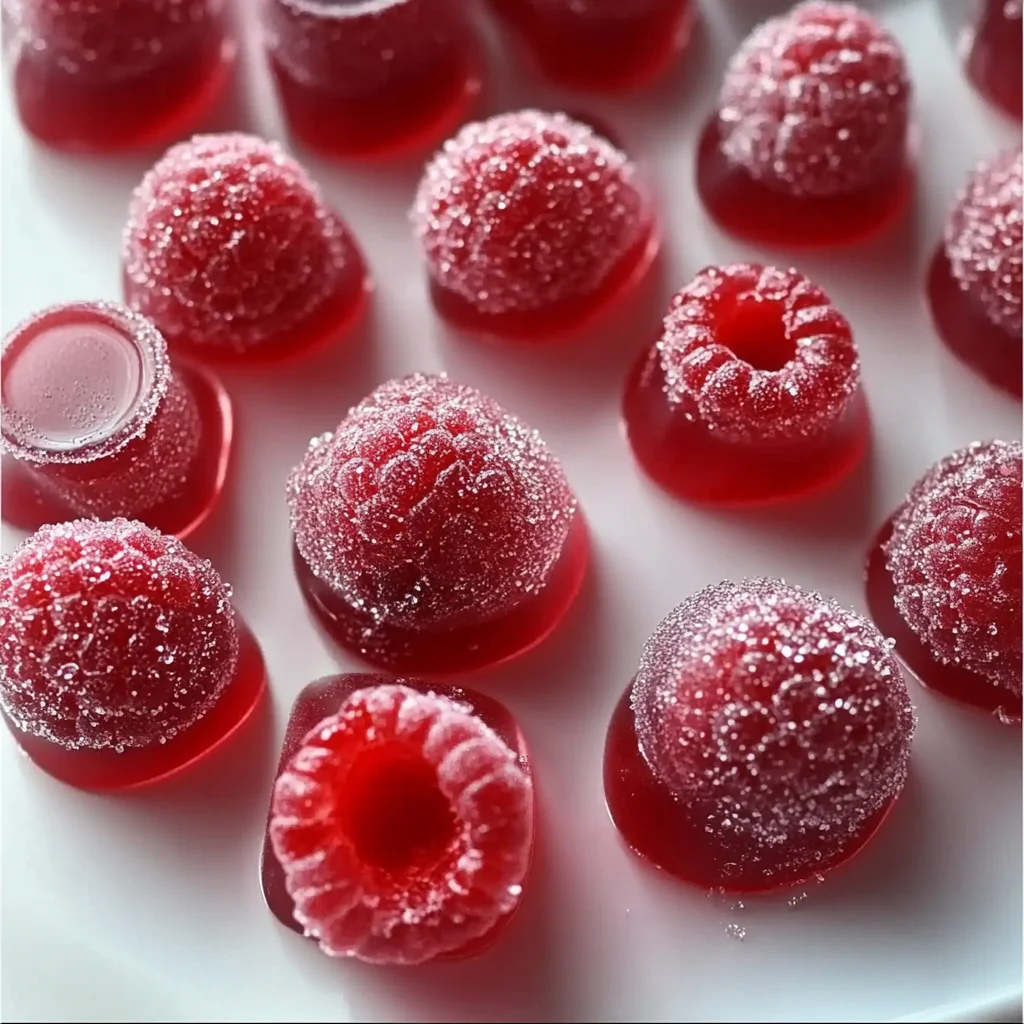
Oh, friend, do you ever get a craving for something that takes you right back to childhood? Those chewy, fruity candies that were always a special treat? Well, get ready, because I’m about to share a recipe that captures that nostalgic magic in every bite, but with the fresh, vibrant flavor of real raspberries. These Homemade Raspberry Pectin Gummies are not just incredibly delicious; they’re surprisingly easy to make and come together quicker than you might think. Imagine biting into a soft, perfectly sweet-tart morsel, bursting with real raspberry goodness. It’s a little piece of sunshine, perfect for a cozy afternoon or sharing with your loved ones. Trust me, once you make these, you’ll wonder why you ever bought store-bought!
Why You’ll Love Raspberry Pectin Gummies
- Fast: You’ll be amazed how quickly these come together.
- Easy: No complicated steps or fancy equipment needed.
- Giftable: They make the sweetest homemade present for friends and family.
- Crowd-pleasing: Seriously, who doesn’t love a delicious fruit gummy?
Ingredients
Gathering your ingredients is the first step to making these delightful gummies. Here’s what you’ll need, with a little friendly advice:
- 18-20 oz fresh raspberries (or 20-22 oz frozen raspberries, thawed): Fresh is fantastic if you have them, but frozen works beautifully too! Just make sure they’re completely thawed before you start.
- 1 ¾ cup granulated sugar, plus more for coating: This is what gives your gummies that classic sweetness and helps with the texture. Don’t skimp, it’s key!
- 3 tbsp corn syrup: A little bit of corn syrup helps prevent crystallization, ensuring your gummies stay nice and smooth, not grainy.
- 6 tbsp regular fruit pectin (e.g., Sure Jell Original): This is the star ingredient that gives your gummies their perfect chewy texture. Make sure you use regular pectin, not “low sugar” or “no sugar added” varieties, as they behave differently.
- ½ cup filtered water: You’ll use this to dissolve the citric acid.
- 1 tsp baking soda: This helps activate the pectin, so don’t skip it!
- ¼ cup filtered water: Used with the pectin and baking soda.
- 1 tsp powdered citric acid: This is where that wonderful tart, vibrant fruit flavor comes from, really making the raspberries sing!
How to Make Raspberry Pectin Gummies
Alright, let’s get cooking! Follow these simple steps, and you’ll have a batch of gorgeous raspberry gummies in no time.
- Get Your Molds Ready: First things first, prepare your silicone molds or a silicone cake pan. If you’re using individual molds, place them on a cookie sheet. This makes them much easier to move once they’re full of your warm gummy mixture. Trust me on this one – you don’t want a wobbly mess!
- Puree Those Raspberries: Next up, get those beautiful raspberries ready. Puree them in a blender or food processor until completely smooth. Then, here’s a little secret for super-smooth gummies: strain the puree through a fine-mesh sieve. This removes all those tiny seeds, giving you a luscious, smooth 1 ½ cups of seedless raspberry puree. It’s a small step that makes a big difference in the final texture! If you love the bright, fresh flavor of raspberries, you might also adore these easy mini raspberry cheesecake bites or a refreshing homemade raspberry sorbet.
- Start the Sweet Mix: In a medium saucepan, combine your gorgeous raspberry puree with the 1 ¾ cup of granulated sugar and the corn syrup. Place it over medium heat and stir continuously. You want to make sure the sugar dissolves completely and the mixture comes to a full, rolling boil.
- Activate the Pectin: In a separate, smaller saucepan, combine your fruit pectin, baking soda, and the ¼ cup of filtered water. Stir it well and bring this mixture to a gentle simmer. Once it’s simmering, carefully pour it into your boiling raspberry mixture in the larger saucepan. Stir it all together thoroughly.
- Cook to Perfection: Now for the magic! Insert a candy thermometer into your raspberry mixture. Continue to cook over medium heat, stirring frequently to prevent sticking, until the mixture reaches a temperature of 230-240°F. This precise temperature is crucial for getting that perfect gummy chew.
- Add the Tangy Kick: While your raspberry mixture is cooking, dissolve the powdered citric acid in the ½ cup of filtered water. As soon as your raspberry mixture hits that ideal temperature (230-240°F), remove it from the heat and quickly stir in the dissolved citric acid. Work fast, because the pectin will start to set!
- Fill the Molds: Immediately after adding the citric acid, pour the warm gummy mixture into your prepared silicone molds. Fill them carefully, trying not to overfill.
- Cool Down: Now comes the hardest part: waiting! Allow your gummies to cool undisturbed for at least 2 hours. For the absolute best texture, I recommend letting them set overnight. This gives them plenty of time to firm up beautifully.
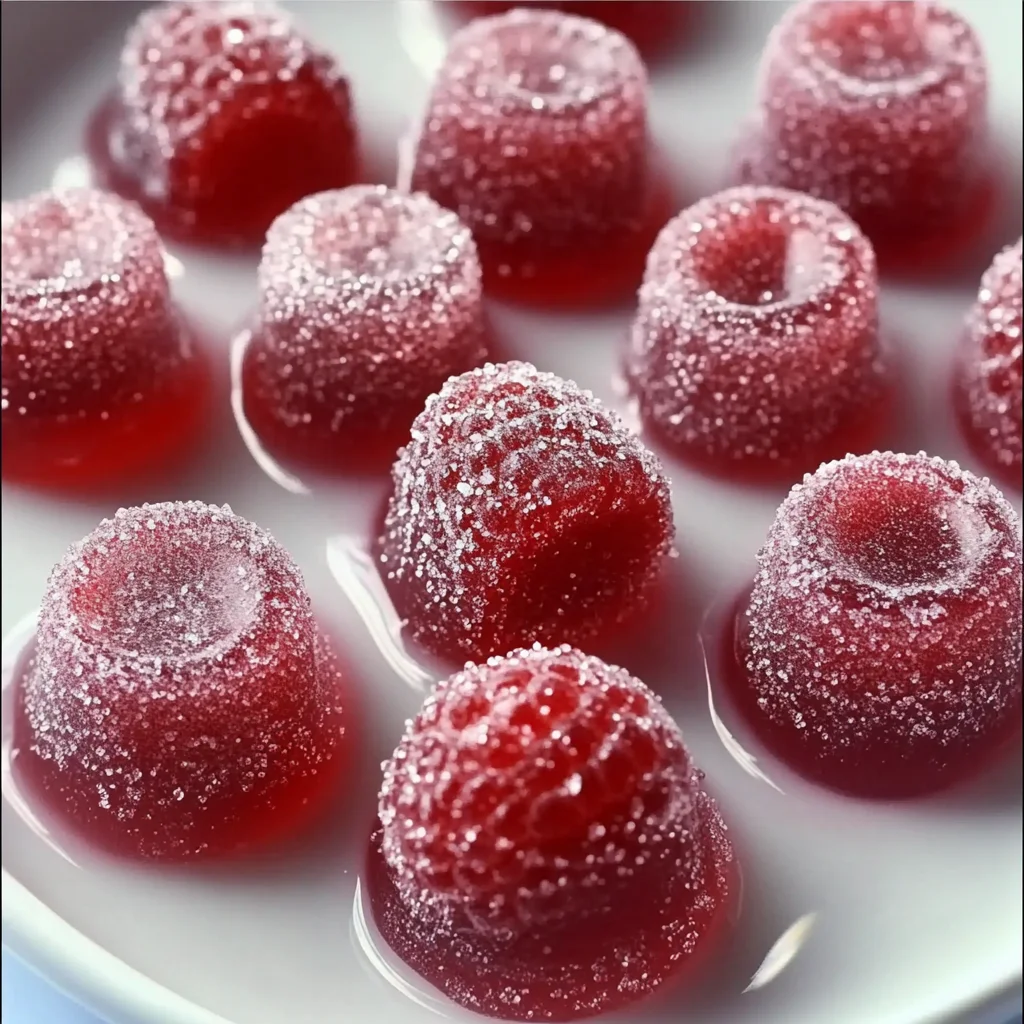
- Unmold and Coat: Once fully cooled and set, gently unmold your homemade gummies. They should pop out easily. For that classic candy store finish, roll them in a bit of extra granulated sugar to coat.
- Enjoy! Your delightful raspberry pectin gummies are ready to be savored!
Substitutions & Additions
The beauty of homemade treats is that you can always make them your own! Here are some ideas to customize your gummies:
- Fruit Swaps: Not a raspberry fan today? Try strawberry, cherry, blueberry, or even a mix of your favorite berries! Just be sure to get 1 ½ cups of strained puree.
- Flavor Boosts: Add a tiny drop (1/4 tsp) of natural raspberry extract along with the citric acid for an even more intense berry flavor. Or, try a hint of vanilla or almond extract for a different twist.
- Zest it Up: A teaspoon of lemon or lime zest added with the fruit puree can give these gummies an extra bright, citrusy note.
- Sugar Alternatives: While I’ve used granulated sugar and corn syrup for the classic texture, some readers have had success with alternative sweeteners for reduced-sugar versions. However, be aware that the texture might vary, and you might need different types of pectin (like low-sugar pectin) which will change the recipe significantly. For easy sweet treats with alternative ingredients, you might enjoy these no-bake peanut butter brownie cookies!
- Different Molds: Get creative with different silicone mold shapes! Mini hearts, stars, or even small squares work wonderfully.
- Coatings: Instead of just sugar, try a mix of sugar and finely ground freeze-dried raspberries for an extra pop of color and flavor. You could also try sanding sugar for extra sparkle.
Tips for Success
Making gummies is pretty straightforward, but a few pointers can make all the difference:
- Don’t Skip the Strain: Seriously, straining the raspberry puree is key for that smooth, professional gummy texture. Those tiny seeds can really mess with the mouthfeel.
- Accurate Temperatures are Crucial: A reliable candy thermometer is your best friend here. Reaching the correct temperature (230-240°F) ensures your gummies set properly and have the right chewiness. Too low, and they’ll be too soft; too high, and they might become brittle.
- Work Quickly: Once the citric acid is added, the pectin starts to set rapidly. Have your molds ready and pour quickly to avoid a lumpy mess.
- Patience is a Virtue: Letting the gummies cool completely, ideally overnight, is essential for them to firm up properly. Don’t rush it!
- Clean Up As You Go: Pectin can be sticky! Wash your saucepan and utensils immediately after pouring the gummies to make cleanup much easier.
How to Store Raspberry Pectin Gummies
Once your beautiful gummies are ready, you’ll want to store them properly to maintain their deliciousness:
- Room Temperature: Store your gummies in an airtight container at room temperature for up to 1 week. If it’s particularly humid, they might get a little sticky, so consider refrigeration.
- Refrigerator: For a slightly firmer texture and extended shelf life, you can store them in an airtight container in the refrigerator for up to 2-3 weeks.
- Freezer: Yes, you can freeze them! Place them in a single layer on a parchment-lined baking sheet and freeze until solid, then transfer to a freezer-safe bag or container. They’ll keep for up to 3 months. Thaw at room temperature for a few minutes before enjoying.
FAQs
Here are answers to a few common questions you might have about making these delightful raspberry pectin gummies:
Q: Can I use fresh or frozen raspberries?
A: Absolutely! Both fresh and frozen (thawed) raspberries work perfectly for this recipe. Just make sure to measure out the correct amount after pureeing and straining.
Q: Why are my gummies too sticky?
A: Stickiness can often be due to humidity or not cooking the mixture to the correct temperature. Make sure you hit that 230-240°F range on your candy thermometer. Rolling them in extra granulated sugar after unmolding also helps significantly.
Q: Can I use a different type of pectin?
A: This recipe specifically calls for regular fruit pectin (like Sure Jell Original). Other types, such as “low sugar” or “no sugar added” pectin, have different setting properties and will not yield the same results. Stick to the specified type for success!
Q: How long do these gummies last?
A: When stored in an airtight container, they’ll last about a week at room temperature, 2-3 weeks in the refrigerator, and up to 3 months in the freezer.
For more delicious recipes and kitchen inspiration, be sure to follow us on Pinterest!

Homemade Raspberry Pectin Gummies
Ingredients
Equipment
Method
- Step 1: Get Your Molds Ready: Prepare your silicone molds or a silicone cake pan. If using individual molds, place them on a cookie sheet for easier handling.
- Step 2: Puree Those Raspberries: Puree fresh or thawed raspberries in a blender or food processor until completely smooth. Strain the puree through a fine-mesh sieve to remove seeds, yielding 1 ½ cups of seedless raspberry puree.
- Step 3: Start the Sweet Mix: In a medium saucepan, combine the 1 ½ cups raspberry puree, 1 ¾ cup granulated sugar, and corn syrup. Place over medium heat and stir continuously until the sugar dissolves completely and the mixture comes to a full, rolling boil.
- Step 4: Activate the Pectin: In a separate, smaller saucepan, combine the fruit pectin, baking soda, and ¼ cup filtered water. Stir well and bring this mixture to a gentle simmer. Carefully pour it into your boiling raspberry mixture in the larger saucepan and stir thoroughly.
- Step 5: Cook to Perfection: Insert a candy thermometer into your raspberry mixture. Continue to cook over medium heat, stirring frequently, until the mixture reaches a temperature of 230-240°F. This temperature is crucial for the perfect gummy chew.
- Step 6: Add the Tangy Kick: While the raspberry mixture is cooking, dissolve the powdered citric acid in the ½ cup of filtered water. As soon as your raspberry mixture hits 230-240°F, remove it from the heat and quickly stir in the dissolved citric acid. Work fast as the pectin will start to set!
- Step 7: Fill the Molds: Immediately after adding the citric acid, pour the warm gummy mixture into your prepared silicone molds. Fill them carefully, avoiding overfilling.
- Step 8: Cool Down: Allow your gummies to cool undisturbed for at least 2 hours. For the best texture, let them set overnight. This ensures they firm up beautifully.
- Step 9: Unmold and Coat: Once fully cooled and set, gently unmold your homemade gummies. They should pop out easily. For a classic candy store finish, roll them in a bit of extra granulated sugar to coat.
- Step 10: Enjoy! Your delightful raspberry pectin gummies are ready to be savored!