
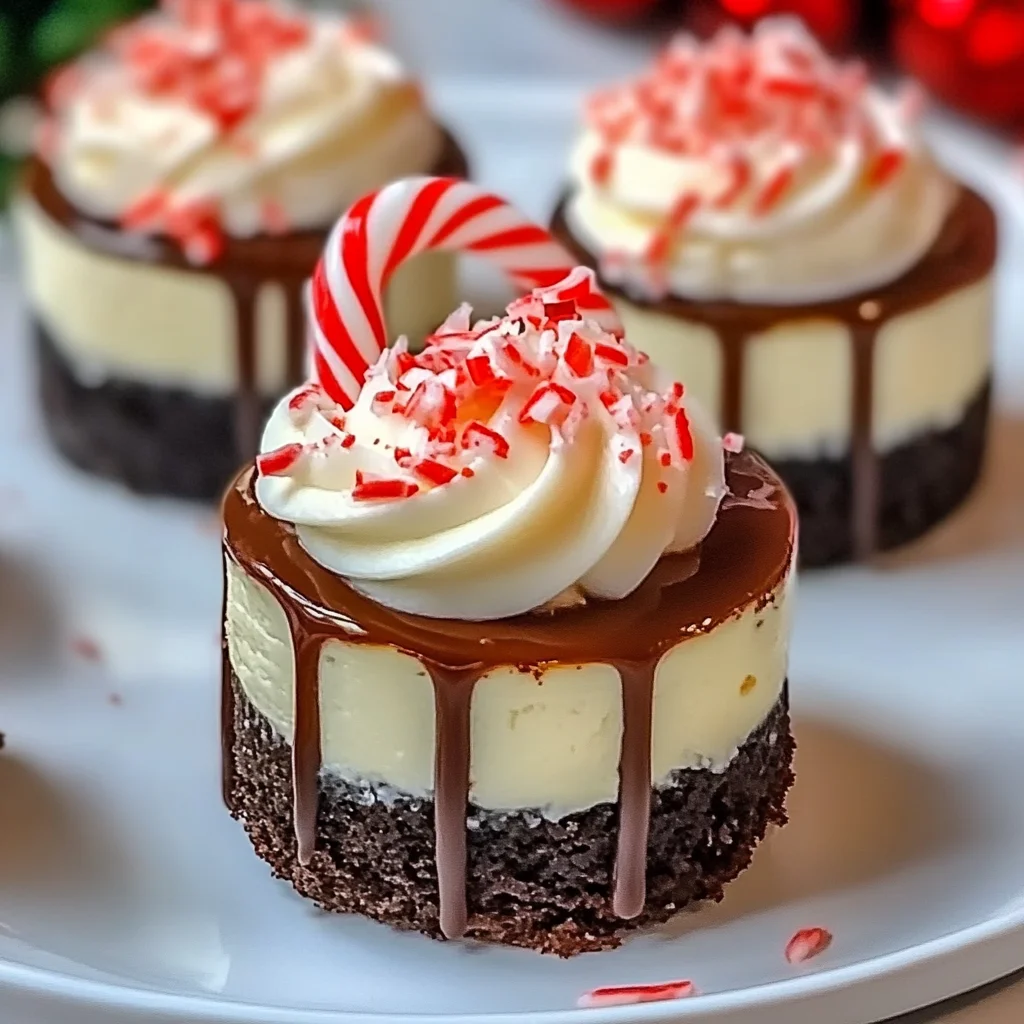
Do you remember those chilly winter nights, snuggled up with a warm mug of hot cocoa, the scent of peppermint lingering in the air? That feeling of pure comfort and joy? Well, my friend, I’ve bottled up that magical essence and transformed it into the most adorable, delectable dessert you’ll ever make: Hot Cocoa Peppermint Cheesecake Bites! These little beauties are surprisingly easy to whip up, making them perfect for holiday gatherings, a thoughtful homemade gift, or simply a treat for yourself after a long day. They bring all the festive cheer without any of the fuss, and trust me, they’re so memorable, your friends and family will be begging for the recipe!
Why You’ll Love Hot Cocoa Peppermint Cheesecake Bites
- Fast
- Easy
- Giftable
- Crowd-pleasing
Ingredients

Gathering your ingredients is half the fun! Here’s what you’ll need to create these little bites of heaven:
- Chocolate Graham Cracker Crumbs (1 cup): This is our base, providing that perfect chocolatey crunch, almost like a brownie crust!
- Melted Butter (3 tbsp): The magical glue that holds our crust together. Unsalted is usually best, but salted works too if that’s what you have on hand.
- Sugar (1 tbsp for crust, 1/2 cup for filling): Just enough sweetness to balance the richness.
- Cream Cheese, softened (16 oz): The star of any cheesecake! Make sure it’s nice and soft, otherwise, you’ll end up with lumps, and nobody wants lumpy cheesecake.
- Peppermint Extract (1/2 tsp): This is where the “peppermint” in hot cocoa peppermint comes from! A little goes a long way, so measure carefully.
- Vanilla Extract (1 tsp): A classic flavor enhancer that brings out the best in everything.
- Eggs (2): These bind our cheesecake filling and give it that lovely, creamy texture.
- Sour Cream (1/4 cup): My secret for a super smooth and tangy cheesecake filling that’s just irresistible.
- Heavy Cream (1/2 cup): For that decadent, pourable chocolate ganache.
- Semi-Sweet Chocolate Chips (4 oz): The other half of our ganache, giving it a rich, melt-in-your-mouth chocolate flavor.
- Whipped Cream: For that iconic “hot cocoa” topping! Freshly whipped or from a can, it’s totally up to you.
- Crushed Candy Canes: Adds a beautiful pop of color and extra peppermint crunch!
- Mini Peppermint Sticks: The perfect finishing touch to make these look like tiny mugs of hot cocoa.
How to Make Hot Cocoa Peppermint Cheesecake Bites
Ready to get baking? Let’s walk through this together, step by step. You’ll be amazed at how simple these are!
Step 1: Get That Crust Ready!
- First things first, preheat your oven to 325°F (163°C). This gives it time to warm up nicely.
- In a medium bowl, combine your chocolate graham cracker crumbs, a tablespoon of sugar, and the melted butter. Give it a good stir until everything is moist and crumbly. It should feel a bit like wet sand.
- Now, take your mini cheesecake molds or a regular muffin tin (with liners, if you prefer less mess!). Spoon a heaping tablespoon of the crumb mixture into each cup. Using the back of a spoon or a small measuring cup, press the crumbs down firmly to form an even crust.
- Pop these into the preheated oven for just 5–7 minutes. This sets the crust beautifully. Once they’re done, take them out and let them cool completely while you work on the filling.
Step 2: Whip Up the Creamy Cheesecake Filling
- In a large mixing bowl, beat your softened cream cheese until it’s wonderfully smooth and creamy. No lumps allowed here!
- Add in the ½ cup of sugar, peppermint extract, and vanilla extract. Beat again until everything is well combined and the mixture is fluffy.
- Next, crack in your eggs, adding them one at a time. Beat well after each addition, but be careful not to overmix! Overmixing can introduce too much air, which can cause cracks later (we’ll talk more about that in our tips!).
- Finally, gently fold in the sour cream. This adds a lovely tang and extra creaminess.
- Spoon this luscious cheesecake filling over your cooled crusts, filling each cup almost to the top.
- Bake for 18–22 minutes, or until the edges are set, but the center still has a slight jiggle. That slight jiggle is key to a perfectly creamy cheesecake!
- Once baked, let them cool completely on a wire rack at room temperature. Then, here’s the important part: chill them in the refrigerator for at least 2 hours. This helps them set up beautifully and intensifies their flavor. If you’re a fan of making easy, delicious desserts that need some good chilling, you might also adore these No-Bake Oreo Cheesecakes.
Step 3: Drown Them in Dreamy Ganache
- While your cheesecakes are chilling, let’s make that glorious ganache! Heat the heavy cream in a small saucepan over medium heat until it’s just simmering – you’ll see tiny bubbles forming around the edges. Don’t let it boil!
- Remove the cream from the heat and pour it over your semi-sweet chocolate chips in a heat-proof bowl. Let it sit undisturbed for 2 minutes. This allows the hot cream to melt the chocolate.
- After 2 minutes, stir the mixture gently with a spoon or whisk until it’s completely smooth and glossy. Hello, beautiful ganache!
- Once your cheesecakes are thoroughly chilled, spoon the warm (but not hot!) ganache over each one, letting it gently cascade over the edges.
Step 4: Decorate and Devour!
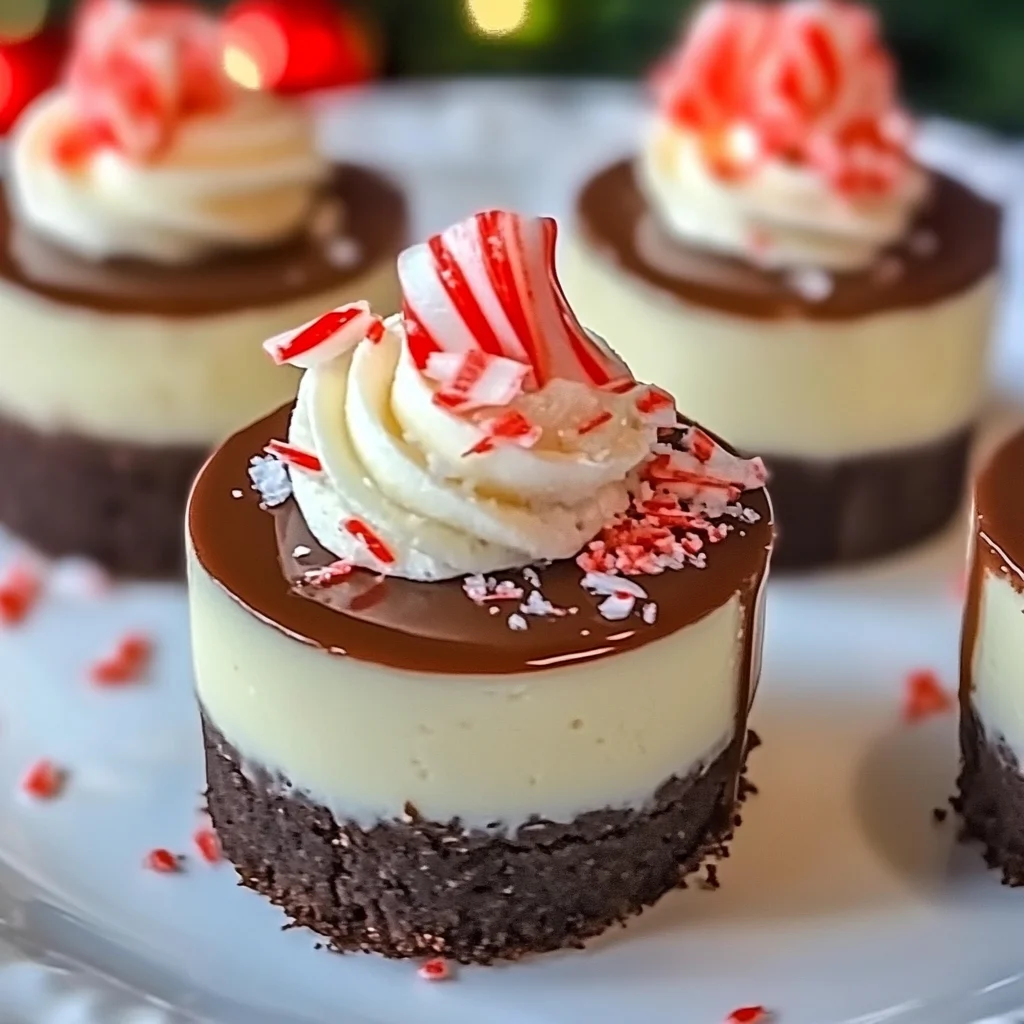
- This is where they truly become “Hot Cocoa” bites! Pipe a swirl of whipped cream on top of each ganache-covered cheesecake.
- Generously sprinkle with crushed candy canes for that festive crunch and color.
- Finish each bite with a mini peppermint stick, making them look just like tiny, edible mugs of holiday cheer!
Substitutions & Additions
The beauty of these cheesecake bites is how adaptable they are! Feel free to get creative and make them your own.
- Crust Variations: Not a fan of chocolate graham crackers? You could use plain graham cracker crumbs, crushed Oreo cookies (removing the cream filling for the crust), or even gingersnap cookies for a spicier kick!
- Chocolate Choices: For the ganache, feel free to swap semi-sweet chocolate chips for dark chocolate for a more intense flavor, or milk chocolate for something sweeter. White chocolate ganache would also be stunning, especially with a few sprinkles.
- Extract Adventures: If peppermint isn’t your favorite, try almond extract for a marzipan-like twist, or a hint of orange zest and extract for a citrusy touch.
- Topping Fun: Beyond whipped cream and candy canes, consider mini chocolate chips, chocolate shavings, a drizzle of caramel sauce, or even edible glitter for extra sparkle!
- No-Bake Option: While this recipe has a quick bake for the crust and cheesecake, if you’re ever in the mood for an entirely no-bake dessert, I highly recommend our Easy No-Bake Caramel Pretzel Bars – they’re seriously addictive!
Tips for Success
Making cheesecake can sometimes feel intimidating, but with a few simple tricks, you’ll be a pro in no time. Here are my go-to tips for perfect Hot Cocoa Peppermint Cheesecake Bites:
- Softened Cream Cheese is a Must: I cannot stress this enough! Cold cream cheese will lead to a lumpy batter. Take it out of the fridge at least an hour before you start mixing.
- Don’t Overmix the Batter: Once you add the eggs, mix just until combined. Overmixing introduces too much air, which can cause the cheesecake to puff up in the oven and then crack as it cools. Gentle is the key!
- Chill, Chill, Chill: The chilling time isn’t just a suggestion; it’s essential! It allows the cheesecake to fully set, develop its creamy texture, and become firm enough to handle and top without falling apart.
- Use Room Temperature Eggs: Like cream cheese, room temperature eggs incorporate more smoothly into the batter, leading to a more consistent texture.
- Pan Prep: If using a muffin tin without liners, a light spray with non-stick spray before adding the crust can help with easy removal. For mini cheesecake pans with removable bottoms, you’re usually good to go!
- Make Ahead Magic: These cheesecake bites are fantastic for making ahead! You can prepare them up to the point of adding the ganache and toppings, storing them in the fridge. Then, just before serving, warm the ganache, add it, and decorate. It’s a lifesaver for holiday entertaining! For another fun, bite-sized dessert that’s great for parties, you might also enjoy these Strawberry Cheesecake Donut Holes!
How to Store Hot Cocoa Peppermint Cheesecake Bites
These delightful bites are best enjoyed chilled! Once assembled and decorated, store them in an airtight container in the refrigerator for up to 3-4 days. While they’re perfectly safe to eat beyond that, the whipped cream and candy canes might start to lose their crispness. If you’re planning to store them longer, I recommend waiting to add the whipped cream and candy cane toppings until just before serving. You can also freeze the plain cheesecake bites (before ganache and toppings) for up to 1 month. Just thaw them in the fridge overnight before adding your delicious toppings.
FAQs
Got questions? I’ve got answers!
Q: Can I make these ahead of time?
Absolutely! These cheesecake bites are perfect for making in advance. You can prepare them up to the point of adding the ganache and toppings, then chill them in the fridge for a day or two. Add the ganache and decorations right before you’re ready to serve for the freshest look.
Q: Why did my cheesecake crack?
Cracks can happen! The most common reasons are overmixing the batter (which adds too much air) or a sudden temperature change during cooling. To minimize cracks, avoid overmixing and let the cheesecakes cool gradually on a wire rack before transferring them to the fridge.
Q: Can I skip the peppermint extract?
You sure can! If you’re not a fan of peppermint or want a more classic chocolate cheesecake, simply omit the peppermint extract. You’ll still have a wonderfully rich and delicious chocolate cheesecake bite.
Q: Can I use regular graham crackers for the crust?
Yes, definitely! If you don’t have chocolate graham crackers, or simply prefer the classic taste, regular graham cracker crumbs work beautifully for the crust. It will still be a fantastic base for your peppermint cheesecake!
For more delicious recipes and kitchen inspiration, be sure to follow us on Pinterest!
Hot Cocoa Peppermint Cheesecake Bites
Ingredients
Equipment
Method
- Step 1: Preheat your oven to 325°F (163°C).
- Step 2: In a medium bowl, combine 1 cup chocolate graham cracker crumbs, 1 tablespoon sugar (for crust), and 3 tablespoons melted butter. Stir until moist and crumbly.
- Step 3: Spoon a heaping tablespoon of the crumb mixture into each mini cheesecake mold or muffin tin cup. Press the crumbs down firmly with the back of a spoon or a small measuring cup to form an even crust.
- Step 4: Bake the crusts for 5–7 minutes until set. Remove and let them cool completely on a wire rack.
- Step 5: In a large mixing bowl, beat 16 oz softened cream cheese until smooth and creamy.
- Step 6: Add ½ cup sugar (for filling), ½ tsp peppermint extract, and 1 tsp vanilla extract. Beat again until well combined and fluffy.
- Step 7: Crack in 2 eggs, adding them one at a time, beating well after each addition. Be careful not to overmix.
- Step 8: Gently fold in ¼ cup sour cream.
- Step 9: Spoon the cheesecake filling over the cooled crusts, filling each cup almost to the top.
- Step 10: Bake for 18–22 minutes, or until the edges are set but the center still has a slight jiggle. Let them cool completely on a wire rack at room temperature, then chill in the refrigerator for at least 2 hours.
- Step 11: While cheesecakes chill, make the ganache: Heat ½ cup heavy cream in a small saucepan over medium heat until just simmering – you’ll see tiny bubbles forming around the edges. Do not let it boil.
- Step 12: Remove the cream from heat and pour it over 4 oz semi-sweet chocolate chips in a heat-proof bowl. Let it sit undisturbed for 2 minutes, then stir gently with a spoon or whisk until completely smooth and glossy.
- Step 13: Once cheesecakes are thoroughly chilled, spoon the warm (but not hot!) ganache over each one, letting it gently cascade over the edges.
- Step 14: Pipe a swirl of whipped cream on top of each ganache-covered cheesecake.
- Step 15: Generously sprinkle with crushed candy canes and finish each bite with a mini peppermint stick. Serve immediately.


