There’s something truly magical about a warm mug of hot chocolate, isn’t there? It instantly transports you back to cozy evenings, maybe after trick-or-treating or a crisp fall walk, wrapped in a blanket with your favorite movie playing. Well, get ready to add a thrilling new chapter to those memories with our incredible Vampire Hot Chocolate! It’s not just a drink; it’s a whole experience. This recipe is so easy, so quick, and so utterly delightful, you’ll wonder why you haven’t made it sooner. Forget complicated concoctions; we’re talking about pure, ghoulishly good comfort in a cup!
Why You’ll Love Vampire Hot Chocolate
If you’re looking for a show-stopping treat that comes together in a snap, this is it! It’s got everything you could wish for in a festive drink.
- Fast: From kitchen to cozy couch in no time at all.
- Easy: No fancy barista skills required here, just simple steps!
- Giftable: Think DIY hot chocolate kits with “blood” sugar for a fun party favor!
- Crowd-pleasing: Kids and adults alike will get a kick out of this spooky sweet indulgence.
Ingredients
Gather your potion ingredients, my friend! You’ll find most of these are likely already in your pantry, making this a breeze to whip up.
-
For the Vampire Hot Chocolate:
- 3 cups whole milk: This gives our hot chocolate that wonderfully rich, creamy base.
- 1 cup heavy cream: For an extra luxurious, velvety texture. Trust me, it makes all the difference!
- 1 teaspoon vanilla extract: A classic flavor enhancer that brings out the sweetness of the chocolate.
- 8 ounces white chocolate, chopped: Using good quality white chocolate means a smoother, more decadent drink. Chop it finely for quicker melting.
- 1/2 cup mini chocolate chips: A little extra chocolate never hurt anyone, right? These melt beautifully into the drink.
- Red food coloring: Gel food coloring works best for a vibrant, spooky red hue.
-
For the Whipped Cream:
- 1 cup heavy whipping cream: Cold cream whips up the best, so keep it chilled until you’re ready.
- 1 teaspoon vanilla extract: To add a hint of sweet fragrance to your fluffy topping.
- 1 tablespoon granulated sugar: Just enough to sweeten the cream without overpowering it.
-
For the Sugar Blood:
- 1/2 cup light corn syrup: The secret to that realistic, drippy “blood” consistency.
- 1/2 cup water: Helps dissolve the sugar and create the perfect syrup.
- 1 cup granulated sugar: The foundation of our hard candy “blood.”
- Red gel food coloring: Again, gel is your best friend here for deep, vibrant color.
How to Make Vampire Hot Chocolate
Ready to conjure up some magic? Let’s get to it!
For the Whipped Cream:
- First things first, let’s get that dreamy whipped cream ready. In the clean, cold bowl of a stand mixer (or using a hand mixer), combine 1 cup of super cold heavy whipping cream, vanilla extract, and granulated sugar.
- Whip on medium-high speed until you see lovely stiff peaks form. This means when you lift the beater, the cream holds its shape beautifully. Don’t overmix, or it can turn grainy! Set this aside in the fridge while you work on the rest.
For the Sugar Blood:
This part is where the real spooky fun begins, but be careful as hot sugar is very hot!
- In a small, heavy-bottomed saucepan, combine the water and light corn syrup. Stir in the granulated sugar.
- Heat this mixture over medium heat. Now, this is important: do not stir it once it starts heating. You’ll just let it bubble away until it reaches exactly 300°F (150°C) on a candy thermometer. If you don’t have a candy thermometer, I highly recommend getting one for candy making – it takes the guesswork out!
- As soon as it hits 300°F, immediately remove it from the heat. Carefully add a few drops of red gel food coloring and gently stir until it’s perfectly combined and a vivid “blood” red.
- Let the mixture cool for just a few seconds – you want it still liquid but not so hot it’s impossible to handle.
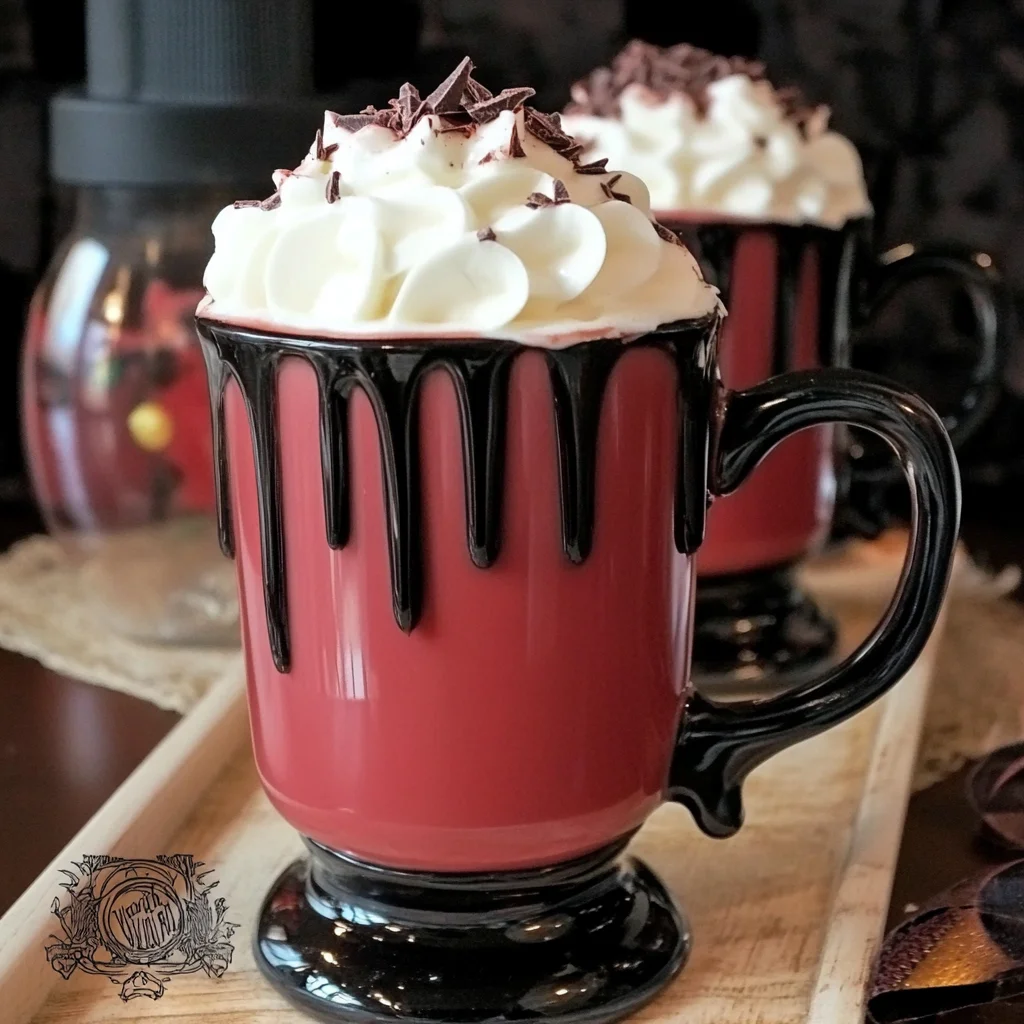
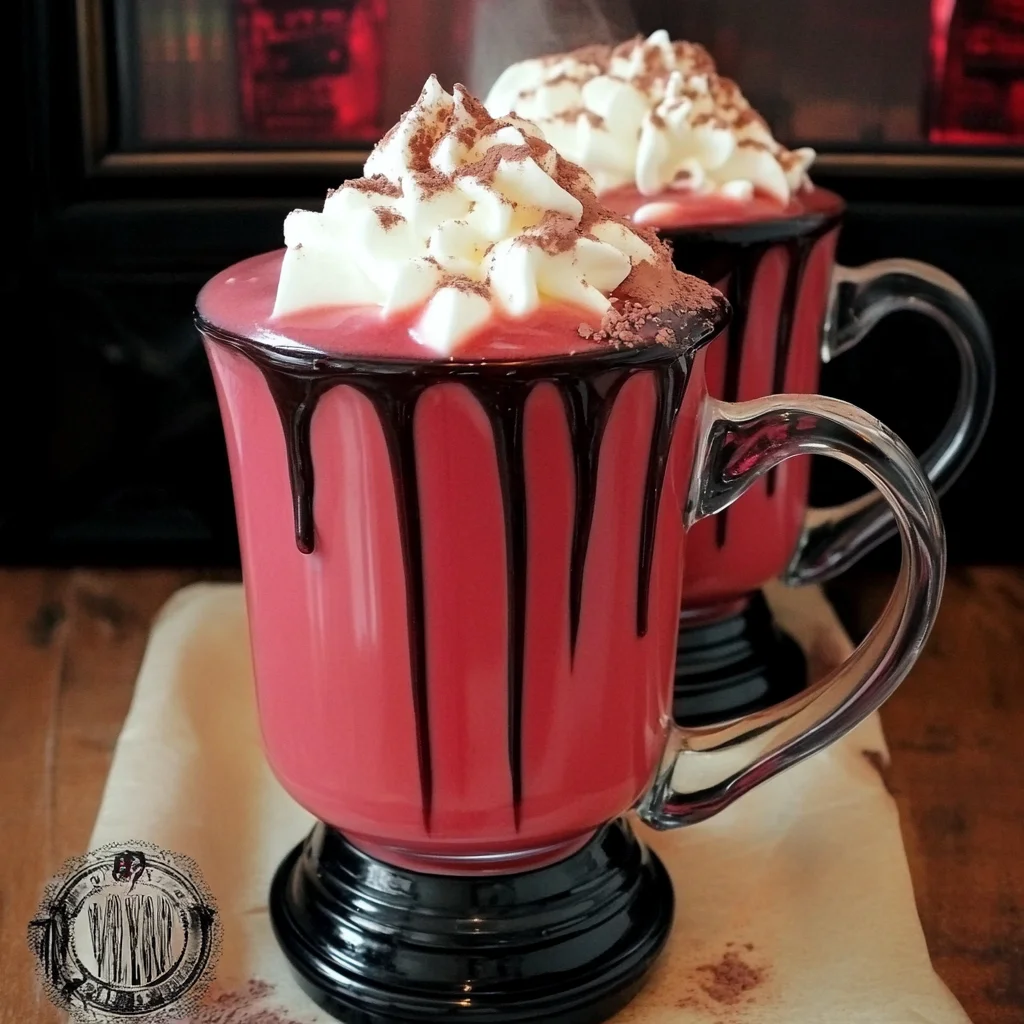
- Now for the dramatic effect! Carefully dip the rim of your clean glasses or mugs into the sugar mixture to coat. Then, immediately sit them upright on a piece of parchment paper. This allows the “blood” to naturally drip down the sides as it hardens, creating that wonderfully eerie vampire bite look. If you’re looking for more fun ways to celebrate Halloween, our Pumpkin Spice Halloween Chex Mix recipe is always a hit!
For the Vampire Hot Chocolate:
Time to bring it all together for the main event!
- In a medium saucepan, combine the whole milk, heavy cream, vanilla extract, chopped white chocolate, and those adorable mini chocolate chips.
- Heat this mixture over medium-low heat, stirring occasionally, until all the chocolate has completely melted and the hot chocolate just starts to simmer around the edges. Don’t let it boil vigorously!
- Now for the magic touch! Stir in one or two drops of red food coloring. Keep adding a drop at a time until you achieve your desired hauntingly red color.
- Carefully pour the steamy, crimson hot chocolate into your beautifully “blood”-dipped mugs. Top each one generously with a dollop (or a mountain!) of that fluffy homemade whipped cream. Serve immediately and watch the spooky smiles appear!
Substitutions & Additions
The beauty of this Vampire Hot Chocolate is how customizable it is! Feel free to play around and make it your own.
- Milk Alternatives: While whole milk and heavy cream create the richest texture, you can absolutely use plant-based milk like almond or oat milk for a dairy-free version. Just note the texture might be slightly different.
- Chocolate Choices: Experiment with dark chocolate or milk chocolate instead of white chocolate for a different flavor profile, though it will change the red color. You could even add a dash of cocoa powder for a deeper chocolate flavor.
- Flavor Boosters: A tiny pinch of cinnamon, a drop of peppermint extract (for a vampiric minty twist!), or a splash of almond extract could add interesting dimensions.
- Extra Toppings: Beyond whipped cream, consider mini marshmallows, chocolate shavings, or even a sprinkle of spooky sprinkles!
- Adult Version: For the grown-ups, a splash of cherry liqueur or a dark rum could turn this into a truly “bloody” cocktail.
And if you’re looking for another fun, easy treat to serve alongside your spooky drink, you might love our no-bake peanut butter brownie cookies!
Tips for Success
A few little pointers to make sure your Vampire Hot Chocolate turns out perfectly every time:
- Temperature is Key for Sugar Blood: The candy thermometer is your best friend here. Don’t eyeball it! And work quickly when dipping the mugs, as the sugar hardens fast.
- Cold Cream for Whipping: Make sure your heavy whipping cream is very cold, and ideally, chill your mixing bowl and whisk attachment too. This helps the cream whip up faster and with better volume.
- Don’t Boil the Hot Chocolate: Gently heat the milk and cream mixture. Boiling it can scorch the milk and change the flavor. A gentle simmer is all you need.
- Gradual Food Coloring: Add the red food coloring one drop at a time to the hot chocolate until you reach your desired shade. You can always add more, but you can’t take it away!
- Prep Ahead: You can make the sugar blood rimmed mugs several hours in advance. Just be careful when storing them not to chip the sugar “blood.” You can also whip the cream a bit ahead of time and keep it chilled. For more delightful drink ideas or cozy treats, don’t forget to explore all our Crispy Kitchens recipes.
How to Store Vampire Hot Chocolate
While this drink is definitely best enjoyed fresh, you might have leftovers or want to prep components ahead.
- Hot Chocolate: You can store leftover hot chocolate in an airtight container in the refrigerator for up to 2-3 days. Reheat gently on the stovetop over low heat, stirring frequently, or in the microwave. You might need to add a splash more milk or cream to restore its consistency.
- Whipped Cream: Homemade whipped cream is best used within a few hours, but it can be stored in an airtight container in the fridge for up to 24 hours. It might lose a little of its stiffness, but it will still taste delicious!
- Sugar Blood Rims: The “blood” rims on your mugs are essentially hard candy. They will hold up well at room temperature for several hours. If it’s a humid environment, they might get a little sticky, so it’s best to prepare them closer to serving time or store them in a cool, dry place.
FAQs
Got questions? I’ve got answers!
- Can I make this dairy-free? Yes! You can swap whole milk and heavy cream for your favorite dairy-free alternatives like oat milk and full-fat canned coconut milk (for creaminess). Use dairy-free white chocolate as well.
- Is the sugar blood really necessary? While the sugar blood is what truly gives this “Vampire Hot Chocolate” its unique spooky flair, if you’re short on time or prefer not to work with hot sugar, you can absolutely skip it! The red hot chocolate itself is still a fun treat.
- What kind of red food coloring should I use? Gel food coloring is highly recommended for both the hot chocolate and the sugar blood. It provides a much more vibrant and concentrated color without thinning out your mixture, compared to liquid food coloring.
- Can I prepare this in a slow cooker? You can definitely prepare the hot chocolate base in a slow cooker! Combine all hot chocolate ingredients (except food coloring) and heat on low for 1-2 hours, stirring occasionally, until chocolate is melted and it’s hot. Stir in food coloring before serving.
For more delicious and spooky recipes, follow us on Pinterest!

Vampire Hot Chocolate
Ingredients
Equipment
Method
- Step 1: Prepare the Whipped Cream. In the clean, cold bowl of a stand mixer (or using a hand mixer), combine 1 cup of super cold heavy whipping cream, vanilla extract, and granulated sugar. Whip on medium-high speed until you see lovely stiff peaks form. Don't overmix, or it can turn grainy! Set this aside in the fridge while you work on the rest.
- Step 2: Prepare the Sugar Blood Syrup. In a small, heavy-bottomed saucepan, combine the water and light corn syrup. Stir in the granulated sugar. Heat this mixture over medium heat. Do not stir it once it starts heating. Let it bubble away until it reaches exactly 300°F (150°C) on a candy thermometer. As soon as it hits 300°F, immediately remove it from the heat.
- Step 3: Color and Dip Mugs. Carefully add a few drops of red gel food coloring to the hot sugar syrup and gently stir until it's perfectly combined and a vivid 'blood' red. Let the mixture cool for just a few seconds – you want it still liquid but not too hot. Carefully dip the rim of your clean glasses or mugs into the sugar mixture to coat. Then, immediately sit them upright on a piece of parchment paper to allow the 'blood' to naturally drip down the sides as it hardens.
- Step 4: Prepare the Hot Chocolate Base. In a medium saucepan, combine the whole milk, heavy cream, vanilla extract, chopped white chocolate, and mini chocolate chips. Heat this mixture over medium-low heat, stirring occasionally, until all the chocolate has completely melted and the hot chocolate just starts to simmer around the edges. Don't let it boil vigorously!
- Step 5: Color the Hot Chocolate. Now for the magic touch! Stir in one or two drops of red food coloring to the hot chocolate base. Keep adding a drop at a time until you achieve your desired hauntingly red color.
- Step 6: Serve. Carefully pour the steamy, crimson hot chocolate into your beautifully 'blood'-dipped mugs. Top each one generously with a dollop (or a mountain!) of that fluffy homemade whipped cream. Serve immediately and watch the spooky smiles appear!