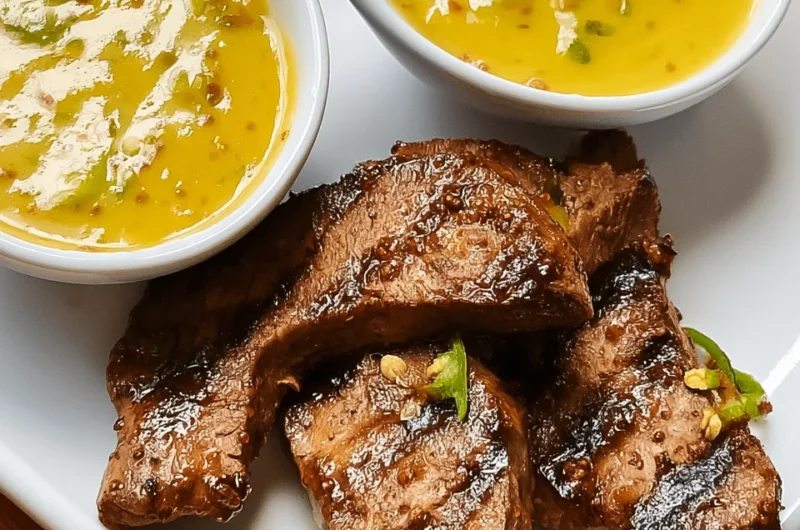
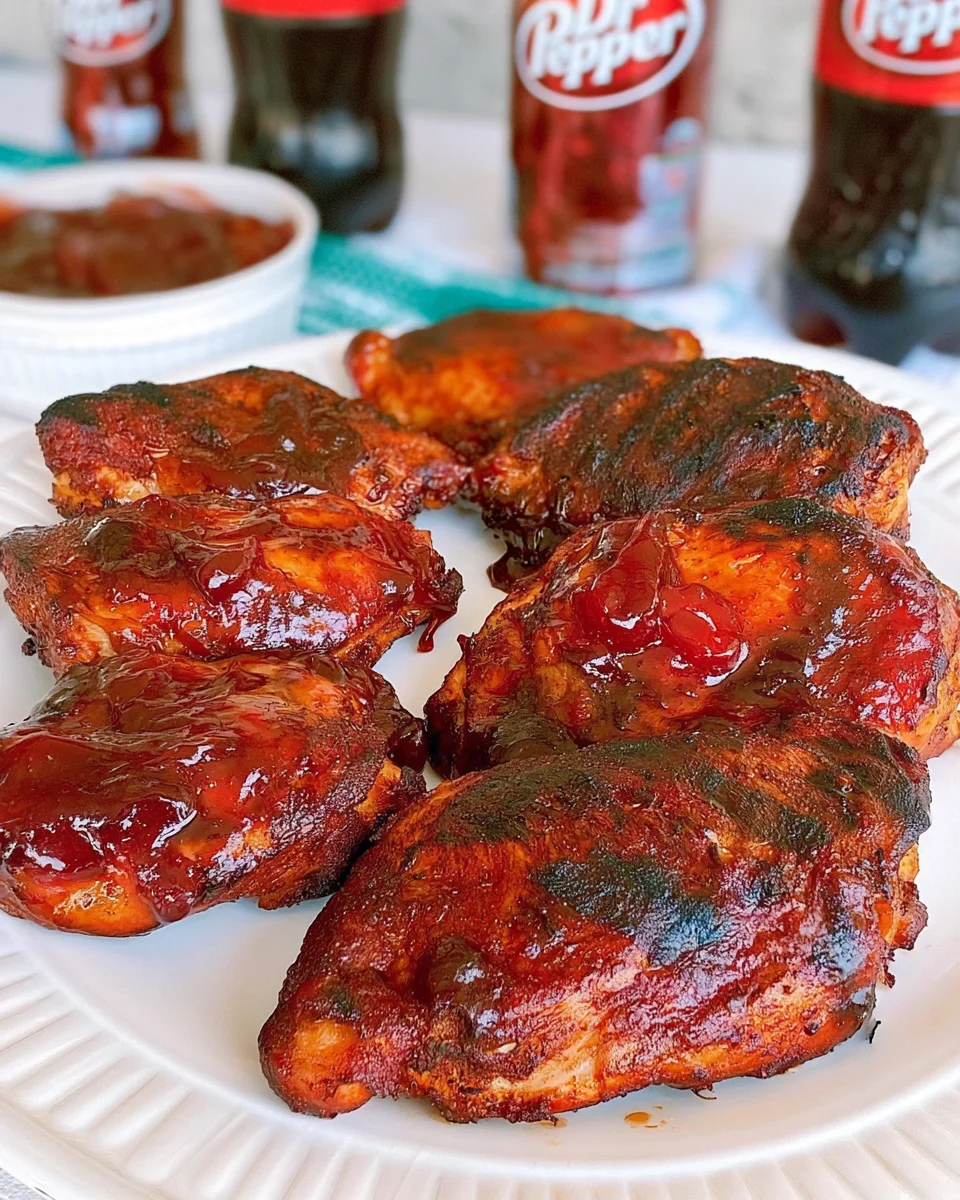
There’s something so comforting about the smell of grilled chicken wafting through the air on a warm summer evening. It’s a simple pleasure that brings friends and family together, and when you add a twist of Cherry Dr. Pepper to the mix, it becomes a standout dish that everyone will remember. This Cherry Dr. Pepper Grilled Chicken is not only quick to prepare, but it’s also bursting with flavor, making it a favorite in my kitchen!
Why You’ll Love Cherry Dr. Pepper Grilled Chicken
- Fast
- Easy
- Giftable
- Crowd-pleasing
Ingredients
- 2 lbs chicken breasts: Juicy and tender, perfect for grilling.
- 1 cup Cherry Dr. Pepper: This adds a sweet and tangy flavor that you can’t resist.
- 1/2 cup soy sauce: For a savory depth that balances the sweetness.
- 1/4 cup ketchup: A classic ingredient that enhances the sauce.
- 1/4 cup brown sugar: A touch of sweetness that caramelizes beautifully on the grill.
- 2 cloves garlic, minced: Because garlic makes everything better!
- 1 teaspoon ground ginger: A hint of spice that complements the other flavors.
- 1 teaspoon onion powder: For an additional layer of flavor.
- 1/2 teaspoon black pepper: Just the right amount of kick.
- 1/2 teaspoon salt: Enhances all the flavors.
- 1 tablespoon olive oil: Helps prevent sticking on the grill.
How to Make Cherry Dr. Pepper Grilled Chicken
- Marinate the Chicken: In a large bowl, combine Cherry Dr. Pepper, soy sauce, ketchup, brown sugar, minced garlic, ground ginger, onion powder, black pepper, and salt. Whisk until well blended. Add the chicken breasts to the marinade, ensuring they are fully coated. Cover and refrigerate for at least 2 hours, preferably overnight.
- Preheat the Grill: Preheat your grill to medium-high heat. Lightly oil the grill grates to prevent sticking.
- Grill the Chicken: Remove the chicken from the marinade and let any excess drip off. Place the chicken on the hot grill. Cook for about 6-7 minutes on one side until grill marks appear.
- Flip and Cook: Flip the chicken and brush with some of the reserved marinade (do not use the marinade that the chicken was in). Grill for another 6-7 minutes or until the internal temperature reaches 165°F (75°C).
- Rest and Serve: Remove the chicken from the grill and let it rest for about 5 minutes before slicing. Serve with your favorite sides and enjoy!
Substitutions & Additions
If you want to mix things up a bit, consider these substitutions and additions:
- Use chicken thighs instead of breasts for a juicier option.
- Add some crushed red pepper flakes for a spicy kick.
- Try using root beer instead of Cherry Dr. Pepper for a different flavor profile.
- Incorporate some chopped fresh herbs like cilantro or parsley for a fresh garnish.
Tips for Success
- Don’t rush the marinating process; overnight is best for maximum flavor.
- Make sure your grill is hot enough to get those beautiful grill marks.
- Always let the chicken rest after grilling; this helps keep it juicy.
- If you are preparing for a crowd, consider doubling the recipe and serving it alongside other favorites like avocado toast or rotisserie chicken tostadas.
How to Store Cherry Dr. Pepper Grilled Chicken
Store any leftover chicken in an airtight container in the refrigerator for up to 3 days. You can also freeze it for up to 3 months. Just make sure to wrap it tightly to prevent freezer burn!
FAQs
- Can I use another soda? Yes! Feel free to experiment with different sodas like cola or root beer.
- What should I serve with the grilled chicken? It pairs beautifully with a fresh salad or some roasted vegetables.
- Can I cook this in the oven? Absolutely! Bake it at 375°F for about 25-30 minutes or until fully cooked.
For more delicious recipes, check out Creamy Lemon Chicken or Easy Raspberry Cake for treats you will love!
If you’re as excited about this Cherry Dr. Pepper Grilled Chicken as I am, I can’t wait to see your creations! Don’t forget to follow us on Pinterest for more delightful recipes and inspiration!
Cherry Dr. Pepper Grilled Chicken
Ingredients
Equipment
Method
- Step 1: In a large bowl, combine Cherry Dr. Pepper, soy sauce, ketchup, brown sugar, minced garlic, ground ginger, onion powder, black pepper, and salt. Whisk until well blended. Add the chicken breasts to the marinade, ensuring they are fully coated. Cover and refrigerate for at least 2 hours, preferably overnight.
- Step 2: Preheat your grill to medium-high heat. Lightly oil the grill grates to prevent sticking.
- Step 3: Remove the chicken from the marinade and let any excess drip off. Place the chicken on the hot grill. Cook for about 6-7 minutes on one side until grill marks appear.
- Step 4: Flip the chicken and brush with some of the reserved marinade (do not use the marinade that the chicken was in). Grill for another 6-7 minutes or until the internal temperature reaches 165°F (75°C).
- Step 5: Remove the chicken from the grill and let it rest for about 5 minutes before slicing. Serve with your favorite sides and enjoy!