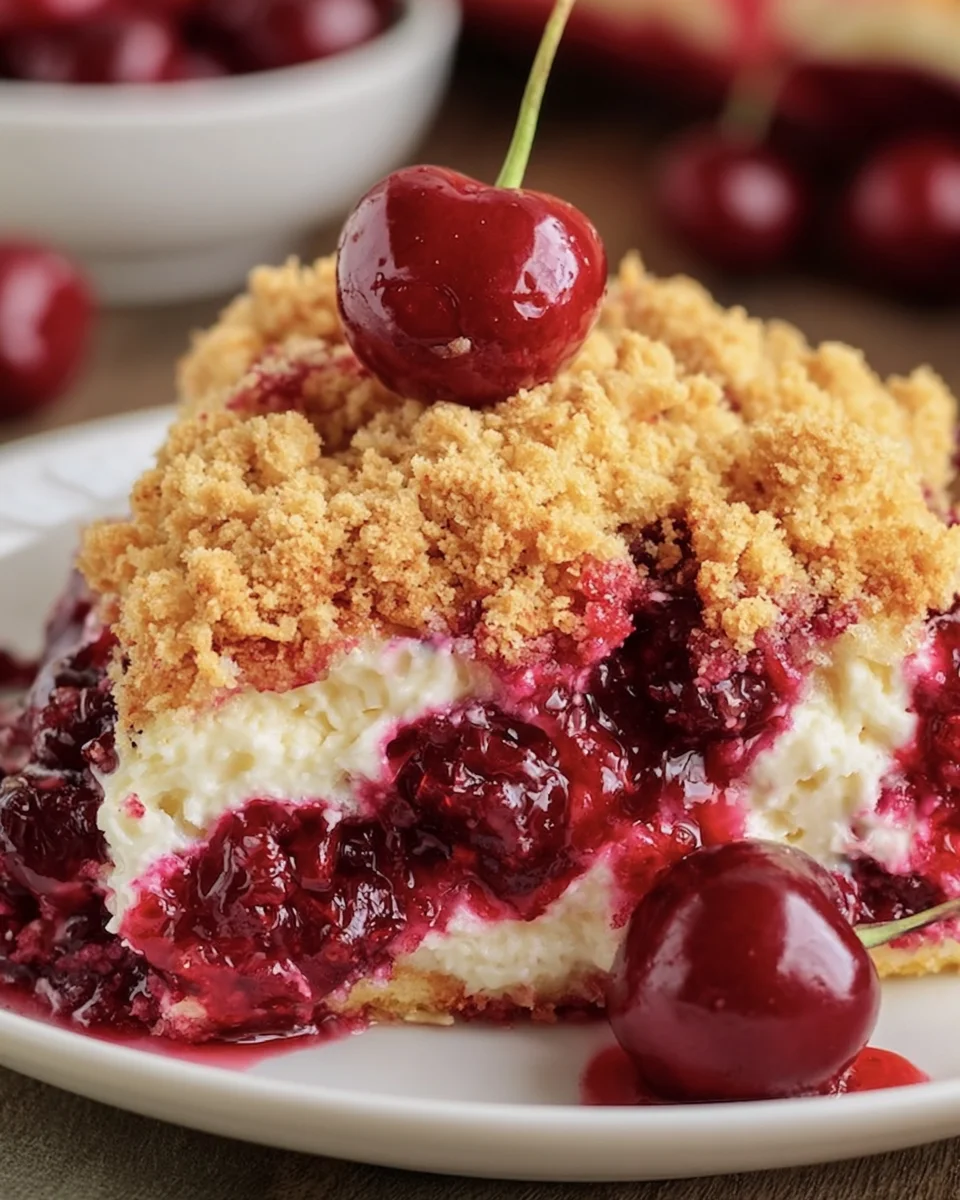
There’s something about a warm dessert that brings back sweet memories, isn’t there? The aroma of baked goodies wafting through the house, the laughter of friends and family gathered around the table, and that first bite of something indulgent and comforting. Today, I want to share with you a recipe that’s not just quick and easy, but also a crowd-pleaser: Cherry Cheesecake Dump Cake! This delightful dessert combines the rich flavors of cheesecake with the fruity goodness of cherry pie filling, all baked into a simple, scrumptious cake. Trust me, you’ll want to make this one again and again.
Why You’ll Love Cherry Cheesecake Dump Cake
- Fast
- Easy
- Giftable
- Crowd-pleasing
Ingredients
Here’s what you’ll need to whip up this delightful dessert:
- 1 can (21 oz) cherry pie filling: The star of the show, bringing a sweet and tart flavor.
- 1 package (8 oz) cream cheese, softened: Adds that creamy cheesecake texture.
- 1 cup powdered sugar: Sweetens the cream cheese mixture perfectly.
- 1 teaspoon vanilla extract: For that warm, inviting aroma.
- 1 box (15.25 oz) yellow cake mix: The base of our cake; it’s easy and delicious.
- 1 cup unsalted butter, melted: Gives moisture and richness to the cake.
- 1 cup sour cream: Adds a lovely tang and helps keep the cake moist.
- 1/2 cup chopped pecans (optional): For a little crunch, if you’re feeling fancy!
How to Make Cherry Cheesecake Dump Cake
Now let’s get down to business! Here’s how you can make this delightful dessert:
- Preheat your oven to 350°F (175°C).
- In a mixing bowl, combine the softened cream cheese, powdered sugar, and vanilla extract. Beat until smooth and well blended.
- Spread the cherry pie filling evenly in the bottom of a greased 9×13 inch baking dish.
- Spoon dollops of the cream cheese mixture over the cherry filling, spreading it gently to cover as much of the cherries as possible.
- In another bowl, combine the yellow cake mix and melted butter. Mix until crumbly.
- Sprinkle the cake mixture evenly over the cream cheese layer.
- If using, sprinkle chopped pecans on top of the cake mixture.
- Bake in the preheated oven for 45-50 minutes, or until the top is golden brown and the cake is cooked through.
- Allow to cool for at least 15 minutes before serving. Enjoy warm or at room temperature.
Substitutions & Additions
If you want to get creative, there are plenty of ways to switch things up:
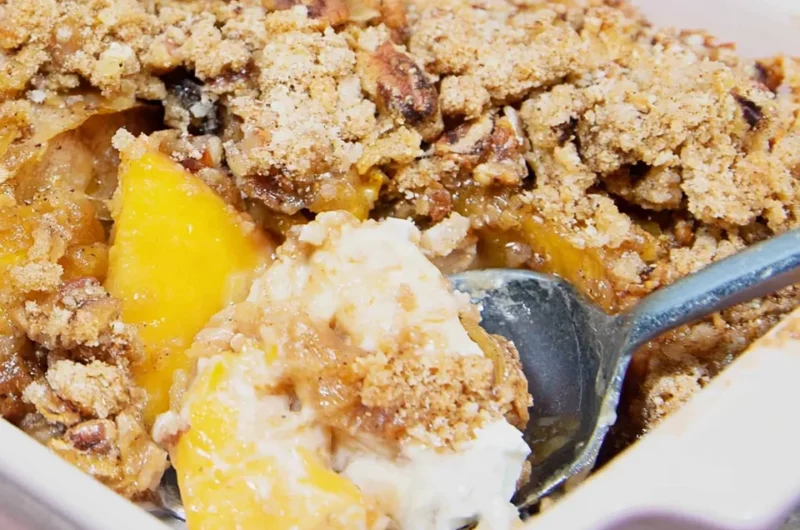
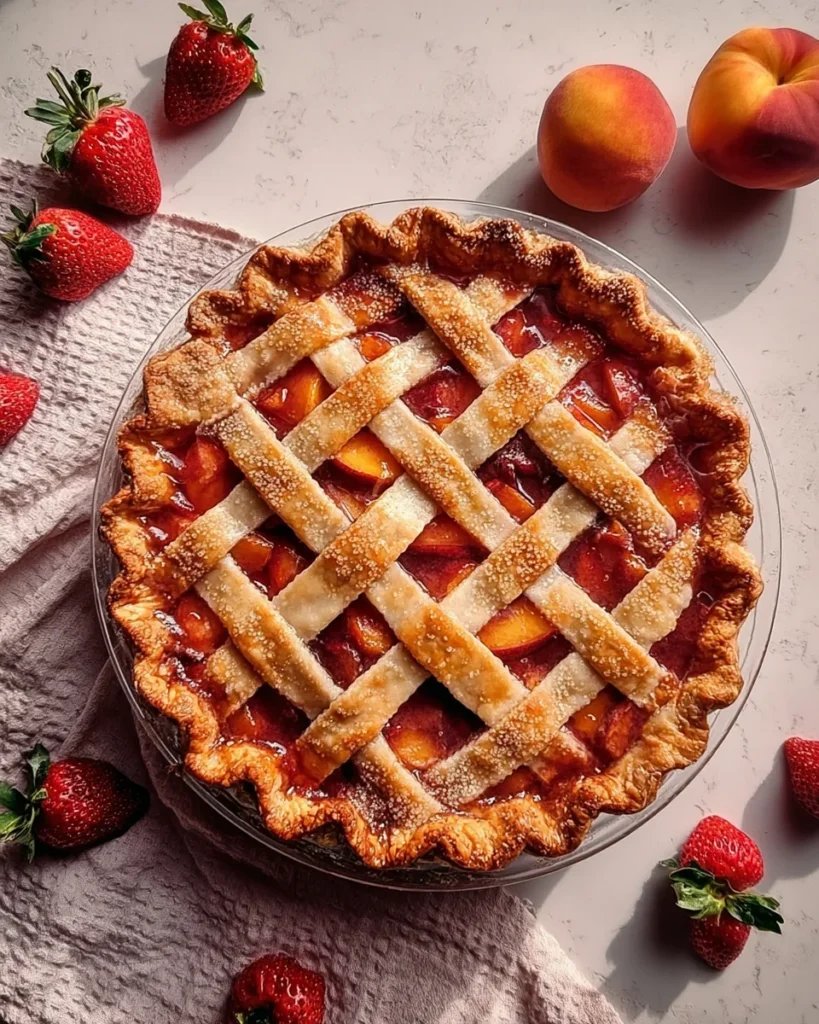
- Try using different fruit fillings, like blueberry or peach, for a twist on the classic.
- For a richer flavor, swap the yellow cake mix for chocolate cake mix.
- Add a sprinkle of cinnamon to the cake mixture for a warm spice.
Tips for Success
To make sure your Cherry Cheesecake Dump Cake turns out perfectly, keep these tips in mind:
- Make sure your cream cheese is softened to avoid lumps in the mixture.
- Don’t skip the cooling step; it helps the flavors meld together beautifully.
- If you want to prepare ahead of time, you can assemble everything the night before and just pop it in the oven when you’re ready!
How to Store Cherry Cheesecake Dump Cake
Once you’ve enjoyed your delicious creation, here’s how to store any leftovers:
- Cover the dish with plastic wrap or transfer slices to an airtight container.
- It can be stored in the refrigerator for up to 3-4 days.
- To reheat, simply warm in the microwave for a few seconds—you’ll love how it brings back that fresh-baked goodness!
FAQs
Here are some common questions about this delightful dessert:
- Can I freeze Cherry Cheesecake Dump Cake? Yes! Just make sure to wrap it well in plastic wrap and foil before freezing. It will keep for up to 2 months.
- Can I use low-fat cream cheese? Absolutely! It will work just fine, and you can still enjoy a delicious dessert.
- What can I serve with it? A dollop of whipped cream or a scoop of vanilla ice cream pairs perfectly!
And there you have it! A sweet, easy-to-make Cherry Cheesecake Dump Cake that’s perfect for sharing or just indulging in at home. For more delicious recipes, check out easy mini raspberry cheesecake bites or no bake peanut butter brownie cookies for treats you will love!
Don’t forget to follow us on Pinterest for more delicious recipes and inspiration!
Cherry Cheesecake Dump Cake
Ingredients
Equipment
Method
- Step 1: Preheat your oven to 350°F (175°C).
- Step 2: In a mixing bowl, combine the softened cream cheese, powdered sugar, and vanilla extract. Beat until smooth and well blended.
- Step 3: Spread the cherry pie filling evenly in the bottom of a greased 9x13 inch baking dish.
- Step 4: Spoon dollops of the cream cheese mixture over the cherry filling, spreading it gently to cover as much of the cherries as possible.
- Step 5: In another bowl, combine the yellow cake mix and melted butter. Mix until crumbly.
- Step 6: Sprinkle the cake mixture evenly over the cream cheese layer.
- Step 7: If using, sprinkle chopped pecans on top of the cake mixture.
- Step 8: Bake in the preheated oven for 45-50 minutes, or until the top is golden brown and the cake is cooked through.
- Step 9: Allow to cool for at least 15 minutes before serving. Enjoy warm or at room temperature.